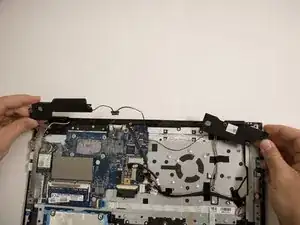
Introduction
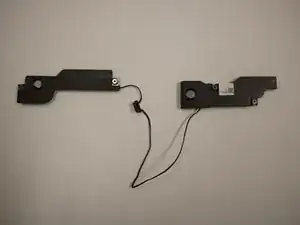
This guide will instruct you on how to safely remove and replace the speakers of your Toshiba Satellite L55W-C5256. You may need to do this if:
- Your device’s speakers are “blown”, or are emitting crackling noises
- Your device is not outputting any audio
Before beginning this replacement guide, it is recommended that you use an anti-static work mat and that you ground yourself using an anti-static wrist strap. This helps to protect your device from damage caused by static discharge. If you do not have these materials, you can find an anti-static wrist strap here, and an anti-static work mat here. To learn how to properly use an anti-static wrist strap and an anti-static work mat (recommended), see the guide found here.
Tools
-
-
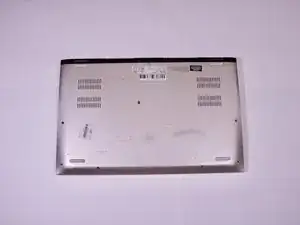
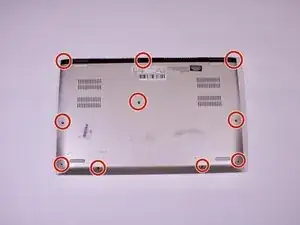
Use a Phillips #00 screwdriver to remove the 10 screws that secure the back cover to the device.
-
-
-
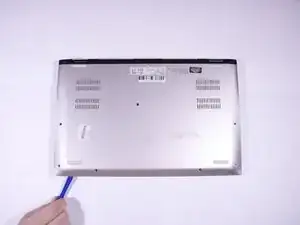
Gently use an iFixit opening tool to separate the back cover from the laptop. Go around all edges until plastic clips are completely free.
-
-
-
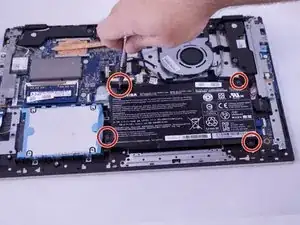
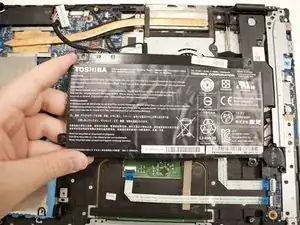
Using a Phillip's #00 screwdriver, remove the four 7.0 mm screws that secure the battery to the motherboard.
-
-
-
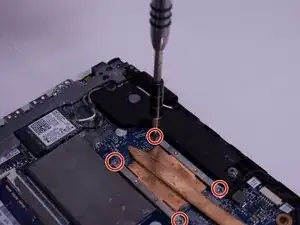
Using a Phillips #00 screw driver, remove the four 7.0 mm screws that secure the heat sink to the CPU.
-
-
-
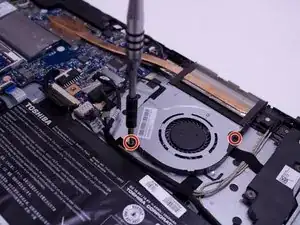
Using a Phillips #00 screw driver, remove the two 7.0 mm screws that secure the heat sink fan to the motherboard.
-
-
-
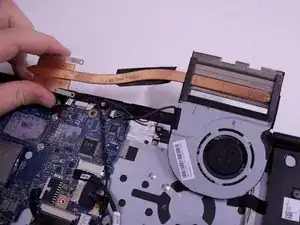
Gently lift the heat sink from the motherboard, making sure not to apply much tension to the connector cable.
-
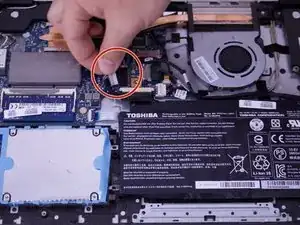
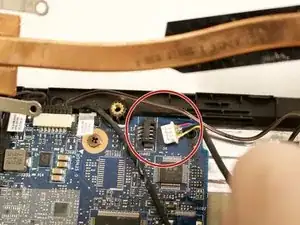
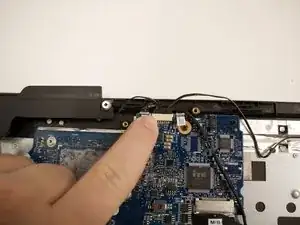
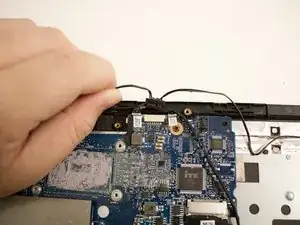
Using your thumb and forefinger, gently unplug the connector cable from the motherboard.
-
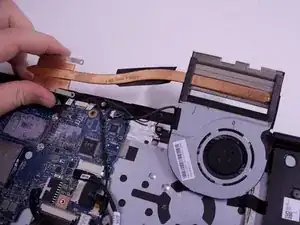
Lift the heat sink from the motherboard.
-
-
-
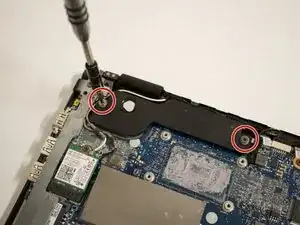
Using a Phillips #00 screw driver, remove the two 7.0 mm screws that secure the left speaker to the motherboard.
-
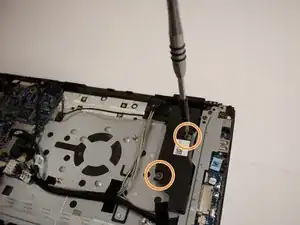
Using a Phillips #00 screw driver, remove the two 7.0 mm screws that secure the right speaker to the motherboard.
-
To reassemble your device, follow these instructions in reverse order.
