Introduction

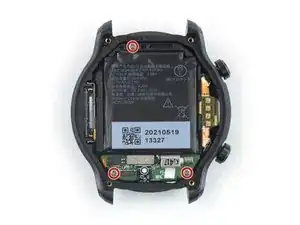
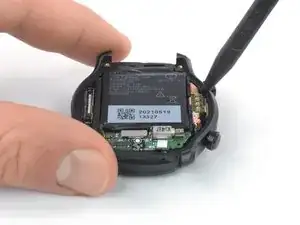
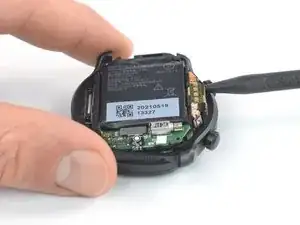
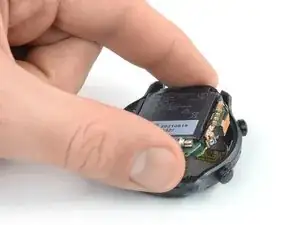
Use this guide to replace the motherboard in your TicWatch Pro 3 GPS.

Replacing the motherboard in the TicWatch Pro 3 GPS requires you to remove the battery. Do not reuse the battery if it has been deformed or damaged, as doing so is a potential safety hazard. Replace it with a new battery.

For your safety, discharge the battery below 25% before disassembling your watch. This reduces the risk of fire if the battery is accidentally damaged during the repair. If your battery is swollen, take appropriate precautions.

You’ll need replacement adhesive when reassembling the device. Your device will function normally, but will lose its IP (Ingress Protection) rating.

  1. vSj6cyQPPAgmMDAo
    vSj6cyQPPAgmMDAo
    i3yCY6eMJCalJGet
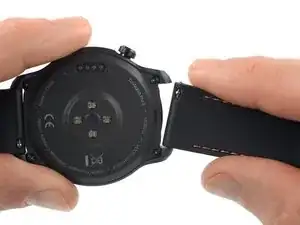
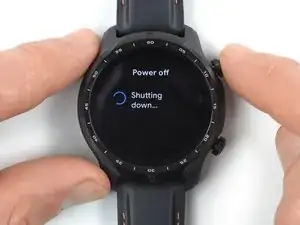
    • Before starting repairs, take your watch off the charger and power it down.

    • Remove the watch band.

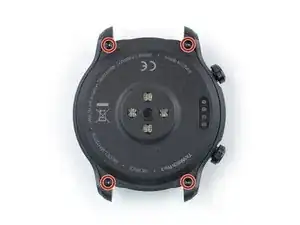
  2. LWbfEUyt33T3cNNg
    • Use a Torx T3 screwdriver to remove the four 4.1 mm-long screws securing the back cover.

  3. kOKfWXIjOdEqYBkX
    • Apply a heated iOpener to the rear side of the watch for 5 minutes to loosen the adhesive underneath.

    • A hair dryer, heat gun, or hot plate may also be used, but be careful not to overheat the device.

  4. U6O1BVJMFNvOOMIy
    U6O1BVJMFNvOOMIy
    5CpaKqBYhhBAOCEj
    HZETxDRaXtAuJBVI
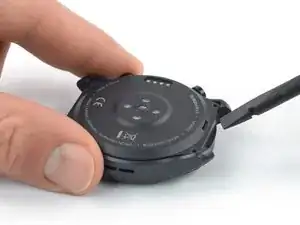
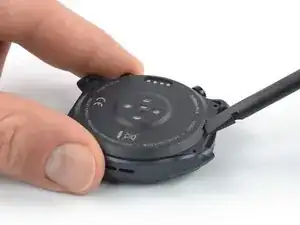
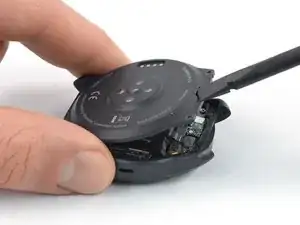
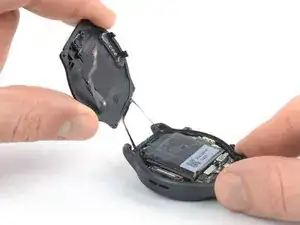
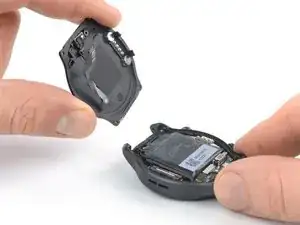
    • Insert the flat end of a spudger into the microphone opening at the top edge of the back cover.

    • Pry upwards to loosen the back cover assembly. This may require some force.

    • Don't try to remove the back cover assembly all the way yet. It's still connected to the daughterboard.

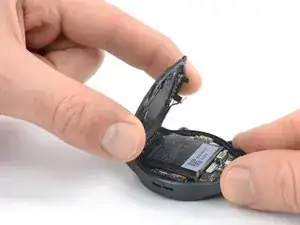
    • Swing the back cover assembly open by 45 degrees to gain access to the sensor assembly cable.

  5. lQZND6EACeU1FNIt
    lQZND6EACeU1FNIt
    4sDAoEnxKo3vM1sQ
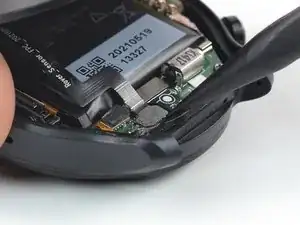
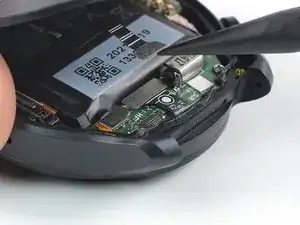
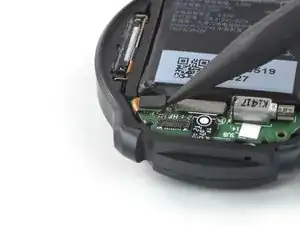
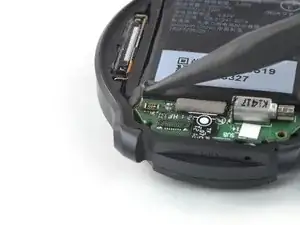
    • Use a spudger to disconnect the sensor assembly cable by prying the connector straight up from its socket.

    • To re-attach press connectors like this one, carefully align and press down on one side until it clicks into place, then repeat on the other side. Do not press down on the middle. If the connector is misaligned, the pins can bend, causing permanent damage.

  6. dYNcQ3f6QEmip3bb
    dYNcQ3f6QEmip3bb
    PbRUoZOCJ2jsMKRC
    osNCvNgNMJlS1oZR
    • Remove the back cover assembly.

  7. HbCFGe5MWGrOEfMs
    HbCFGe5MWGrOEfMs
    kXvUN4yZjCalCmTk
    • Use a spudger to disconnect the microphone cable by prying the connector straight up from its socket.

  8. mlesRANSQXNigOBi
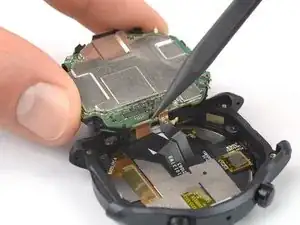
    • Use a Phillips screwdriver to remove the three 4.1 mm-long screws securing the core assembly.

  9. JJFgmhWcTgUXTM2m
    JJFgmhWcTgUXTM2m
    LxwWFyDRlFiQCFZw
    • Insert the point of a spudger between the right edge of the core assembly and the watch frame.

    • Pry upwards to loosen the core assembly.

    • Don't try to remove the core assembly all the way yet. It's still connected to the screen.

  10. qgG1GEVSNRNUsXsB
    qgG1GEVSNRNUsXsB
    gEeHLnne1px6T2f1
    V4GIu2MKoBjdegfp
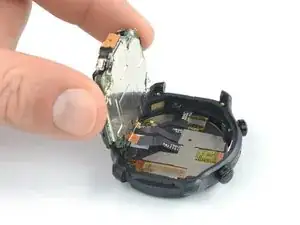
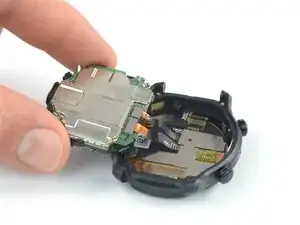
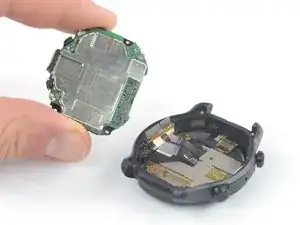
    • Carefully swing open the core assembly like the front cover of a book.

    • Avoid straining or tearing the display cables at the bottom of the core assembly.

  11. ZwHcLVMfPH2nbByE
    ZwHcLVMfPH2nbByE
    MO2RBdSFIOSIxRO3
    RBfCHZ5WDtAoZkEn
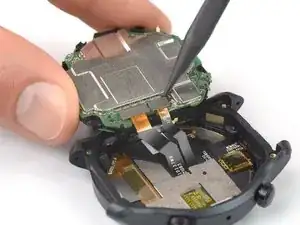
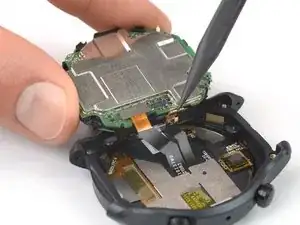
    • Use a spudger to disconnect the screen and the digitizer cables by prying the connectors straight up from their sockets.

  12. XqP4DnbggnhGF5TX
    XqP4DnbggnhGF5TX
    XmjkHcgBWIRyAYjS
    • Remove the core assembly.

  13. XRbGjHXgbAsxPgqm
    XRbGjHXgbAsxPgqm
    o3aODLClXSRBQxjK
    • Use a spudger to disconnect the interconnect cable by prying the connector straight up from its socket.

  14. J4CWsA6COjntHopM
    J4CWsA6COjntHopM
    HfZwJBipSfFAflUN
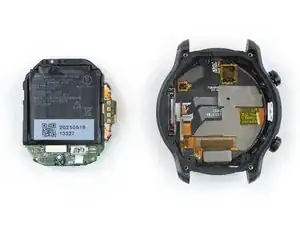
    • Use a pair of tweezers to remove the daughterboard.

  15. WFOUHShF2HkuFtS1
    WFOUHShF2HkuFtS1
    YblE1L6LTS6B2rSE
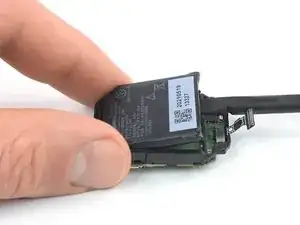
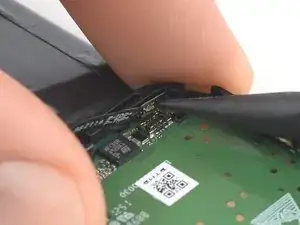
    • The battery is held in place by mild adhesive.

    • Insert the flat end of a spudger between the bottom edge of the battery and the midframe.

    • Take care not to puncture or bend the battery with your tool—a punctured or bent battery may leak dangerous chemicals or cause a fire.

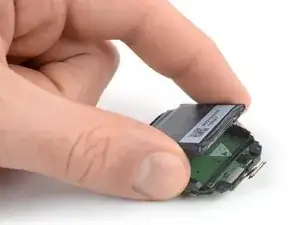
    • Pry upwards to loosen the battery.

    • If you're struggling to pry up the battery, place a heated iOpener onto the motherboard to loosen the adhesive underneath. Don't apply the iOpener directly onto the battery.

    • Don't try to remove the battery all the way yet. It's still connected to the motherboard.

  16. PEJcThvHRYOJOqoa
    PEJcThvHRYOJOqoa
    XC3KWrXixHPRokKO
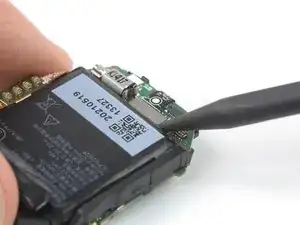
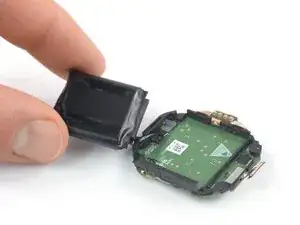
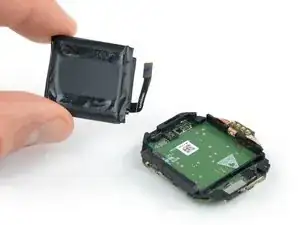
    • Carefully fold the battery over to gain access to the battery cable connector.

    • Avoid straining or tearing the battery cable.

  17. jCxp3h2c2LNNsxPt
    jCxp3h2c2LNNsxPt
    RfAjjZlbsWbRKmo4
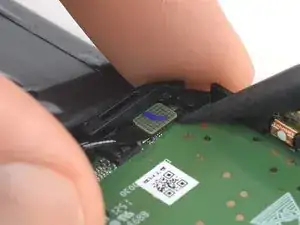
    • Use a spudger to disconnect the battery cable by prying the connector straight up from its socket.

  18. ayX1EBWcPNxeTpiJ
    ayX1EBWcPNxeTpiJ
    M3ayFJdX4dobXKSQ
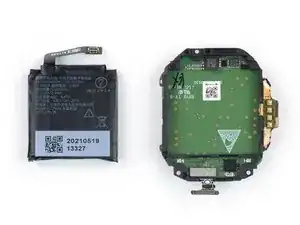
    • Remove the battery.

    • Do not reinstall a damaged or deformed battery, as doing so is a potential safety hazard.

    • Secure the new battery with pre-cut adhesive or double-sided adhesive tape. In order to position it correctly, apply the new adhesive into the device at the places where the old adhesive was located, not directly onto the battery. Press the new battery firmly into place.

    Battery : pls advise the exact dimensions of the battery? And or provide a weblink?

    Thanks,

    AjTic -

  19. AJvRHfjyIF1cDFCo
    AJvRHfjyIF1cDFCo
    Ph1QBHZZTPOEoN5Y
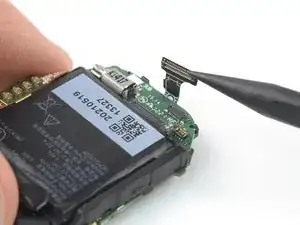
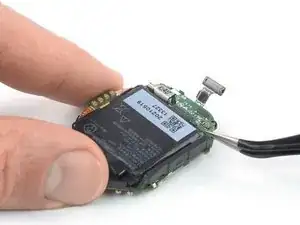
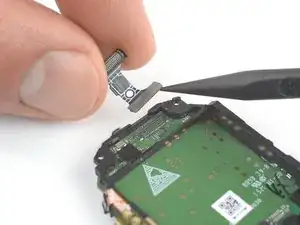
    • Use a spudger to disconnect the interconnect cable by prying the connector straight up from its socket.

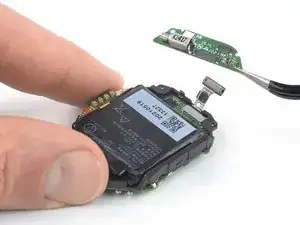
    • Remove the interconnect cable.

  20. eC5fWWuYCEBYJRB6
    eC5fWWuYCEBYJRB6
    WDlOIDCEaTefTqWj
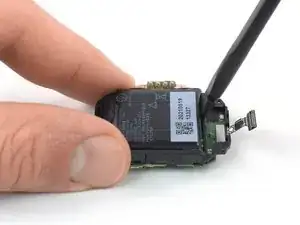
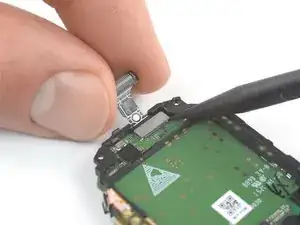
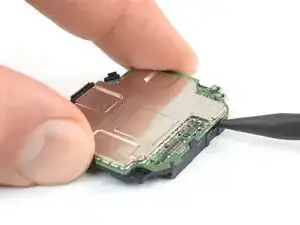
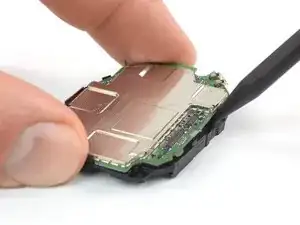
    • Insert the point of a spudger between the midframe and the motherboard.

    • Pry upwards to loosen the motherboard.

  21. PZVVe5afWOGZHKJo
    PZVVe5afWOGZHKJo
    McQ3Krbo5BVqXu4N
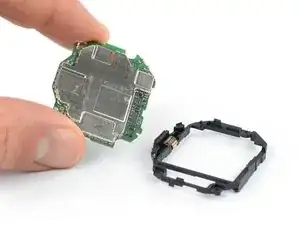
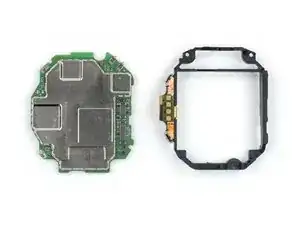
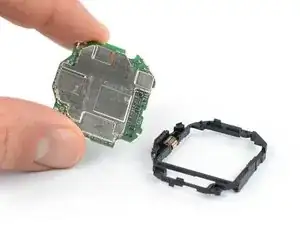
    • Remove the motherboard.

Conclusion

Compare your new replacement part to the original part—you may need to transfer remaining components or remove adhesive backings from the new part before you install it.

To reassemble your device, follow these instructions in reverse order.

During reassembly, apply new adhesive where it's necessary after cleaning the relevant areas with isopropyl alcohol (>90%).

For optimal performance, calibrate your newly installed battery after completing this guide.

Take your e-waste to an R2 or e-Stewards certified recycler.

Repair didn’t go as planned? Try some basic troubleshooting, or ask our TicWatch Pro 3 answers community for help.

Dominik Schnabelrauch

Member since: 23/11/16

201162 Reputation

2 comments

Hi there , just disassembled the motherboard no issues, i wanted to see what was wrong with the watch and its atleast from what i can tell water damage to the motherboard, can anyone help me find a replacement ? I'm struggling with that

iballisticgiannakos -

Hi, have you found a replacement? The second display is the one that is failing for me. Thank you.
Walter Guerrero -