Introduction
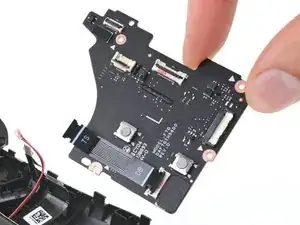
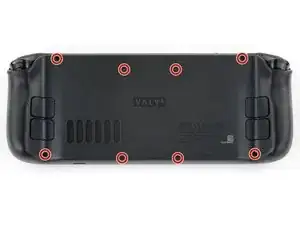
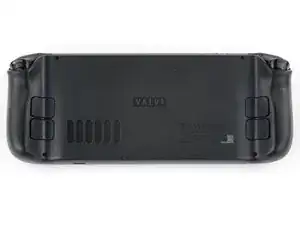
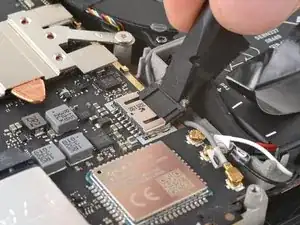
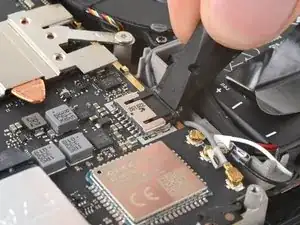
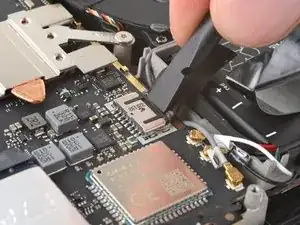
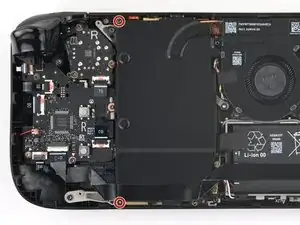
Use this guide to replace the left button board in your Steam Deck OLED.
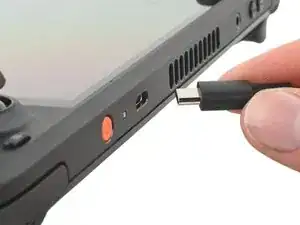
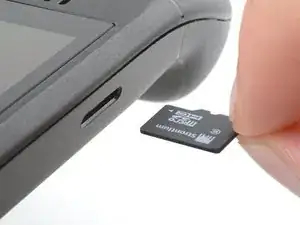
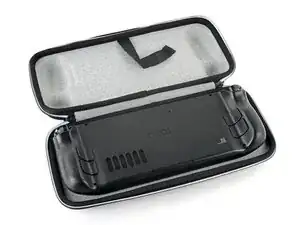
Remember to follow general electrostatic discharge (ESD) safety procedures while repairing your device.
These steps only describe how to physically remove and replace your console’s button board. You may need additional software tools and calibration procedures to get a replacement board to function as intended.
Tools
-
-
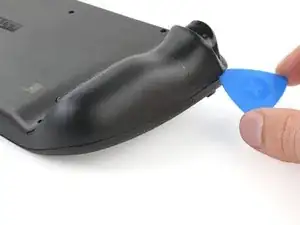
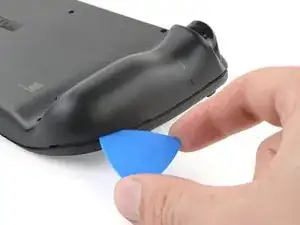
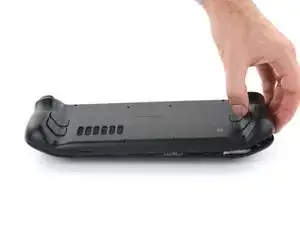
Insert an opening pick at an upward angle between the back cover and the front shell near one of the triggers.
-
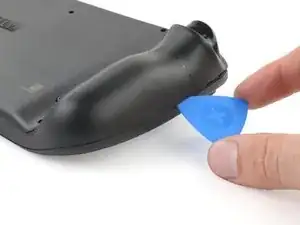
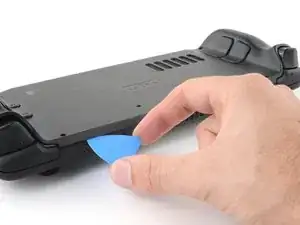
Slide your pick along the edge of the handle to release the clips securing it to the front shell.
-
-
-
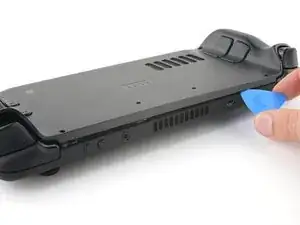
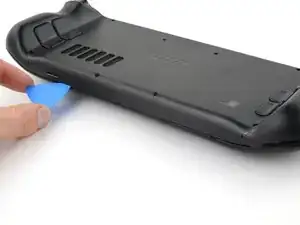
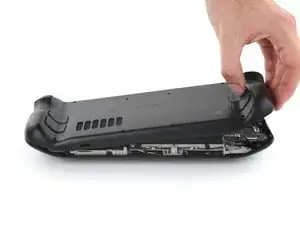
Reinsert your pick and slide it along the top and bottom edges until the back cover feels loose.
-
-
-
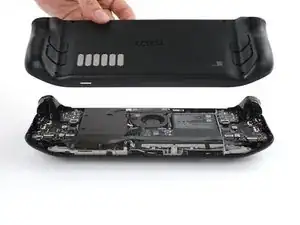
Grip the unclipped handle and pull it away from the front shell to release the remaining clips.
-
Remove the back cover.
-
-
-
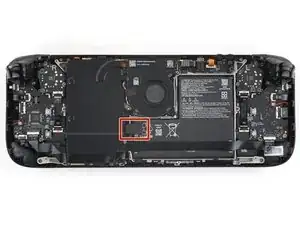
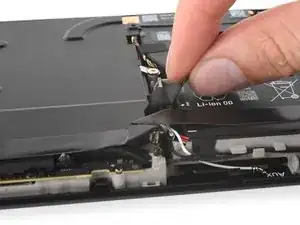
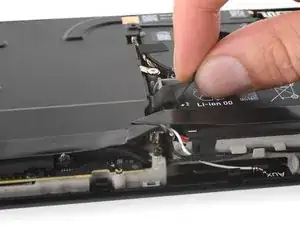
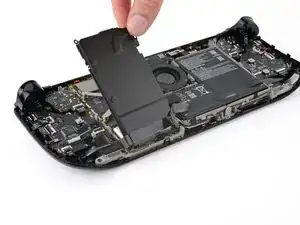
Grip the battery cable pull tab, located to the left of the battery.
-
Firmly pull the battery cable straight away from the motherboard shield (toward the battery) to disconnect it.
-
-
-
During disassembly, skip the next four steps.
-
Reinstall the two 3.8 mm‑long screws to secure the motherboard shield.
-
Reconnect the interconnect cable ZIF connector.
-
-
-
Use the flat end of a spudger to slide the battery connector into its socket on the motherboard.
-
-
-
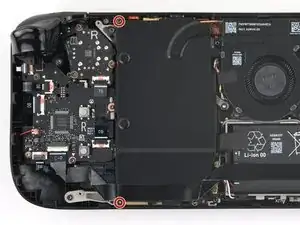
Use your T6 Torx driver to remove the two 3.8 mm‑long screws securing the motherboard shield.
-
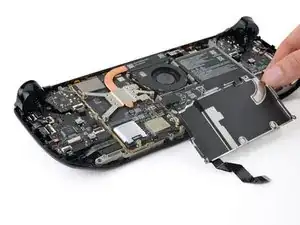
Lift the top edge of the motherboard shield up and flip it over the bottom edge of the frame, away from the motherboard.
-
-
-
Use a spudger to flip up the small white locking flap on the right button board interconnect cable ZIF connector.
-
Use tweezers or your fingers to grip the cable's pull tab and slide it straight out of its socket to disconnect it.
-
-
-
Use the point of a spudger to flip up the small locking flap on the left thumbstick ZIF connector.
-
Use tweezers or your fingers to grip the cable's pull tab and slide the connector straight out of its socket to disconnect it.
-
-
-
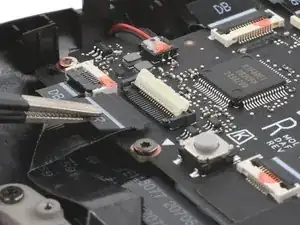
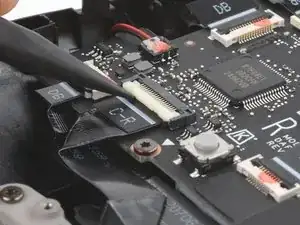
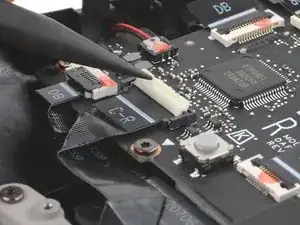
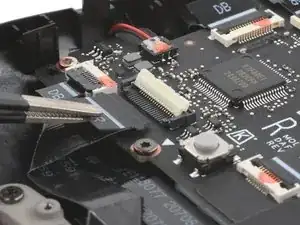
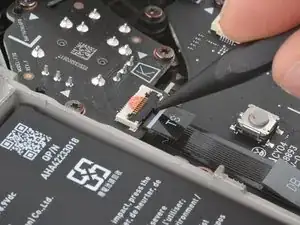
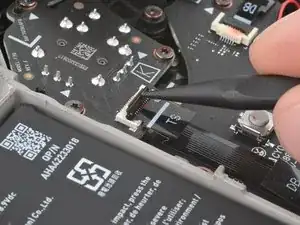
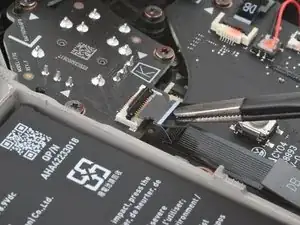
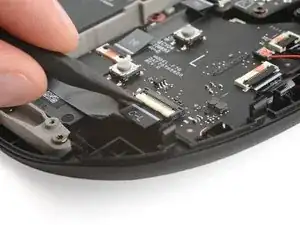
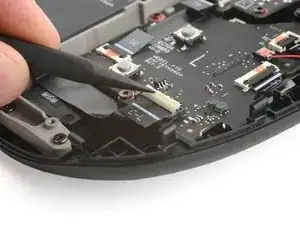
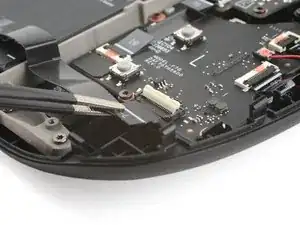
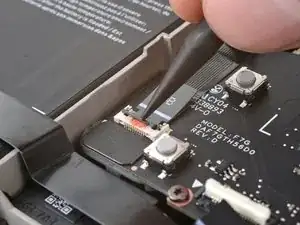
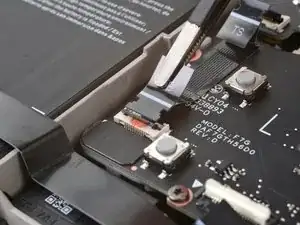
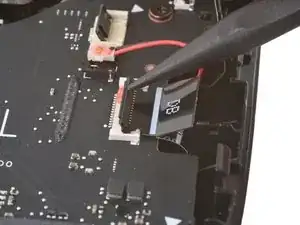
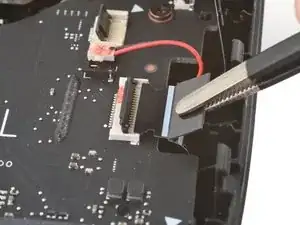
Use a spudger to flip up the small white locking flap on the left button board interconnect cable ZIF connector.
-
Use tweezers or your fingers to grip the cable's pull tab and slide it straight out of its socket to disconnect it.
-
-
-
Flip up the small black locking flap on the left thumbstick cable ZIF connector.
-
Slide the connector straight out of its socket to disconnect it.
-
-
-
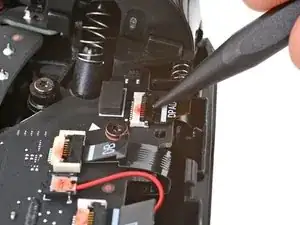
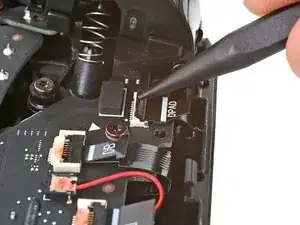
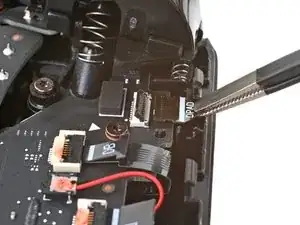
Flip up the small locking flap on the D‑pad ZIF connector, located in the top right corner.
-
The pull tab on this connector may be labeled DPAD.
-
Slide the connector straight out of its socket to disconnect it.
-
-
-
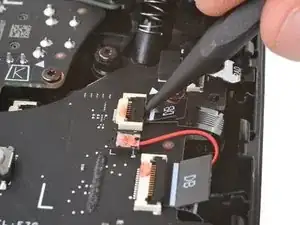
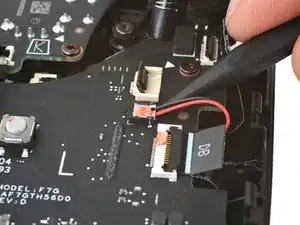
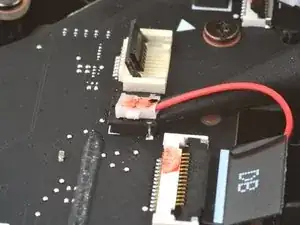
Insert the point of your spudger under the neck of the haptics cable connector.
-
Gently pry up to disconnect it.
-
-
-
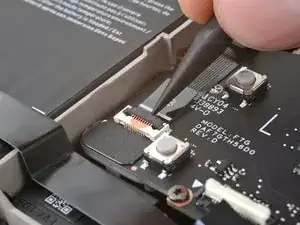
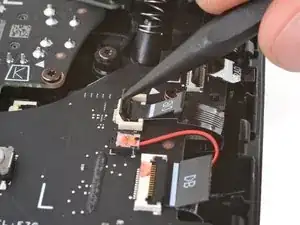
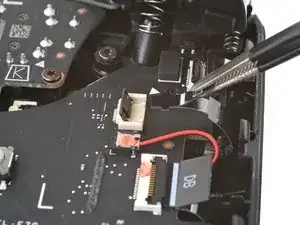
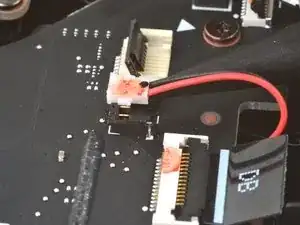
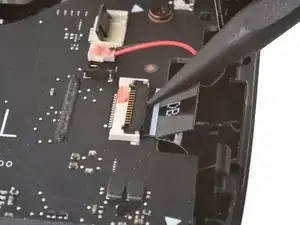
Flip up the small locking flap on the touchpad board cable ZIF connector, located just below the haptics connector.
-
Slide the connector straight out of its socket to disconnect it.
-
-
-
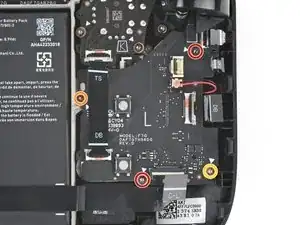
Use your T6 Torx driver to remove the four screws securing the left button board:
-
Two 5.9 mm‑long screws
-
One 3.8 mm‑long screw
-
One 4.9 mm‑long screw
-
-
-
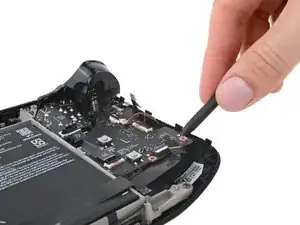
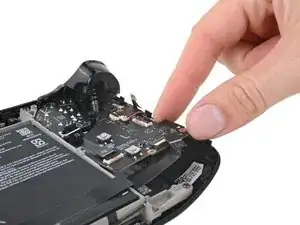
Insert the point of your spudger between the bottom right corner of the button board and the frame.
-
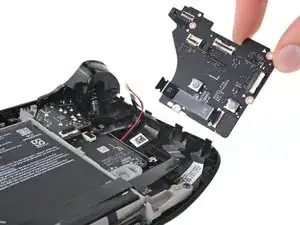
Pry up until you can grab the button board with your fingers.
-
Remove the button board.
-
To reassemble your device, follow these instructions in reverse order.
Take your e-waste to an R2 or e-Stewards certified recycler.
Repair didn’t go as planned? Try some basic troubleshooting, or ask our Steam Deck OLED answers community for help.
One comment
This just saved me. Thank you! My daughter was using my deck and managed to get makeup powder dusted in to the DPAD and TouchPad connection via the gap by the trigger. Killed them both. Thanks to this page, was able to pull the board, clean the contacts, and i'm back playing again. No.. she will not be using my deck anymore.
