Introduction
Use this guide to safely remove and replace a worn out or dead battery in a Steam Deck OLED.
For your safety, turn on your Steam Deck and allow the battery to discharge below 5% before starting this procedure. A charged lithium-ion polymer battery can be very dangerous if accidentally punctured. If your battery looks puffy or swollen, take extra precautions.
Remember to follow general electrostatic discharge (ESD) safety procedures while repairing your device.
Don't reuse the battery after it's been removed, as doing so is a potential safety hazard. Replace it with a new battery.
You'll need replacement battery adhesive to complete this repair.
-
-
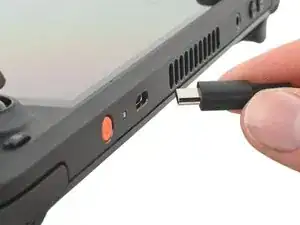
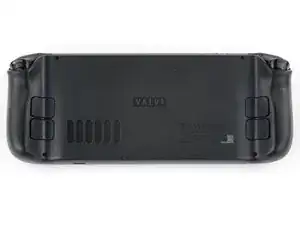
Unplug any cables from your Steam Deck OLED.
-
Put your Steam Deck OLED into battery storage mode within the BIOS. Read how to do that here.
-
-
-
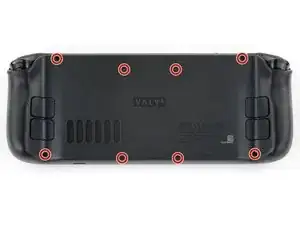
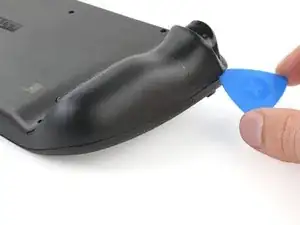
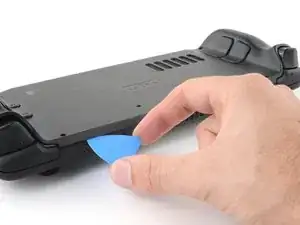
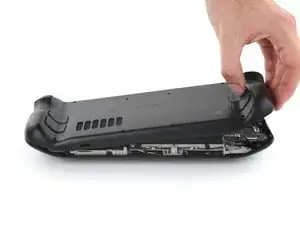
Insert an opening pick at an upward angle between the back cover and the front shell near one of the triggers.
-
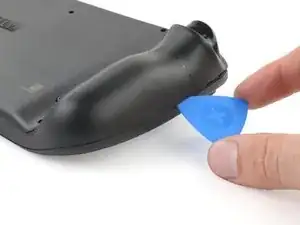
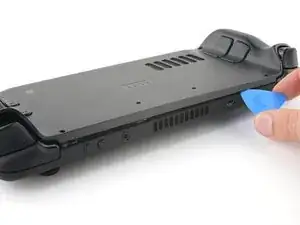
Slide your pick along the edge of the handle to release the clips securing it to the front shell.
-
-
-
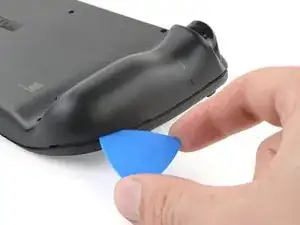
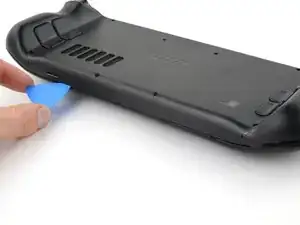
Reinsert your pick and slide it along the top and bottom edges until the back cover feels loose.
-
-
-
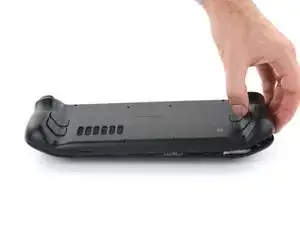
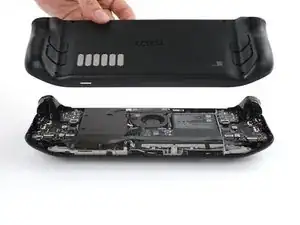
Grip the unclipped handle and pull it away from the front shell to release the remaining clips.
-
Remove the back cover.
-
-
-
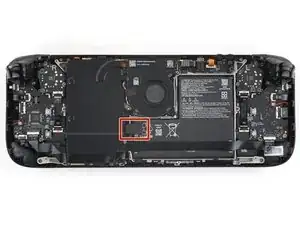
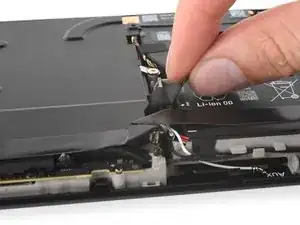
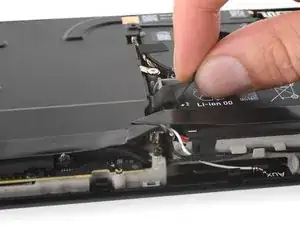
Grip the battery cable pull tab, located to the left of the battery.
-
Firmly pull the battery cable straight away from the motherboard shield (toward the battery) to disconnect it.
-
-
-
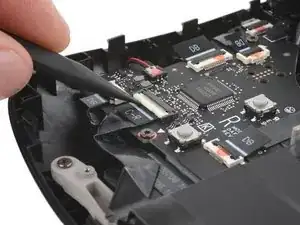
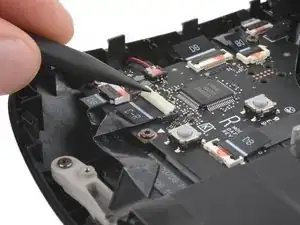
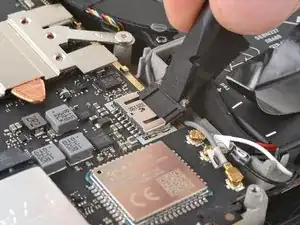
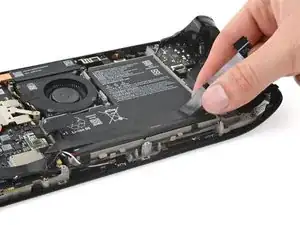
Use a spudger to flip up the small white locking flap on the right button board interconnect cable ZIF connector.
-
Use tweezers or your fingers to grip the cable's pull tab and slide it straight out of its socket to disconnect it.
-
-
-
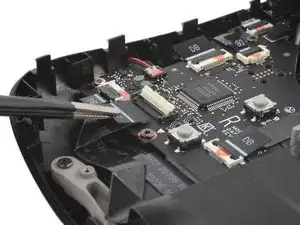
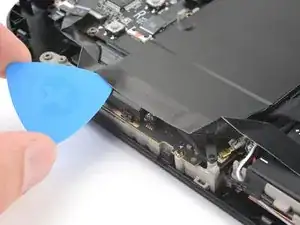
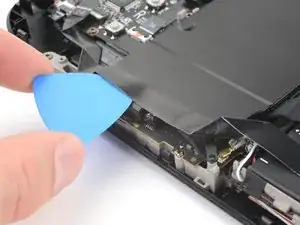
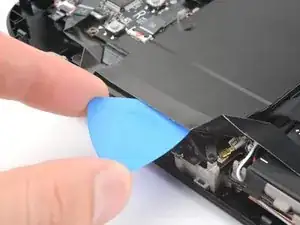
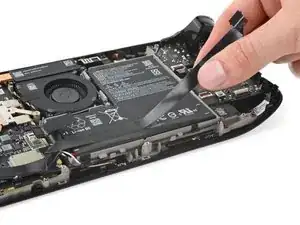
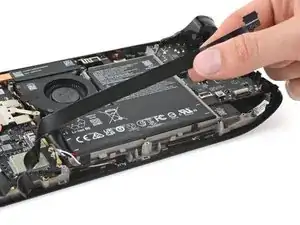
Insert an opening pick between the interconnect cable and the motherboard shield.
-
Slide your pick along the shield to separate the cable.
-
-
-
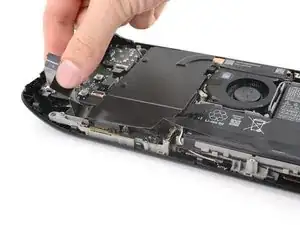
Use your T6 Torx driver to remove the two 3.8 mm‑long screws securing the top left and bottom left corners of the motherboard shield.
-
-
-
If the speaker cable is taped to the bottom edge of the motherboard shield, gently peel it off.
-
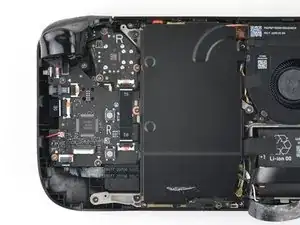
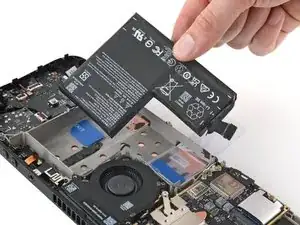
Remove the motherboard shield.
-
-
-
Peel the interconnect cable from the battery.
-
If you taped the cable in place, remove the tape.
-
-
-
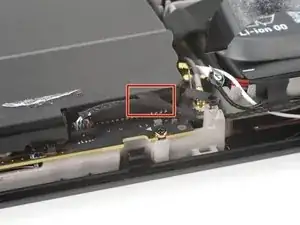
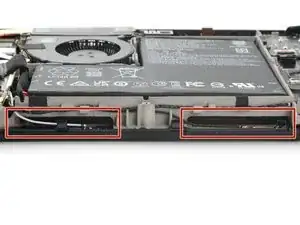
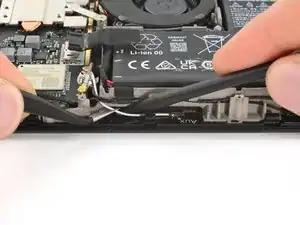
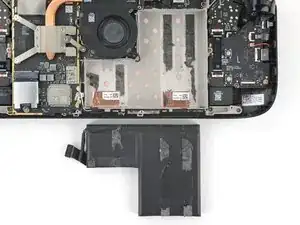
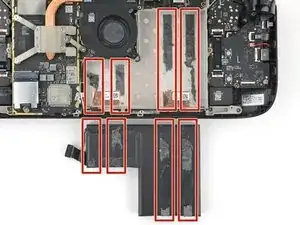
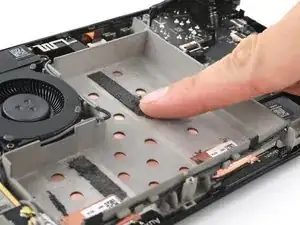
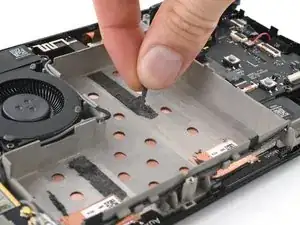
Two slots along the bottom edge of the midframe allow you to insert cards underneath the battery.
-
-
-
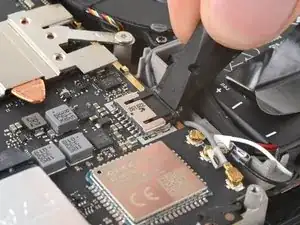
Use tweezers to grip the black antenna cable in front of the right slot in the midframe.
-
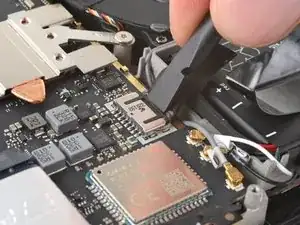
Gently pull the antenna cable to the right and use a spudger to press the cable down and out of the way of the slot.
-
Repeat for the white antenna cable in front of the left slot in the midframe.
-
-
-
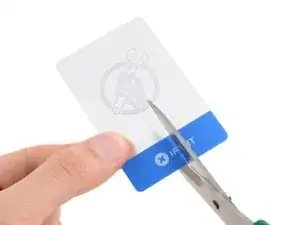
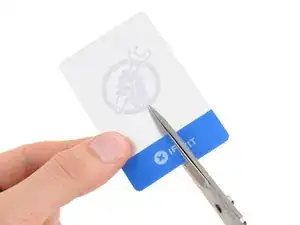
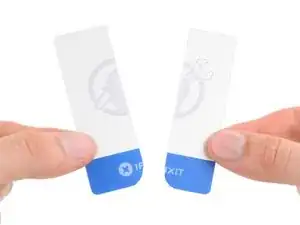
Use scissors to cut a plastic card in half, longways.
-
Cut the corners of the cards to be round, as sharp edges can scrape or puncture the battery, potentially causing a fire hazard.
-
-
-
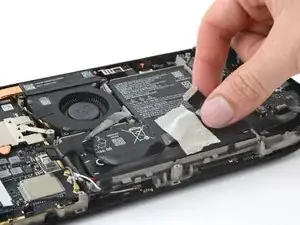
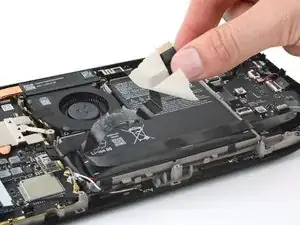
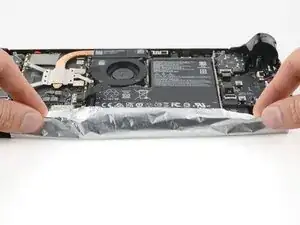
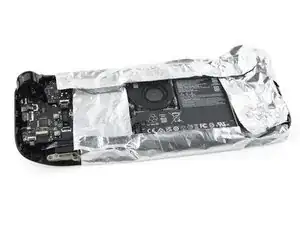
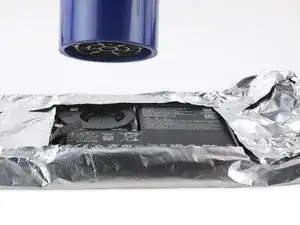
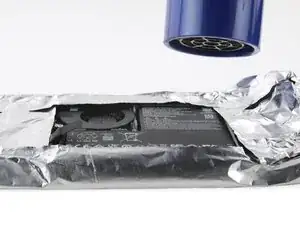
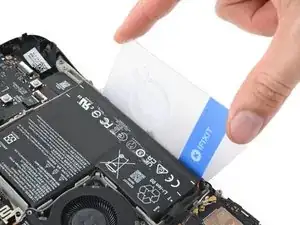
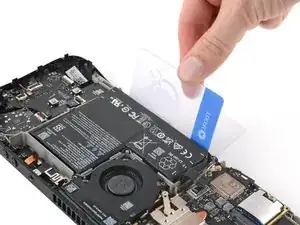
Use a hair dryer or heat gun on a "low" setting to slowly heat the battery and soften the adhesive underneath.
-
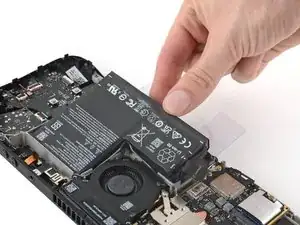
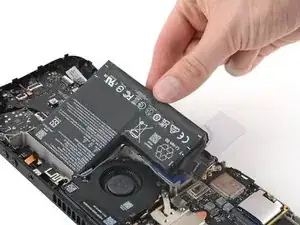
Remove the aluminum foil.
-
-
-
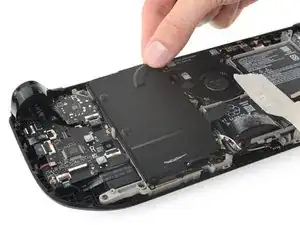
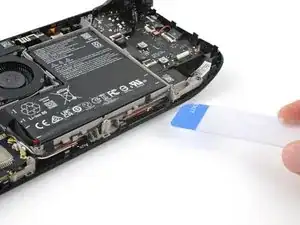
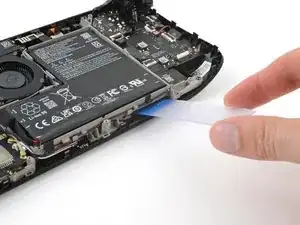
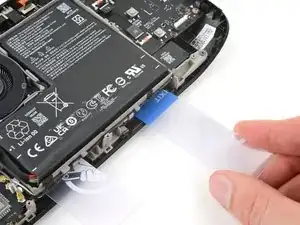
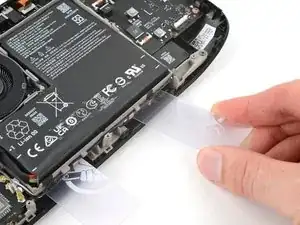
Insert the tip of one of the plastic cards into the right slot in the midframe and under the battery.
-
Insert the tip of the other card into the left slot in the midframe and under the battery.
-
-
-
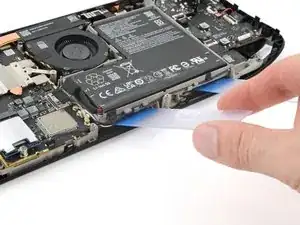
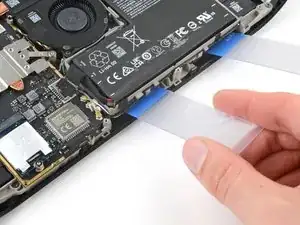
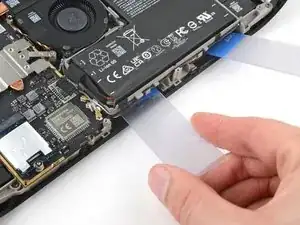
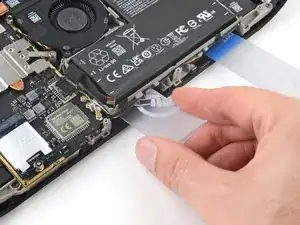
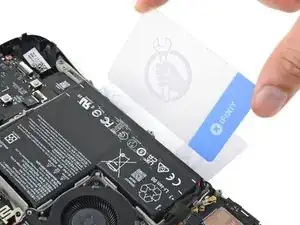
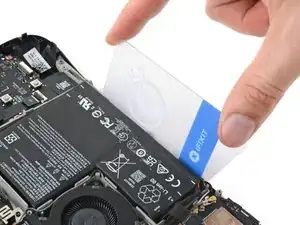
Insert the flat edge of another, uncut plastic card between the bottom edge of the battery and the midframe.
-
Pry up the battery with a steady force to loosen the remaining adhesive along the bottom edge.
-
-
-
Remove the old adhesive from the midframe by rolling chunks up with your fingers and peeling them off.
-
Dampen a microfiber or lint-free cloth with a few drops of isopropyl alcohol (over 90%) and wipe the midframe clean. Don't let any liquid drip through the circular cutouts in the battery recess.
-
Remove the protective liner from one side of each replacement adhesive strip. Apply each strip to the battery, using the old battery as reference for where it should go.
-
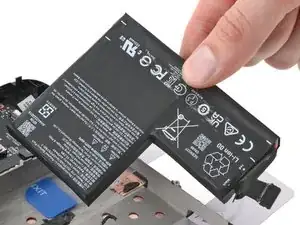
Press the new battery firmly into place.
-


To reassemble your device, follow these instructions in reverse order.
For optimal performance, calibrate your newly installed battery after completing this guide.
Take your e-waste to an R2 or e-Stewards certified recycler.
Repair didn’t go as planned? Try some basic troubleshooting, or ask our Steam Deck OLED answers community for help.

The pull tab can come off revealing the wires. The instructions should be updated to reflect that catch.
Khurram Tariq -