Introduction
Tools
-
-
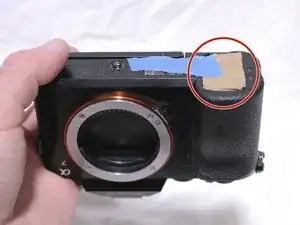
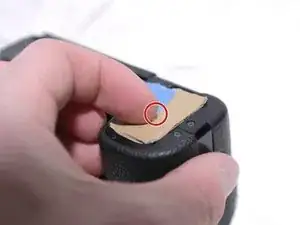
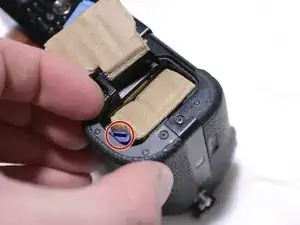
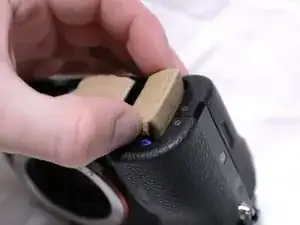
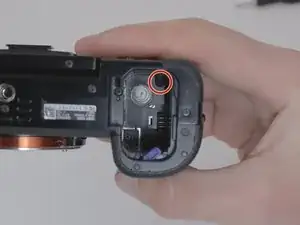
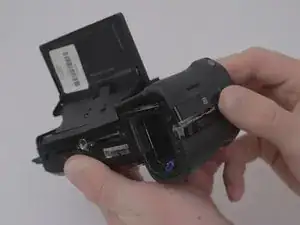
Flip the camera upside down, and observe where the battery door and switch are located on the camera.
-
-
-
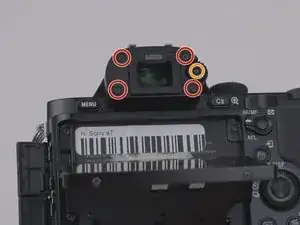
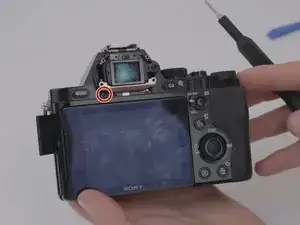
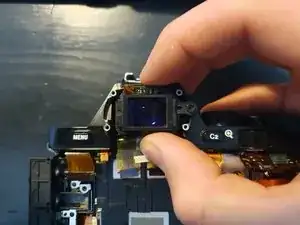
Remove the eyepiece cover by removing the four M1.5x4mm screws with a PH00 Phillips screwdriver.
-
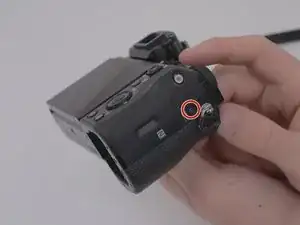
Remove the M1.5x4mm screw that retains the adjustment wheel with a PH00 Phillips screwdriver.
-
-
-
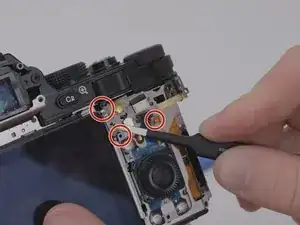
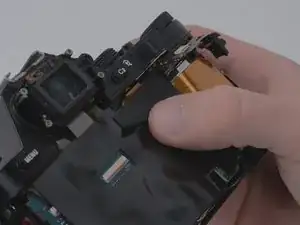
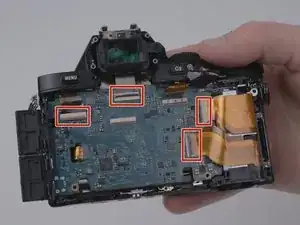
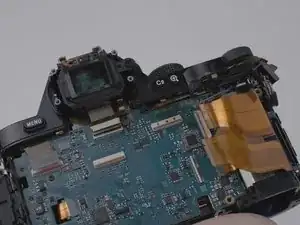
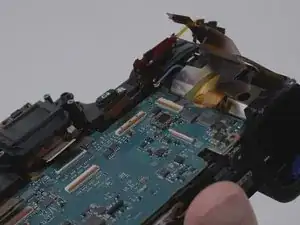
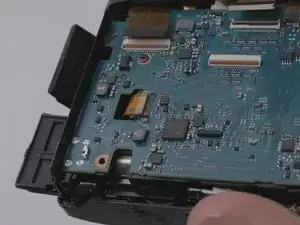
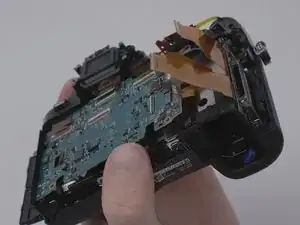
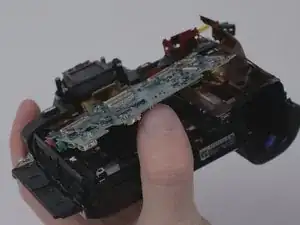
Place the tweezers on the side of the circuit board and lift it from underneath so as to free it from the three retaining tabs.
-
-
-
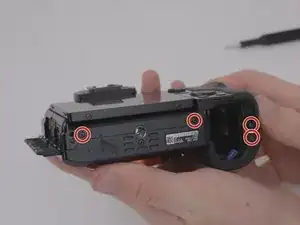
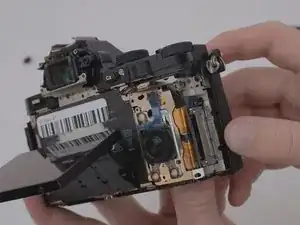
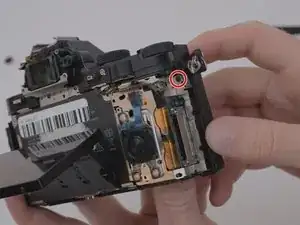
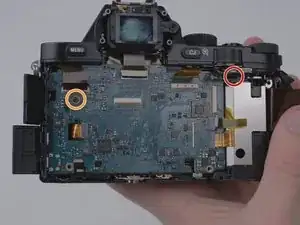
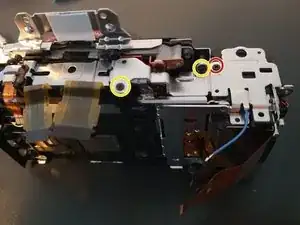
Remove one M1.5x2mm screw with a PH00 Phillips screwdriver.
-
Remove one coarse threaded 5mm screw with a PH00 Phillips screwdriver.
-
-
-
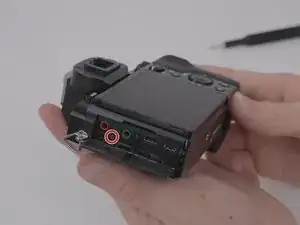
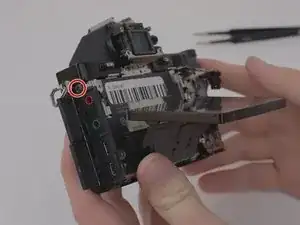
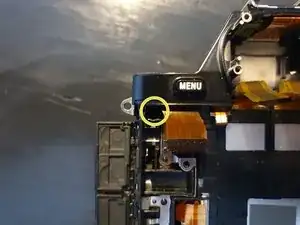
Remove the M1.5x2mm screw.
-
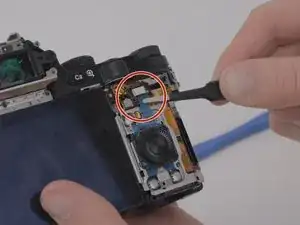
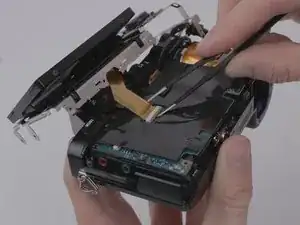
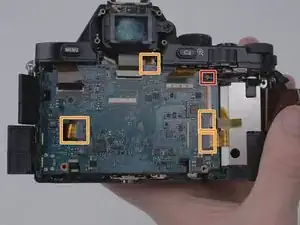
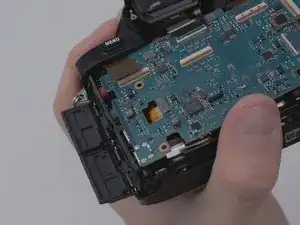
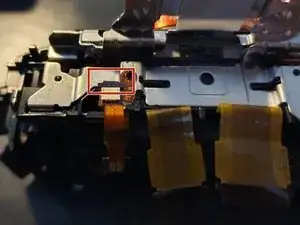
Remove the connector on the side of the camera.
-
Pull out the battery housing to the back.
-
-
-
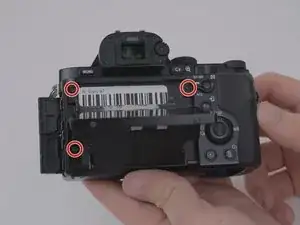
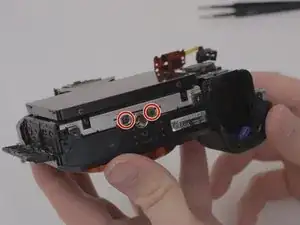
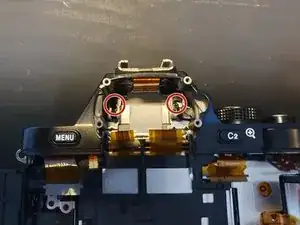
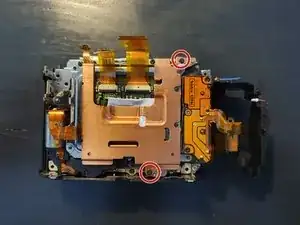
Remove the two M1.5x5mm screws
-
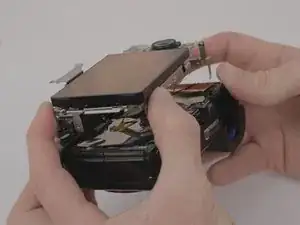
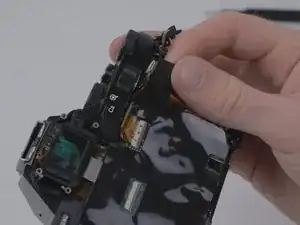
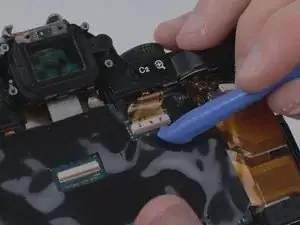
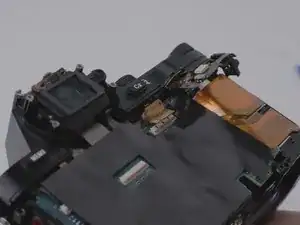
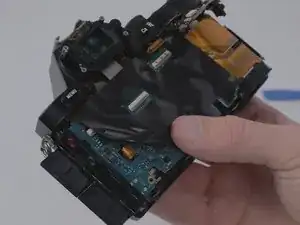
Remove the copper plate from by lifting it from the right side.
-
-
-
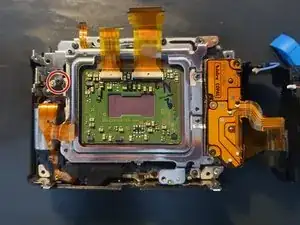
Remove the M1.5x5mm self tapping screw.
-
Remove the four small support plates.
-
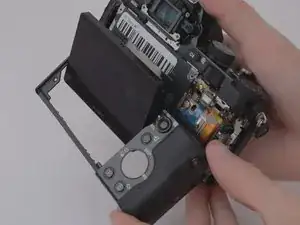
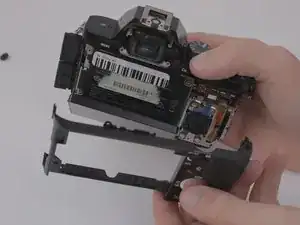
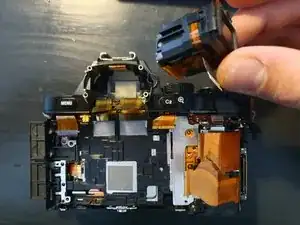
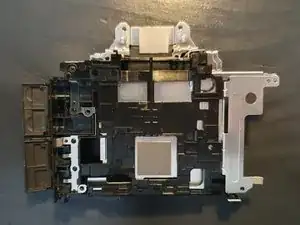
Remove the front cover of the camera.
-
To reassemble your device, follow these instructions in reverse order.
3 comments
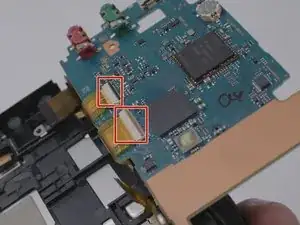
Incomplete /slightly incorrect guide, missed some connectors on the board as in the photos they were already unplugged so it almost caused me to rip a ribbon cable.
Jaked -
Could you please let me know the exact step where the instructions are missing so that the missing information can be added? I hope this guide was still from value for you and that you could repair your gear!
Marco -
Very nice guide, it helped me repair my A7 locked shutter (which mechanism was blocked by a small piece of metal). On step 19 there was a small ribbon that was missing in your guide, you can see it is already removed on the top left. There were a couple more small details, but overall such fantastic help, thank you!!
