Introduction

This guide details how to replace a malfunctioning fan in the Sega Dreamcast.

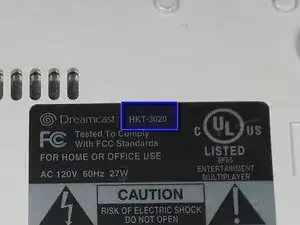
Be sure to replace the fan with one corresponding to your Model Number. Refer to the Top Cover Disassembly Guide for instructions on where to find your model number.

  1. rdFJlNVwMtT3hJRD
    rdFJlNVwMtT3hJRD
    BGojrPldMPBm4Yew
    • Verify that the console is disconnected from the AC outlet before you begin.

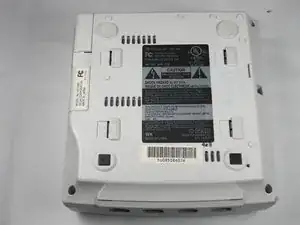
    • Flip the console over on its back.

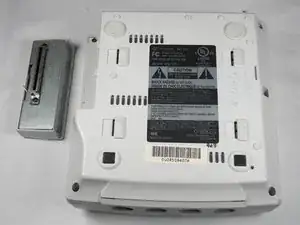
    • Take note of your model number, in case replacement parts are needed.

  2. HDbDfaw3TOGBMCHi
    HDbDfaw3TOGBMCHi
    b12VKhkOV53BrRt3
    ZxvUK2uvuTY4pH1H
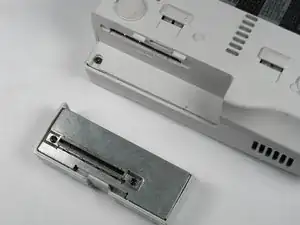
    • Remove the expansion bay by applying pressure to the small clip on the expansion bay while prying it away from the console.

  3. j4mn2GW3UHoTNIAH
    • Locate and remove all four black 12mm Phillips #02 screws from the underside of the console.

    • Note: Remove the expansion bay to locate the fourth screw

  4. KGQFrciudkmBDQJX
    • Internal components can be loose. Be careful that they do not fall out when removing the cover.

    • Turn the console right side up.

    • Remove the top cover by gently lifting the upper portion of the console.

  5. 1wIiMZDBQZFPTkcv
    • Remove the white fan header by gently pulling it away from from the controller port.

    • The white fan header may already be detached if you have completed the Controller Port Disassembly Guide.

  6. rAFBm1RFSarPyiKA
    • Remove the two 8.5mm Philips #00 screws from the fan bracket.

  7. 55CdJtvg1vQvIGFS
    55CdJtvg1vQvIGFS
    yRF1Wp3LH3JLrCCL
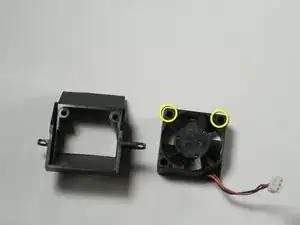
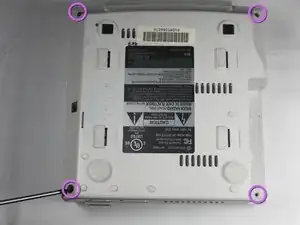
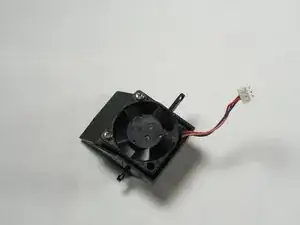
    • Remove the two 17.5mm Philips #00 screws from the fan bracket.

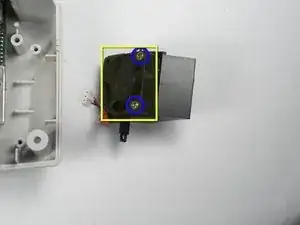
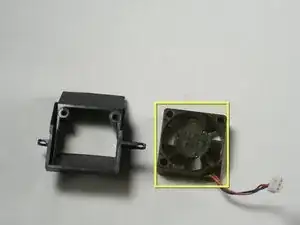
    • Remove the fan from the bracket.

  8. t5dRcP1MVCVkSD1R
    t5dRcP1MVCVkSD1R
    OAXGQd1YKbsVIYL1
    • Connect the new fan to the fan bracket using two 17.5mm Philips #00 screws.

    • Replace the fan bracket in the Dreamcast using two 8.5mm Philips #00 screws.

Conclusion

To reassemble your device, follow these instructions in reverse order.

Thorr686

Member since: 07/11/09

472 Reputation

0 comments