Introduction

A guide to remove the Top Cover of the Sega Dreamcast.

  1. rdFJlNVwMtT3hJRD
    rdFJlNVwMtT3hJRD
    BGojrPldMPBm4Yew
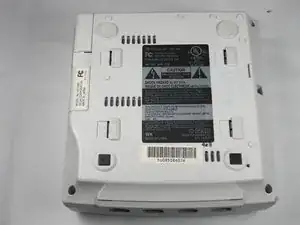
    • Verify that the console is disconnected from the AC outlet before you begin.

    • Flip the console over on its back.

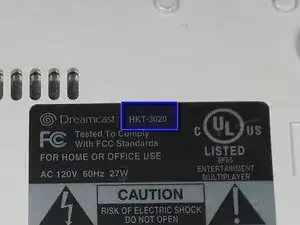
    • Take note of your model number, in case replacement parts are needed.

  2. HDbDfaw3TOGBMCHi
    HDbDfaw3TOGBMCHi
    b12VKhkOV53BrRt3
    ZxvUK2uvuTY4pH1H
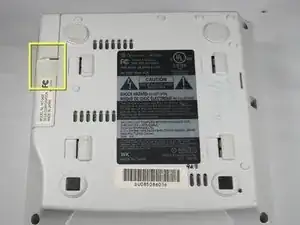
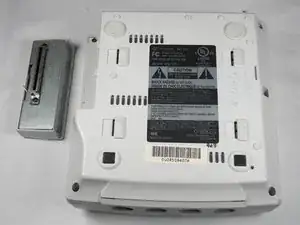
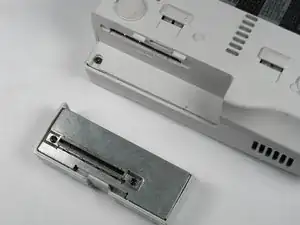
    • Remove the expansion bay by applying pressure to the small clip on the expansion bay while prying it away from the console.

  3. j4mn2GW3UHoTNIAH
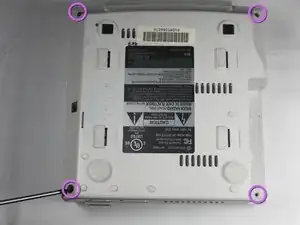
    • Locate and remove all four black 12mm Phillips #02 screws from the underside of the console.

    • Note: Remove the expansion bay to locate the fourth screw

  4. KGQFrciudkmBDQJX
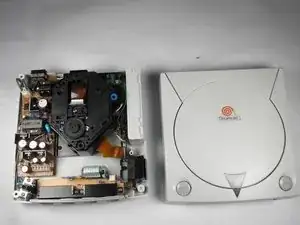
    • Internal components can be loose. Be careful that they do not fall out when removing the cover.

    • Turn the console right side up.

    • Remove the top cover by gently lifting the upper portion of the console.

Conclusion

To reassemble your device, follow these instructions in reverse order.
wkwong

Member since: 14/11/09

517 Reputation

0 comments