Introduction
Use this guide to replace a cracked or faulty OLED display on your Samsung Galaxy S7.
Be aware that the video guide does not match the step-by-step guide below, it is an older edition of the guide.
The video guide recommends removing the battery, SIM tray, and motherboard. This is not necessary, but it does make heating the phone safer. This procedure is only recommended if you're replacing the battery and the screen at the same time.
This guide instructs you to replace only the display while leaving the original frame, logic board, and battery in place. Note: some replacement screens for this phone come pre-installed in a new frame (a.k.a. chassis), which requires you to transplant all of your phone's internals and install a new battery. Make sure you have the correct part before starting this guide.
If the frame is damaged or bent, it's important to replace it, or else the new screen may not mount correctly and can suffer damage from uneven pressure.
The process of separating the display from the frame usually destroys the display, so don't follow this guide unless you intend to replace the display.
If your screen is badly shattered, wear eye protection, and apply a screen-protector, or tape, to the display to help contain glass shards.
Tools
Parts
-
-
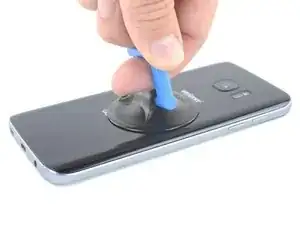
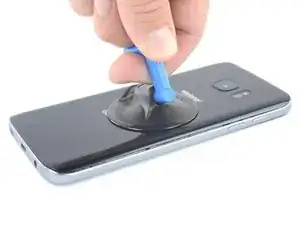
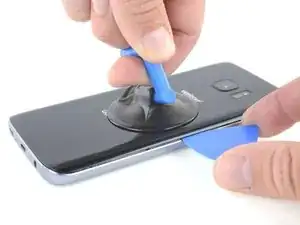
When the back panel is warm to the touch, apply a suction cup as close to the heated edge of the phone as you can while avoiding the curved edge.
-
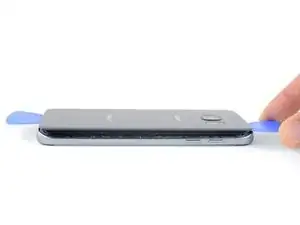
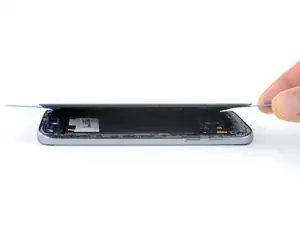
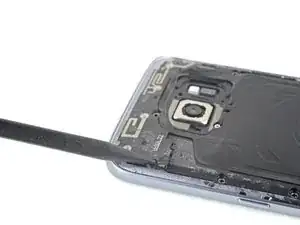
Lift on the suction cup and insert an opening pick under the rear glass.
-
-
-
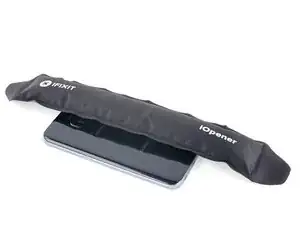
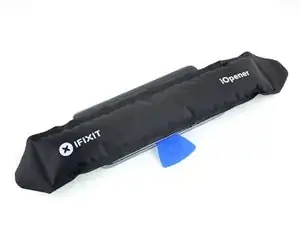
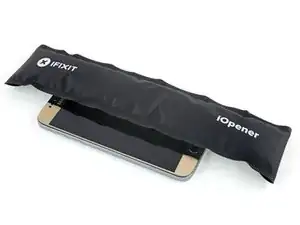
Once you have the pick firmly inserted into the glass, reheat and reapply the iOpener to soften the adhesive.
-
-
-
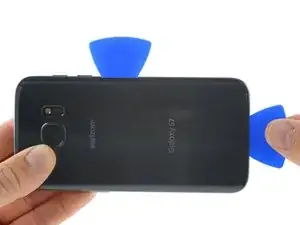
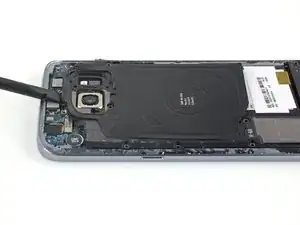
Slide the opening pick down along the side of the phone, separating the adhesive.
-
Leave the pick in place and grab a second pick as you proceed to the next step. Leaving the pick inserted can help prevent the glue you just separated from re-adhering.
-
-
-
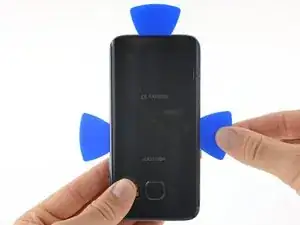
Repeat the previous heating and cutting procedure for the remaining three sides of the phone.
-
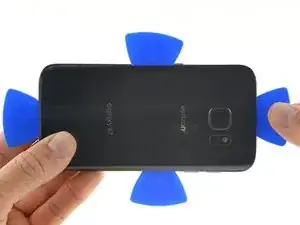
Leave an opening pick in each edge of the phone as you continue to the next to prevent the adhesive from resealing.
-
-
-
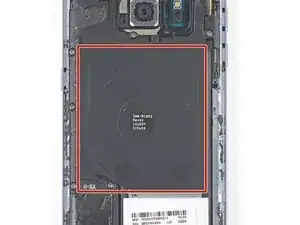
If you're cleaning the midframe surface with isopropyl alcohol, be careful not to get any alcohol on the wireless charging coil. The coil coating will break down if it contacts alcohol.
-
-
-
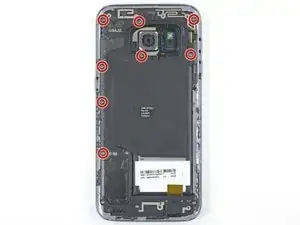
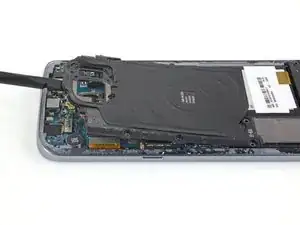
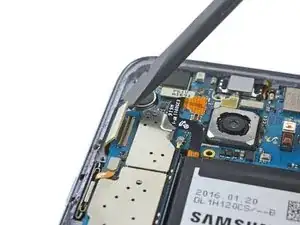
Insert the tip of a spudger into the small notch on the left side of the antenna assembly, and pry the assembly up and out of the frame.
-
Remove the antenna assembly.
-
-
-
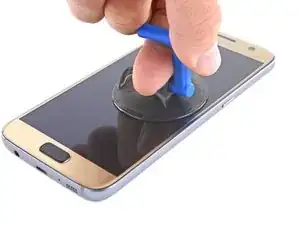
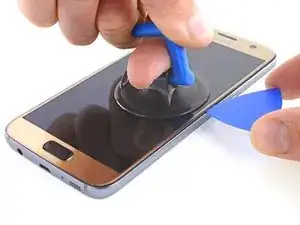
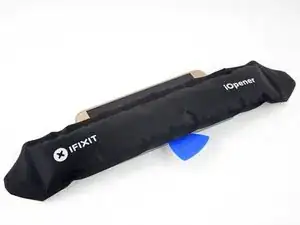
Once the screen is warm to the touch, apply a suction cup as close to the heated edge of the phone as you can.
-
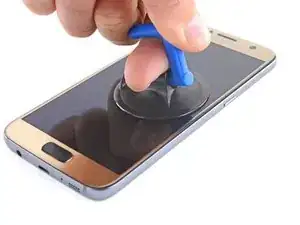
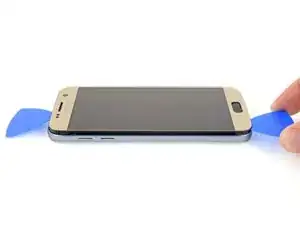
Lift on the suction cup, and insert an opening pick under the display assembly.
-
-
-
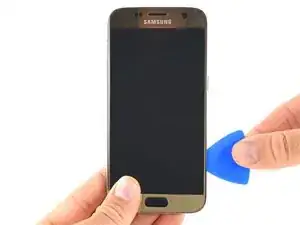
Slide the opening pick down the side of the phone, separating the adhesive.
-
Go slowly so that the tip doesn't slip out of the seam. If sliding becomes difficult, reheat and reapply the iOpener.
-
Leave the pick in place and grab a second pick as you proceed to the next step. Leaving the pick inserted can help prevent the glue you just separated from re-adhering.
-
-
-
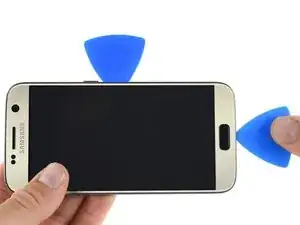
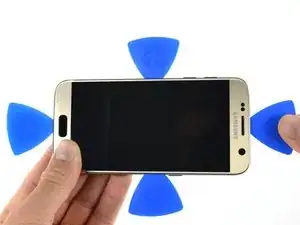
Repeat the previous heating and cutting procedure for the remaining three sides of the phone.
-
Leave an opening pick on each side as you continue to prevent the adhesive from resealing.
-
-
-
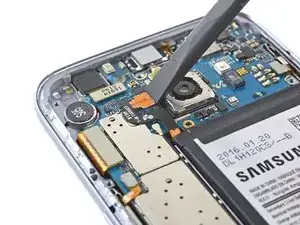
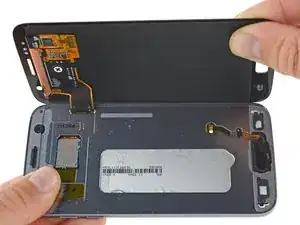
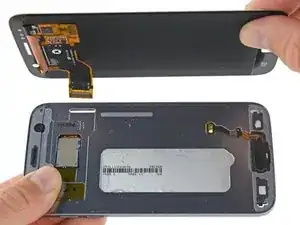
Pry up the side of the display opposite the display cable so that the cable acts like a hinge as the phone opens.
-
-
-
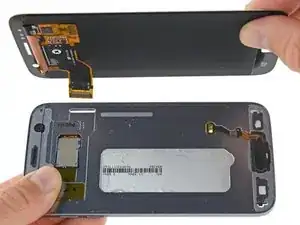
Carefully lift the display away from the mid frame, gently pulling the display connector through the hole in the mid frame.
-
Remove the display.
-
-
-
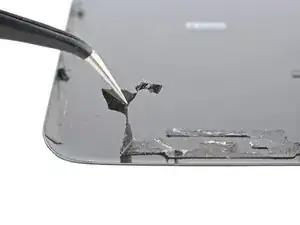
After removing all traces of glue and glass from the frame, clean the adhesion areas with 90% (or higher) isopropyl alcohol and a lint-free cloth or coffee filter. Swipe in one direction only, not back and forth.
-
To reassemble your device, apply the adhesive to the rear cover and follow these instructions in reverse order.
29 comments
The screen replacement went smooth. I just wish it included the adhesive. I didn't see the note where the adhesive needed to be ordered in addition to the screen. Otherwise everything went well.
Thanks
Samsung s7 ekran değişimi orjinal parça satın aldığınız zaman bu kadar uğraşmanıza gerek yok.
Yapıştırıcı da sadece arka kapağı yapıştırmak için gerekli oluyor
For the price of the screen, I can replace it in a Samsung repair center...
I just need to replace the glass, not all of the AMOLED touch screen... :-( Sorry but this didn't help me.
Darky -
How much cost u paid to service centre for original display for samsung s7
You can not replace just the glass without special equipment (hot plate, laminator etc.)
I'm wanting to help my friend do this but I don't have a heat gun. Would a blow dryer work to loosen the glue or does it need to be hotter? He got a quote for 200 from a shop to fix it but they said it takes a month…lame! I've replaced screens in many tables and phones and I have all the necessary tools other than the heat gun and the replacement screen components obviously.
@Adam Bacon Heat guns are quite inexpensive. The model she uses in this video runs about $20 or less in most shops. A blow dryer may work, but it’s difficult to say for certain. The adhesive Samsung uses is pretty robust. If you find yourself fixing a lot of devices you should really consider investing in a heat gun.
E West -
I did this repair. A heat gun isn’t really hot enough to remove the screen without destroying it. A hair drying isn’t going to touch the glue.
armand -
Use a hair dryer and a spudger and a iSesamo to pop that bad boy off. No sense in buying a heat gun for one use.
It works great I got my Galaxy S7 apart within a hour using a hair dryer
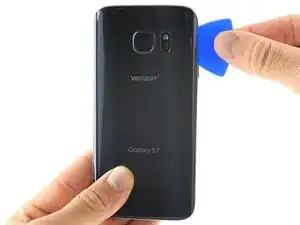
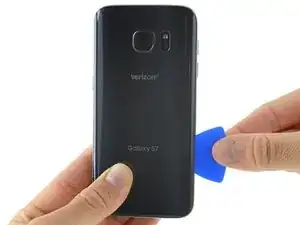









I used a heat gun and heated it a little too much. The color of the rear glass is just a sticker on a clear cover. Due to this I tore the sticker off. Now the back cover is see through, which isn’t a bad thing but the repair was for a customer.
Kevin Bishop -
When using the iOpener, you may need more than 30 seconds, especially in compact or low wattage microwaves. Take this slowly, though, and be extremely careful, as it is easy to overheat your iOpener. Remember, you can always heat it up a tad more, but you cannot undo overheating it.
Jacob Pratt -
I used an adjustable heat gun and set it to 400 degrees (F). That was enough to seperate the glass without having to worry about exposure times of the heat. The front of the phone was just fine. Just be ready to use a bunch of picks to slide in between because they will be needed this way.
Ryan Schumerth -
I went from the bottom center up, using one ifixit tools, one suction cup and one pick.
Pick just popped in with some minor pressure.
Laid heat pack along base of phone 2 mins first and worked up slowly, rotating picks as I went. Had to heat iopener over several 30 second bursts
Lauren Burt -
This is useless because the phone does not recognize the new battery and will behave like on the old one
Search for “battery count xda"
Albert Einstein -
That is an interesting discovery! Thanks for pointing it out—I’ll have to look into it.
Even if this is true, replacing the battery should still give restore a significant amount of life, since the max voltage affects a minor amount of the battery’s capacity. If you charge a worn battery and a new battery to the same lower max voltage, the worn battery’s voltage will dip more under use and will be depleted faster.
Arthur Shi -
Thanks for the guide! It helped me replace a friend's battery with no problems!
Darren Crook -
I will never replace a screen again, and don’t recommend it. Not for phones nowadays. Once upon a time everything was screwed together, and you might even get the same quality or better screen when buying from eBay. And having the phone repaired was nearly the cost of the phone. Now, it’s the reverse. Removing the glued back and screen and cleaning off all the glue for a clean re-seal is an ordeal that takes multiple hours, AND, often the screen you buy on eBay is NOT OLED, but an LCD, and a blurry one at that. And the local phone repair store will replace the screen with an OLED, reliably, same day turn around, for not much more than the cost of an actual OLED screen, because they have the parts in bulk, and the tools and experience to do it quickly. Never again!
domarius -
have you ever had one that just wont open at all? i can not get mine to open to replace the battery i have heated with a heat gun and attached suction cup and it will not lift at all
Carla James -
Hi Carla,
I've definitely had that experience before. The adhesive is very strong, and the curved back makes getting the initial seam very difficult. I'd suggest focusing on one small area on the edge. Apply steady force when you pull, and repeat a few times to loosen the adhesive. Eventually it will give and present a small gap.
Arthur Shi -