Introduction
Use this guide to replace the loudspeaker assembly in your Samsung Galaxy S7.
Tools
Parts
-
-
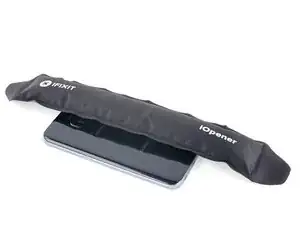
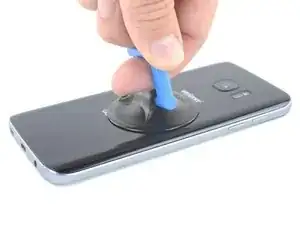
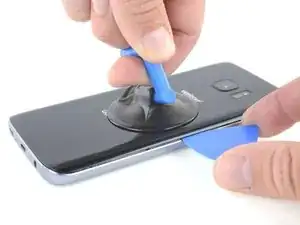
When the back panel is warm to the touch, apply a suction cup as close to the heated edge of the phone as you can while avoiding the curved edge.
-
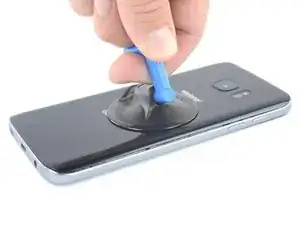
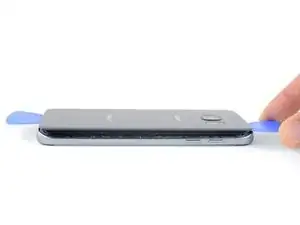
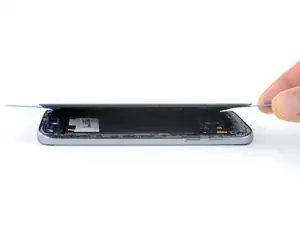
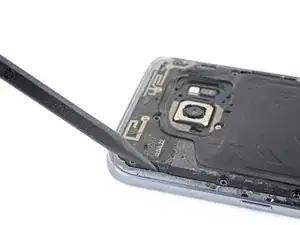
Lift on the suction cup and insert an opening pick under the rear glass.
-
-
-
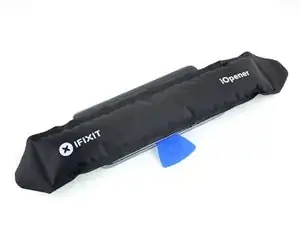
Once you have the pick firmly inserted into the glass, reheat and reapply the iOpener to soften the adhesive.
-
-
-
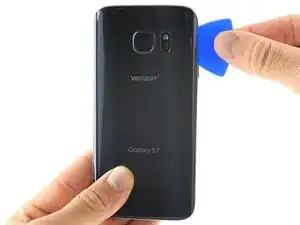
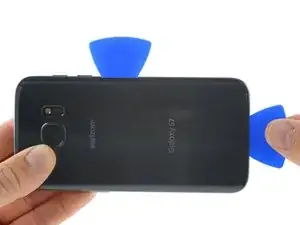
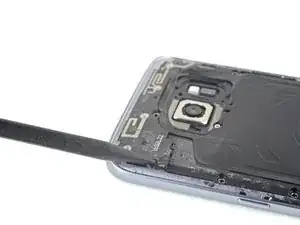
Slide the opening pick down along the side of the phone, separating the adhesive.
-
Leave the pick in place and grab a second pick as you proceed to the next step. Leaving the pick inserted can help prevent the glue you just separated from re-adhering.
-
-
-
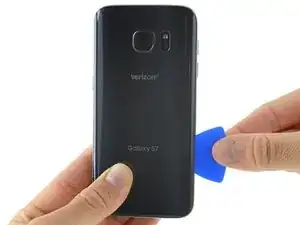
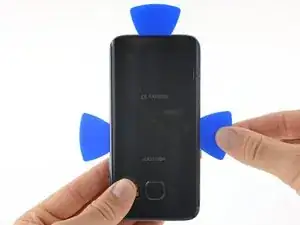
Repeat the previous heating and cutting procedure for the remaining three sides of the phone.
-
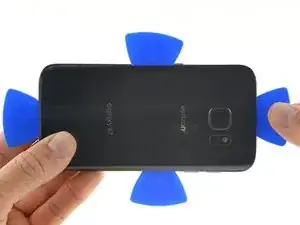
Leave an opening pick in each edge of the phone as you continue to the next to prevent the adhesive from resealing.
-
-
-
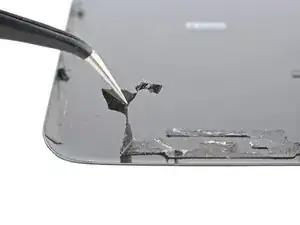
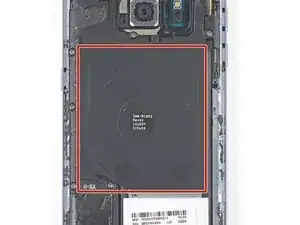
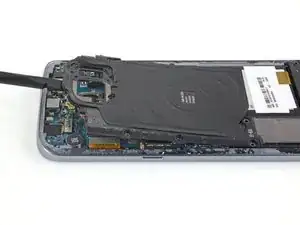
If you're cleaning the midframe surface with isopropyl alcohol, be careful not to get any alcohol on the wireless charging coil. The coil coating will break down if it contacts alcohol.
-
-
-
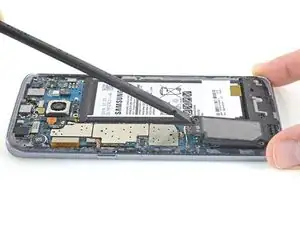
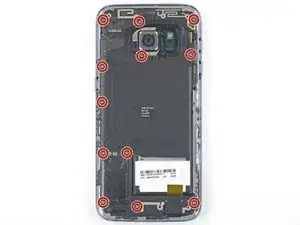
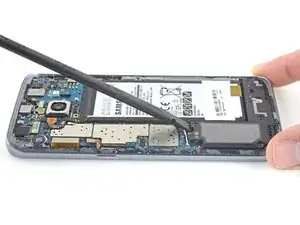
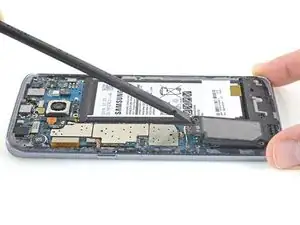
Insert the tip of a spudger into the small notch on the left side of the antenna assembly, and pry the assembly up and out of the frame.
-
Remove the antenna assembly.
-
To reassemble your device, follow these instructions in reverse order.
One comment
Hey, I've got a question regarding the last image of this tutorial. Right on the speaker assembly you can see this shiny material. I scrapped that while doing a repair and it had a ton of silvery stuff in it. Do you know if it is harmful?
P529 -



I used a heat gun and heated it a little too much. The color of the rear glass is just a sticker on a clear cover. Due to this I tore the sticker off. Now the back cover is see through, which isn’t a bad thing but the repair was for a customer.
Kevin Bishop -