Introduction
Follow this guide to learn how to replace the display assembly on your Samsung Galaxy S6 Edge.
Use this guide if you are replacing the display assembly only. If your replacement part comes with a frame, follow this guide instead.
If the frame is damaged or bent, it's important to replace it, or else the new screen may not mount correctly and can suffer damage from uneven pressure.
The process of separating the display from the frame usually destroys the display, so don't follow this guide unless you intend to replace the display.
This guide involves removing the rear glass. Removing the rear glass destroys the adhesive holding it in place. Follow this guide to reinstall the rear glass.
Tools
Parts
-
-
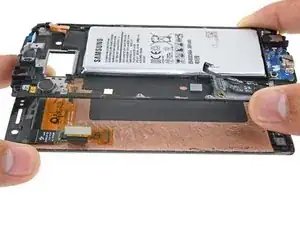
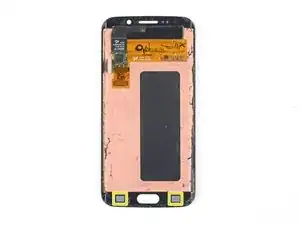
If your replacement part looks like the first image, follow the display assembly and frame replacement guide.
-
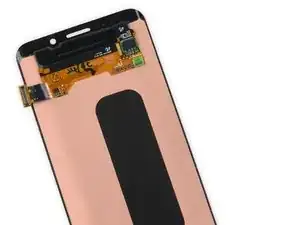
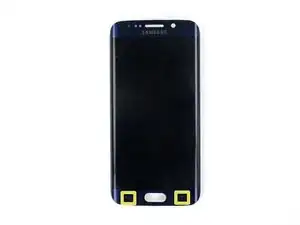
If your replacement part looks like the second image, follow the display assembly replacement guide.
-
-
-
Insert a paper clip or SIM eject tool into the hole in the SIM card slot on top of the phone.
-
Press to eject the SIM card tray.
-
Remove the SIM card tray from the phone.
-
-
-
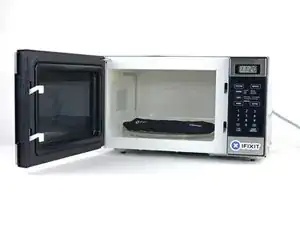
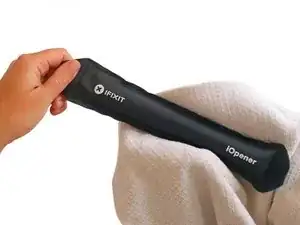
Heat the iOpener for thirty seconds.
-
Throughout the repair procedure, as the iOpener cools, reheat it in the microwave for an additional thirty seconds at a time.
-
-
-
Remove the iOpener from the microwave, holding it by one of the two flat ends to avoid the hot center.
-
-
-
Fill a pot or pan with enough water to fully submerge an iOpener.
-
Heat the water to a boil. Turn off the heat.
-
Place an iOpener into the hot water for 2-3 minutes. Make sure the iOpener is fully submerged in the water.
-
Use tongs to extract the heated iOpener from the hot water.
-
Thoroughly dry the iOpener with a towel.
-
Your iOpener is ready for use! If you need to reheat the iOpener, heat the water to a boil, turn off the heat, and place the iOpener in the water for 2-3 minutes.
-
-
-
Lay the heated iOpener over the rear panel for about two minutes to loosen the adhesive around the edge of the glass.
-
Shift the iOpener to heat the remaining section of the panel for another two minutes.
-
-
-
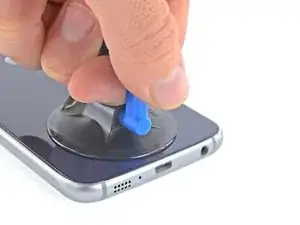
Once the rear glass is hot to the touch, apply a suction cup near the bottom edge of the glass.
-
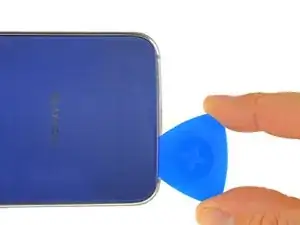
Lift on the suction cup to create a small gap underneath the rear glass, and insert an opening pick into the gap.
-
-
-
Slide the pick along the bottom edge of the phone to slice through the adhesive securing the rear glass.
-
-
-
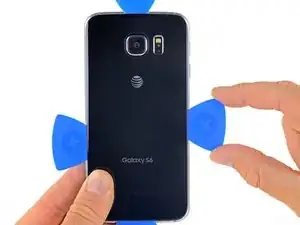
Repeat the heating and cutting procedure for the remaining three sides of the phone.
-
Leave an opening pick under each edge to prevent the adhesive from resealing.
-
-
-
Use tweezers to peel away any remaining adhesive from the phone's chassis.
-
Clean the adhesion areas with high concentration isopropyl alcohol (at least 90%) and a lint-free cloth. Swipe in one direction only, not back and forth. This will help prep the surface for the new adhesive.
-
Peel the adhesive backing off of the new rear glass, carefully line up one edge of the glass against the phone chassis, and firmly press the glass onto the phone.
-
-
-
Press down on the back of the battery and lift up on the edges of the midframe to separate it from the rest of the phone.
-
-
-
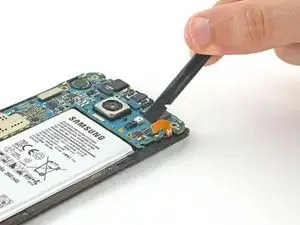
Using the flat end of the spudger, disconnect the battery ribbon cable from the motherboard.
-
-
-
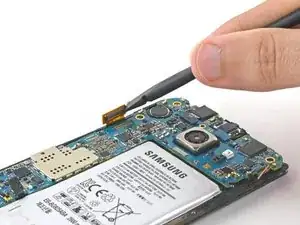
Use the pointed end of a spudger to disconnect the two antenna interconnect cables from the motherboard.
-
-
-
Grip the motherboard on both edges toward the top of the device.
-
Lift the motherboard up and away from the display, taking care not to put too much stress on the daughterboard ribbon cable.
-
-
-
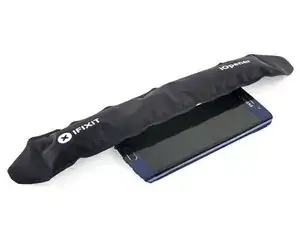
Prepare an iOpener and apply to the left edge of the phone for about a minute.
-
You may need to reheat and reapply the iOpener several times to get the phone warm enough. Follow the iOpener instructions to avoid overheating.
-
-
-
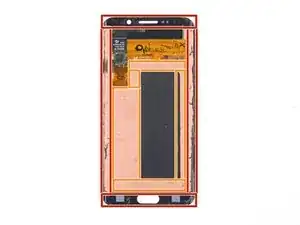
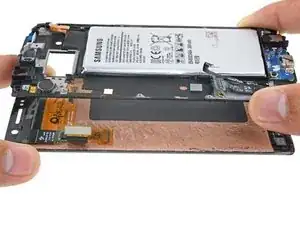
The display edges are secured by strips of strong foam adhesive.
-
Strong double-sided tape covers the entire copper surface.
-
Cut very carefully near the "recent" and "back" capacitive buttons near the bottom of the display. These are adhered to the display and are very easy to tear.
-
-
-
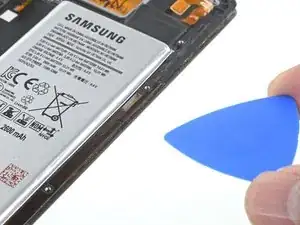
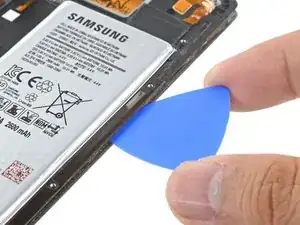
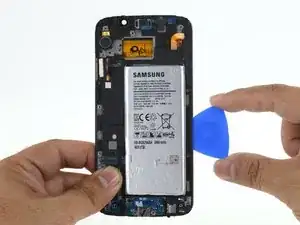
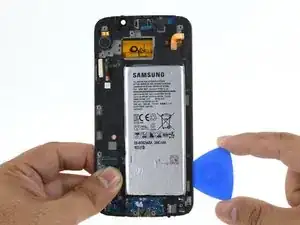
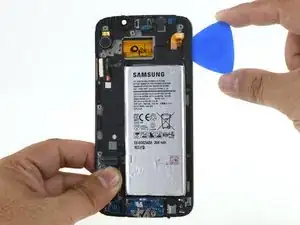
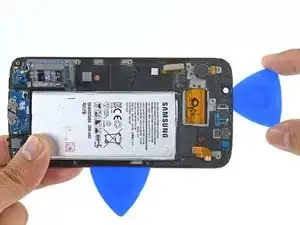
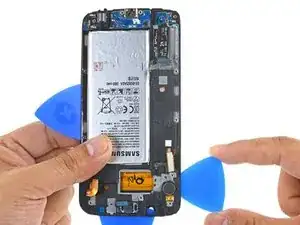
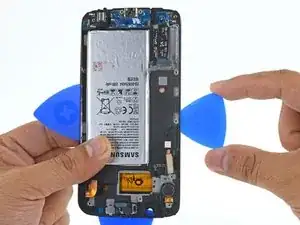
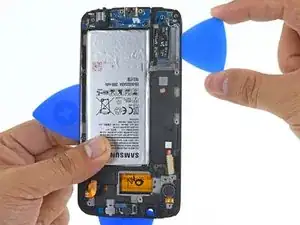
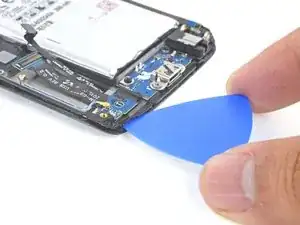
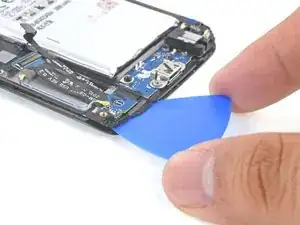
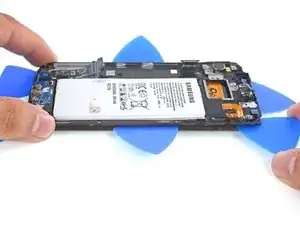
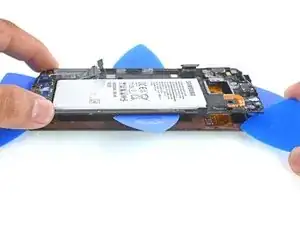
Insert an opening pick into the heated edge of the phone, between the plastic frame and the display.
-
-
-
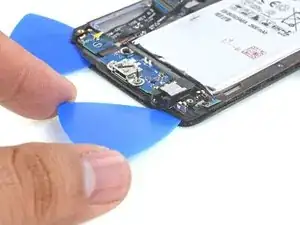
Repeat the cutting process for the top edge.
-
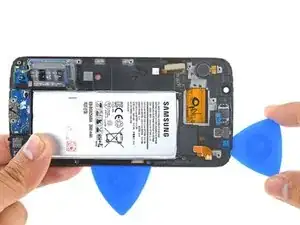
Keep an opening pick in the edge you've worked on to prevent it from re-adhering.
-
-
-
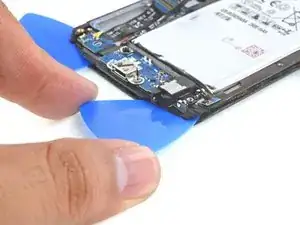
Continue to cut through the adhesive on the other long side of the phone. Try to slice as deep as you can to separate the double-sided tape.
-
Leave a pick in the edge you just cut to prevent the edge from resealing.
-
-
-
Apply a heated iOpener to the bottom edge of the display for about one minute.
-
Gently insert an opening pick between the display and the "back" button, no more than 0.5 (~12 mm) inches deep to avoid damaging the display.
-
Leave the pick there to keep the edge from resealing.
-
-
-
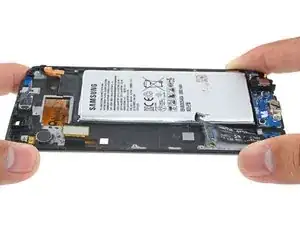
Use your picks as needed to finish separating the adhesive beneath all areas of the display.
-
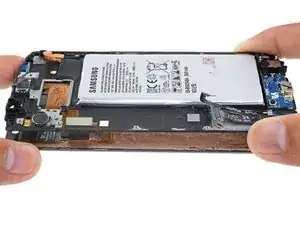
Gently lift the battery edge of the plastic frame upwards, separating the plastic frame from the display.
-
-
-
As you lift the plastic frame away from the display, carefully thread the display ribbon and connector out of the frame.
-
Remove the plastic frame.
-
-
-
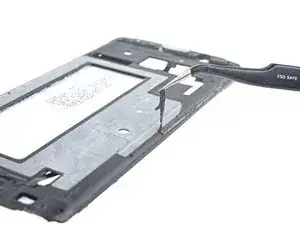
After removing all traces of glue and glass from the frame, clean the adhesion areas with 90% (or higher) isopropyl alcohol and a lint-free cloth or coffee filter. Swipe in one direction only, not back and forth.
-
To reassemble your device, follow these instructions in reverse order.


















First thankful sir that you have a good idea for people to creat like this.. I am very happy from your website its too good. All things i learn from your website thank you..
Lovely Khan -
My issue is my tray is stuck
James middleton -