Introduction
Use this guide to replace the battery in your Samsung Galaxy S10e.
The battery is held in place with strong adhesive. High concentration (over 90%) isopropyl alcohol will make the battery removal process much easier.
For your safety, discharge your battery below 25% before disassembling your phone. This reduces the risk of a dangerous thermal event if the battery is accidentally damaged during the repair.
If your battery is swollen, take appropriate precautions and do not heat your phone.
Tools
Parts
-
-
Turn your phone off completely before you begin this repair.
-
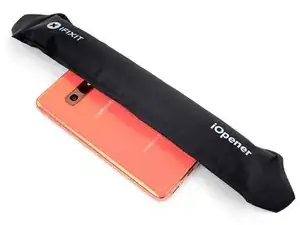
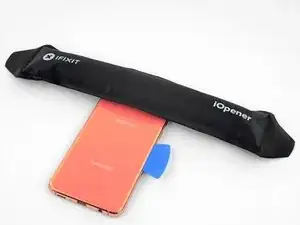
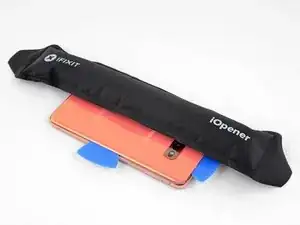
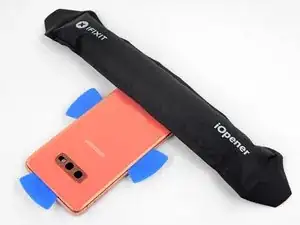
Prepare an iOpener and heat the back of the phone along the right edge for about two minutes. This will help soften the adhesive securing the back cover.
-
-
-
In the following steps, you'll be cutting through the adhesive securing the back cover.
-
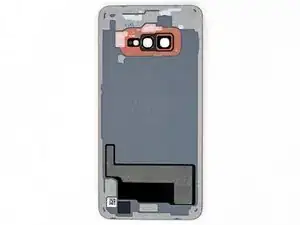
As seen from the outside of the phone, you'll be slicing through the adhesive in the highlighted areas.
-
The adhesive is the thinnest on the right side of the phone, just below the Bixby button.
-
-
-
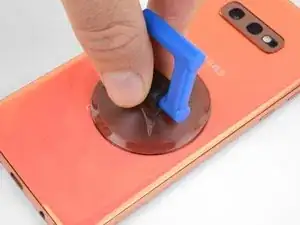
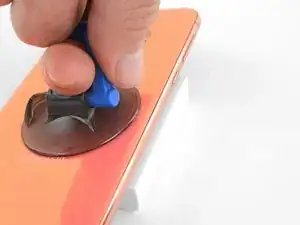
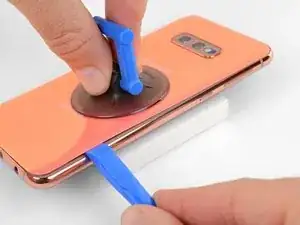
Secure a suction cup to the back cover, as close to the heated edge as possible, just under the Bixby button where the adhesive is thinnest.
-
-
-
Prop up the heated edge of the phone on something that is about 0.5 inches (13 mm) thick. This will angle the phone so that the opening tool is easier to insert.
-
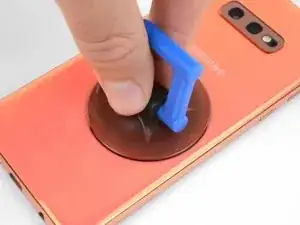
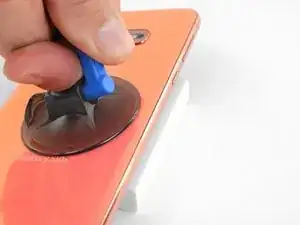
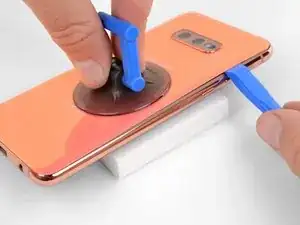
Lift the back cover's right edge with your suction cup, opening a slight gap between the back cover and the frame.
-
This may require a significant amount of force. If you have trouble, apply more heat to further soften the adhesive, and try again. The adhesive cools very fast, so you may need to heat it repeatedly.
-
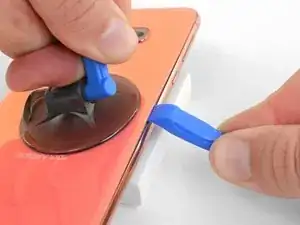
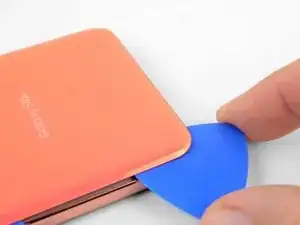
Press the edge of an opening tool into the gap.
-
-
-
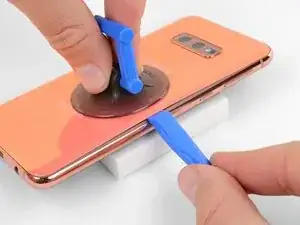
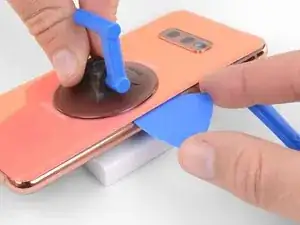
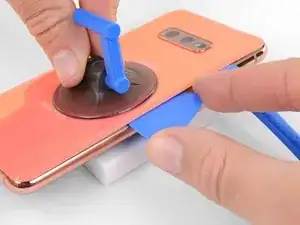
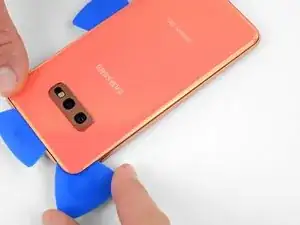
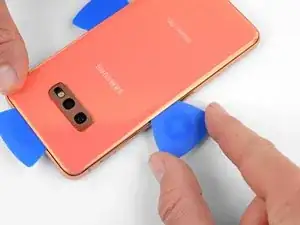
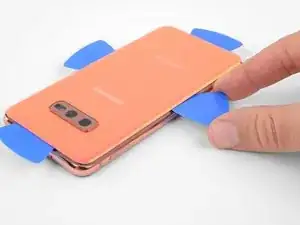
Slide the opening tool along the right edge of the phone to slice through the adhesive securing the back cover.
-
-
-
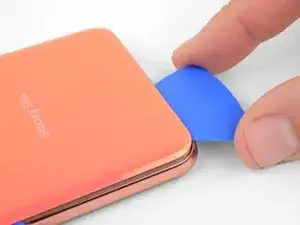
Insert an opening pick into the edge next to the opening tool. Leave the pick here to prevent the separated glue from re-adhering.
-
-
-
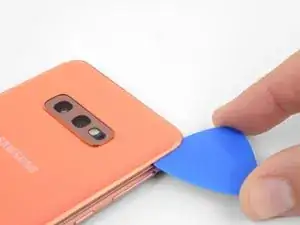
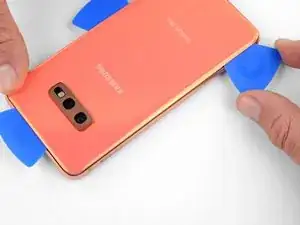
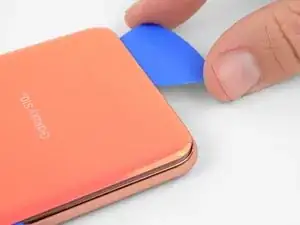
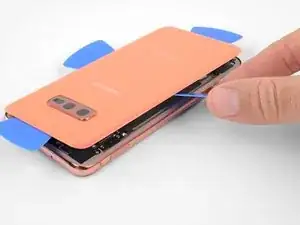
Insert an opening pick near the top right corner of the phone and slide it around the corner and across the top edge of the phone.
-
Leave the opening pick in place to prevent the adhesive from re-adhering.
-
-
-
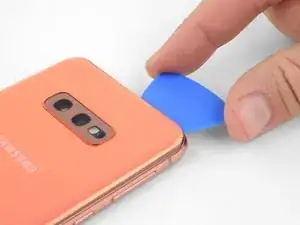
Insert a new opening pick near the top left corner and slide it along the left edge of the phone.
-
Again, leave the opening pick in place in the left edge of the phone to prevent the adhesive from resealing.
-
-
-
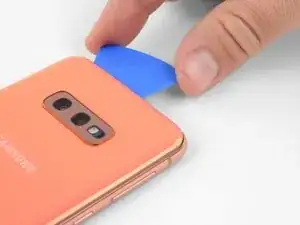
Insert an opening pick near a bottom corner of the phone, and slide it along the bottom edge of the phone to separate the adhesive there.
-
-
-
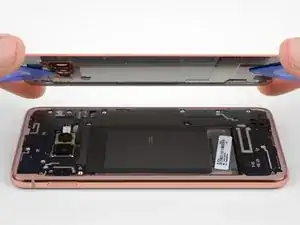
Use the opening picks to very carefully pry up the back cover.
-
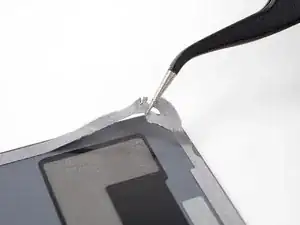
If you encounter any resistance, stop prying and use an opening pick to cut any remaining adhesive.
-
Remove the back cover.
-
-
-
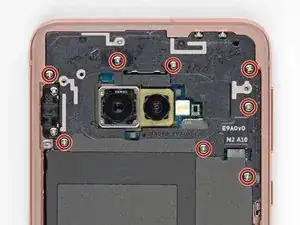
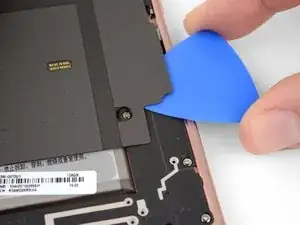
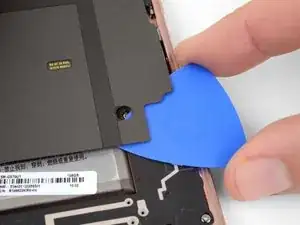
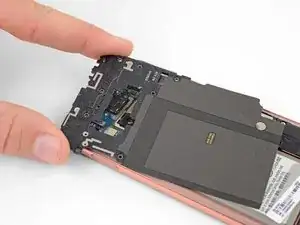
Slide an opening pick under the bottom right corner of the upper midframe to separate the adhesive holding it to the lower midframe.
-
-
-
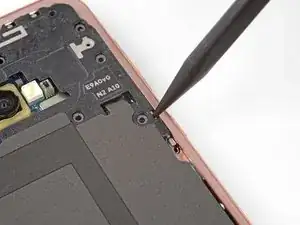
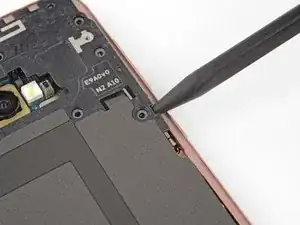
Insert the point of a spudger in the small cutout on the right edge of the plastic part of the upper midframe, near the Bixby button.
-
Use the point of the spudger to pry the midframe up from the phone chassis.
-
-
-
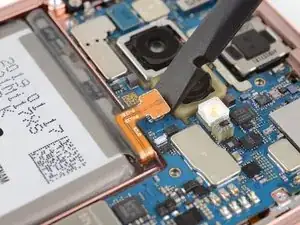
Use the flat end of a spudger to pry the battery connector straight up from its socket and disconnect it.
-
-
-
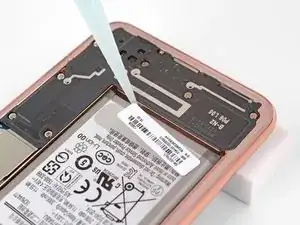
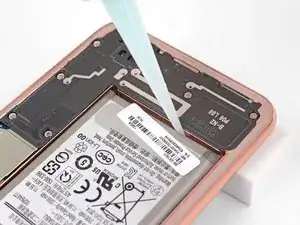
Prop the bottom edge of the phone up to angle the phone so that the adhesive remover will run from the bottom of the battery toward the top.
-
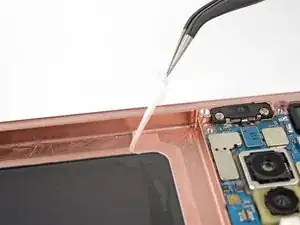
Apply isopropyl alcohol or adhesive remover along the bottom edge of the battery. Allow it to sit for several minutes to allow the adhesive to weaken.
-
-
-
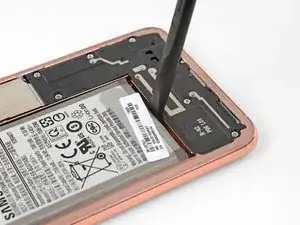
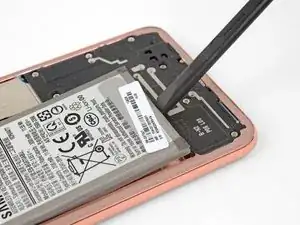
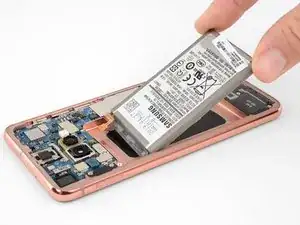
Use the flat end of a spudger to carefully pry the battery out of the phone.
-
If you encounter significant resistance or the battery starts to deform, repeat the last step to further dissolve the adhesive.
-
To reassemble your device, follow these instructions in reverse order.
For optimal performance, calibrate your newly installed battery after completing this guide.
Take your e-waste to an R2 or e-Stewards certified recycler.
Repair didn’t go as planned? Check out our Answers community for troubleshooting help.
12 comments
I was going to publish this guide but somebody did it already for me. Thanks!
By the way the color of that phone in the guide is hideous in my opinion.
When you say “moderate” difficulty, how what’s making it difficult or where is the risk coming from? With the right tools, patience, and even a small bit of experience replacing a screen in an admittedly easy Nokia Lumia phone, what could go wrong, and what would you recommend?
Hi Mark, the hardest part of this guide is dealing with all the adhesive without damaging anything. The back cover and the battery are both heavily glued down. To get the back cover off without cracking it, I’d recommend plenty of heat and very patient and gentle prying. If the prying gets really tough, try heating the back a little more. Removing the battery can be tough as well, but using adhesive remover helps a lot. Follow the steps in the guide and make sure you give the adhesive remover a few minutes to soak in. If prying gets difficult, add a little more adhesive remover and wait a couple minutes before continuing. Hope that helps!
We ran into the problem of the octa not seperating with the back glass. We were using the AoD JIG. What do u recommend as the next step in that instance?
rfralin -




L'écran OLED et la la batterie
Isidore LECHAT -