Introduction
prereq only
Tools
-
-
Switch off your phone.
-
Prepare an iOpener for softening the adhesive on the back of the Note8.
-
Apply the iOpener on the back of the Note8 along the side with the power button.
-
-
-
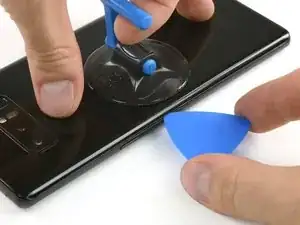
Use a suction handle to lift the back cover and create an opening pick to get in the gap.
-
Start at the middle of the side and cut the adhesive while pulling up with the suction handle.
-
Move the pick towards the bottom corner and leave it there to keep the adhesive from resealing to the case.
-
Use another pick and move it to the top corner.
-
-
-
Again take another opening pick and carefully move it around the corner and along the top edge.
-
Reheat with an iOpener if necessary.
-
Leave the pick at the top right corner to keep the adhesive from resealing.
-
-
-
Rotate the device and start to separate the adhesive at the bottom with another opening pick.
-
Leave the pick at the bottom right corner to keep the adhesive from resealing.
-
-
-
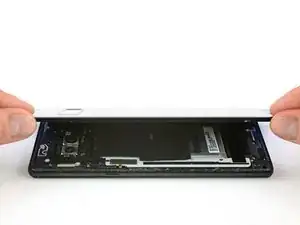
When the adhesive has been separated on all three sides properly you will be able to slowly lift the back cover.
-
Pay attention to the fingerprint sensor connector when flipping the back cover open. You might need to disconnect it as described in the next step.
-
-
-
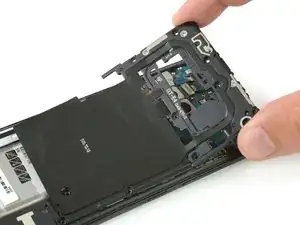
Use an opening pick at the top edge to get between the NFC antenna and charging coil assembly and the case.
-
Lever the top of the assembly out of the case.
-
-
-
Prepare an iOpener and apply it to the display for at least two minutes to loosen the adhesive beneath the battery. Reheat and reapply the iOpener as needed.
-
Alternatively or when the battery is blown up, you can apply some isopropyl alcohol under each corner of the battery and allow it to penetrate for several minutes to help weaken the adhesive.
-
-
-
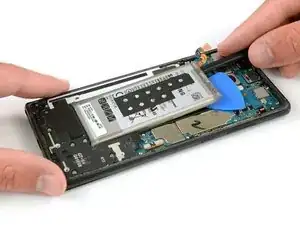
Use the flat end of a spudger to pry up the battery from the top right corner.
-
Use the spudger to pry up the battery until you can insert an opening pick to prevent the adhesive from resealing.
-
-
-
Use the flat end of the spudger to pry up the top left corner of the battery where the flex cable is located.
-
Slide the spudger along the side of the battery to break apart remaining adhesive.
-
-
-
Lift the battery out of the case.
-
Remove any remaining adhesive from the phone, and clean the glued areas with isopropyl alcohol and a lint-free cloth.
-
-
-
Insert a SIM card opening tool into the small hole on the left side of the top edge of the phone.
-
Press to eject the tray.
-
Remove the SIM card tray from the phone.
-
-
-
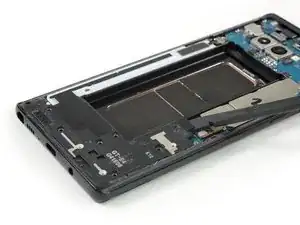
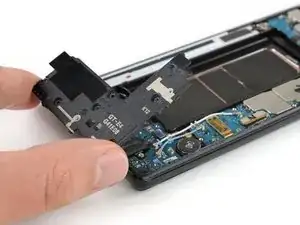
Use the flat end of a spudger to pry up the loudspeaker assembly.
-
Remove the loudspeaker assembly.
-
-
-
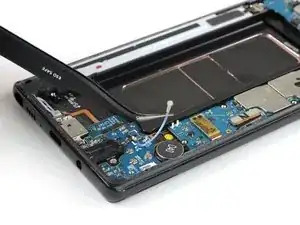
Remove the two coax cables running from the daughterboard to the motherboard.
-
Use a pair of tweezers to carefully disconnect both ends of the white coax cable and remove it.
-
-
-
Use a pair of tweezers to carefully disconnect both ends of the blue coax cable and remove it.
-
-
-
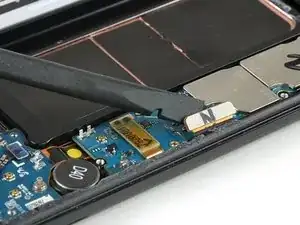
Use the flat end of a spudger to disconnect the power button flex cable.
-
Disconnect the flash and proximity sensor cable.
-
-
-
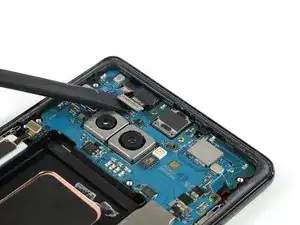
Use the flat end of a spudger to disconnect the flex connector of the front facing camera.
-
Carefully remove the front facing camera with a pair of tweezers.
-
-
-
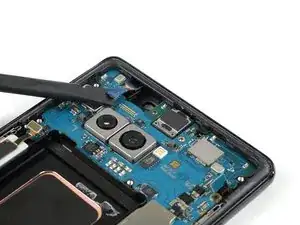
Use the flat end of a spudger to disconnect the flex connector of the iris scanner.
-
Carefully remove the iris scanner with a pair of tweezers.
-
-
-
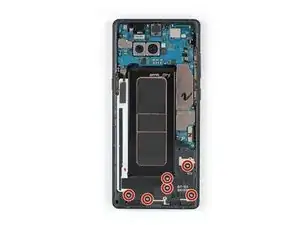
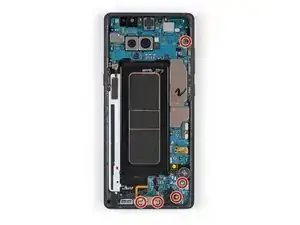
Remove the five Phillips #00 screws that hold down the motherboard, daughterboard, headphone jack and the charging port.
-
-
-
Use the flat end of a spudger to disconnect the headphone jack flex connector.
-
Carefully remove the headphone jack with a pair of tweezers.
-
-
-
Prepare an iOpener and apply it to the bottom part of the phone to loosen the adhesive beneath the microphone flex cable.
-
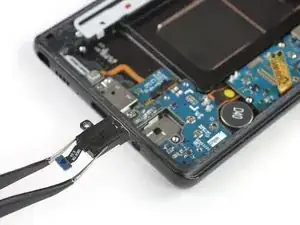
Use a pair of tweezers to carefully lift the microphone out of its recess and loosen it from the mid frame.
-
-
-
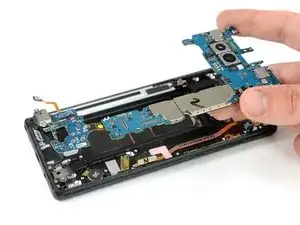
Carefully lift up the motherboard.
-
To lift the daughterboard out of its recess pull both components slowly towards the upper end of the phone whilst lifting upwards.
-




















I used a heat gun to soften the glue - worked it around the edges, moving the heat gun quickly. As this is my first attempt, I’m still calibrating on this - but other guides mention getting the back cover hot enough so as it’s just too hot to touch. I also have a temp probe on my multi-meter, and I measured appx. 75 deg. C.
One of the other guides showed using a electronics hot plate set to 105 deg C for 60 sec.
Phil Brooks -