Introduction
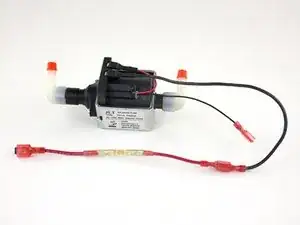
If the Rug Doctor is not spraying properly, you may need to replace the pump .
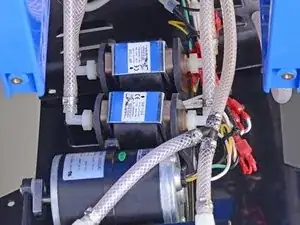
The Mighty Pro and the X3 models have one pump , while the Wide Track (WT) model has two identical pumps running in parallel. This guide is written with the Wide Track model, but can be used for any of the three models.
Optional tools:
- Straight edge cutters/pincers instead of hose clamp pliers
- Clamp cutter/removal tool
- Hair dryer/heat gun
Tools
Parts
-
-
For single-pump models (Mighty Pro, X3), if the Rug Doctor does not spray at all, the pump requires replacement.
-
For the Wide Track model, if the Rug Doctor does not spray at all, both pumps require replacement.
-
If water splashes out of the nozzles for the Wide Track model but does not spray adequately, check the spray nozzles for clogs first.
-
If the nozzles are clear, one of the two pumps may be defective, not supplying sufficient pressure to the nozzles. If possible, replace both pumps.
-
If you need to determine which of the two pumps requires replacement, switch the Rug Doctor on to the upholstery mode. Do not disconnect the quick-connect for accessories. If water splashes out of the nozzles like the carpet mode, replace the front pump.
-
If water does not splash out of the nozzles in accessory mode, replace the rear pump.
-
-
-
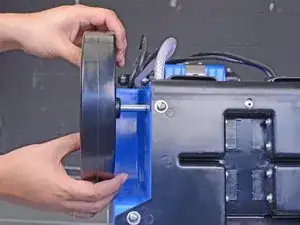
Pull the wheel off of the axle.
-
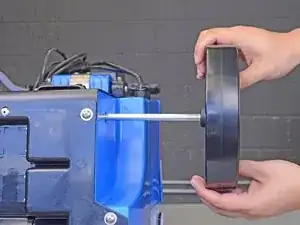
Pull the other wheel with the attached axle out of the body.
-
Slide the axle and wheels back onto the Rug Doctor.
-
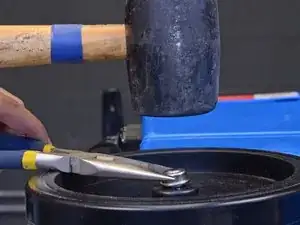
Center a replacement axle hub cap over the exposed axle end.
-
Use a mallet to tap the hub cap in place. It should not feel loose on the axle.
-
-
-
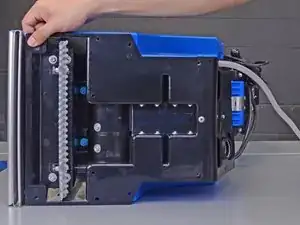
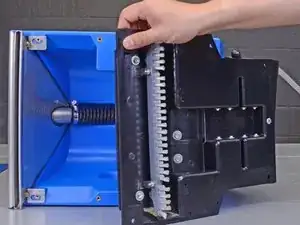
Beginning from the bristle end, carefully pull the bottom pan away from the body, to gain access to the pumps.
-
-
-
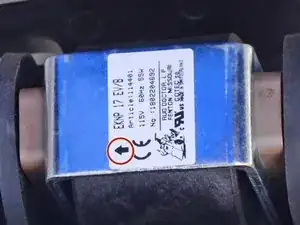
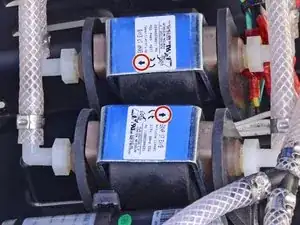
Carefully note the pump direction indicated by the arrow on its label. The replacement pump must be installed in the same direction as the original.
-
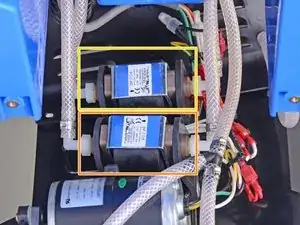
The front pump
-
The rear pump
-
-
-
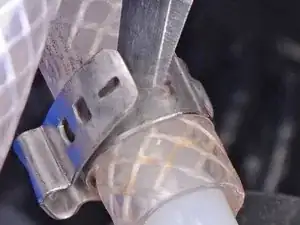
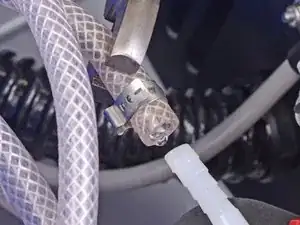
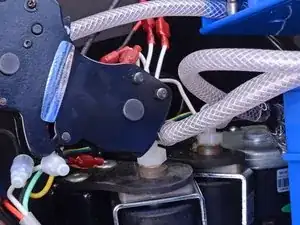
Remove the crimped hose clamps securing from each end of the pump you are replacing.
-
You can use a clamp removal tool to cut the clamps.
-
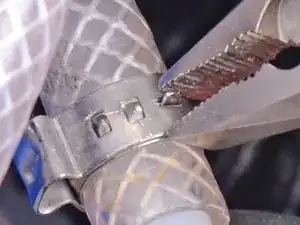
Alternatively, use pliers to unlatch the small retaining tab on the clamp.
-
Pry the clamp apart to loosen it.
-
Use your fingers or pliers to pull the hoses off of the pump nozzles.
-
-
-
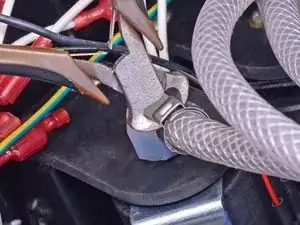
Slide the clamp onto the hose, leaving 1/2" of hose at the end.
-
Use hose clamp pliers or straight edge cutters to squeeze and crimp the clamp ears.
-
-
-
Cut the zip ties holding the bundle of wires together.
-
Carefully trace the two wires coming out of the pump you are replacing.
-
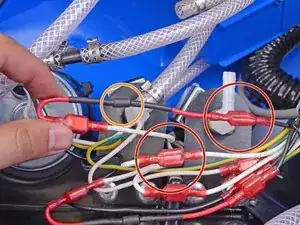
The pump wires should connect to a black wire and a white wire.
-
There may be a diode attached in-line on the red wire.
-
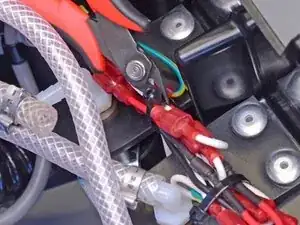
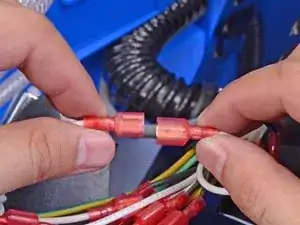
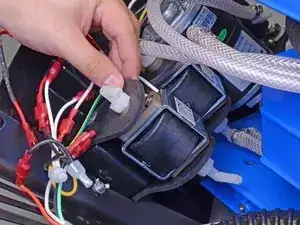
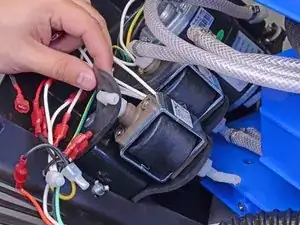
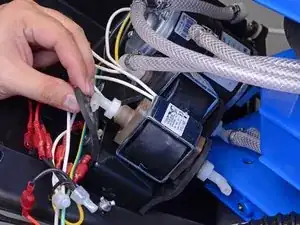
Disconnect the pump by pulling the wire terminals apart. This may take significant force. Pull at the terminals, not the wires.
-
-
-
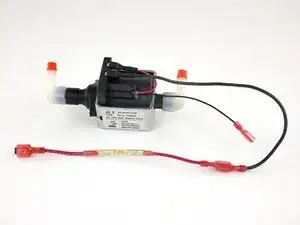
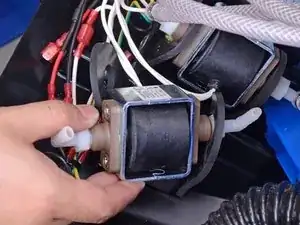
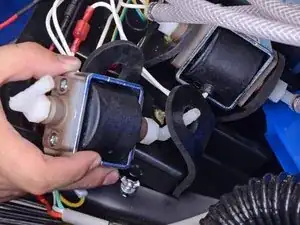
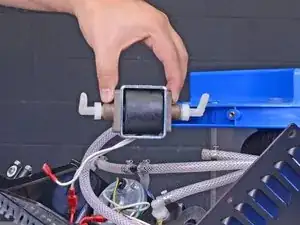
Remove the pump.
-
Remove the orange caps from the nozzles.
-
Make sure that the pump is installed in the correct direction.
-
Check that the nozzles are pointed towards the back of the machine.
-
To reassemble your device, follow these instructions in reverse order while noting the re-assembly tips.
15 comments
Fantastic. info!!! Thanks for this. Took me while to find it. Some helpful tips. But the biggest was the fact I had two pumps. I wasn’t 100% sure and I was positive I spotted two with just the back cover off. But needed to be sure before ordering. Thanks !
Robert -
I would like to view how to open the housing & replace the pump on the Rug Doctor model DC 1.
My X3 model rug doctor continuously sprays Until it runs out of water doesn't matter if the red button is pressed or not when you turn on the machine, it starts sprain. Any thoughts?
Mike -
Hi Mike,
Does it full-on spray, or just leak? It could be that the red button is broken. Look through this guide. You may be able to disconnect the spray button wires through the black cutout. If the Rug Doctor still sprays with the button disconnected, then the problem is elsewhere.
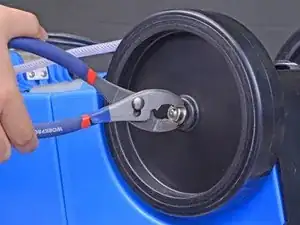
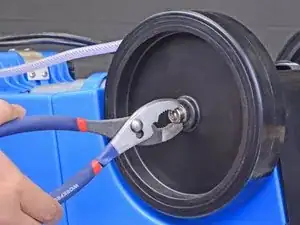
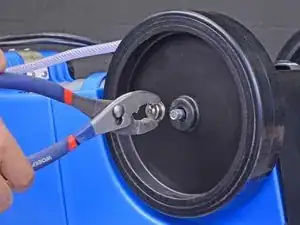

I had a lot of trouble with this step. I started by grabbing each cap with a pair of pliers and wiggling in opposite directions; they would twist but wouldn’t come off. Then I used a screwdriver to try prying one cap off (be sure to put a putty knife or other thin and stiff piece of metal between your prying tool and the wheel to avoid damage). I managed to move the cap off somewhat, but whenever I pried up one side of the cap, the other would go down. I eventually managed it by crushing the cap using a pair of adjustable pliers.
Steve Wechsler -
It was a little difficult but i kept moving it side to side and it finally let go
Len Aubertin -