Introduction
Tools
-
-
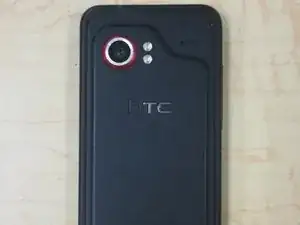
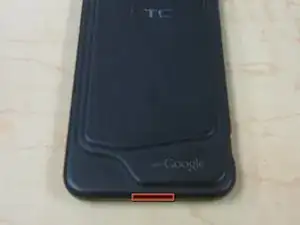
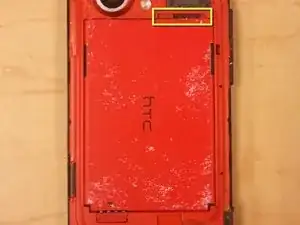
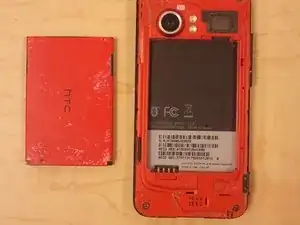
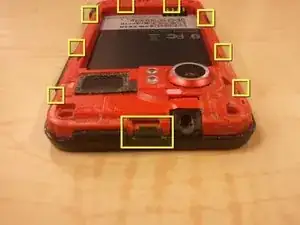
Pry off back plastic, starting at the gap provided at the bottom of the phone. A spudger can be used to make this easier.
-
-
-
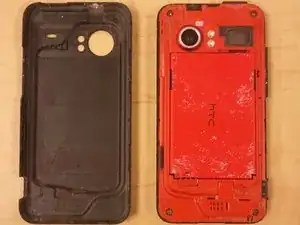
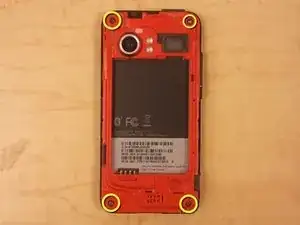
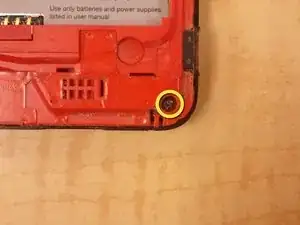
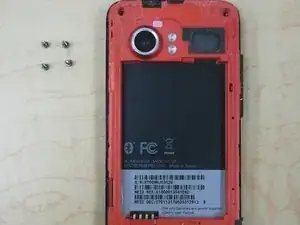
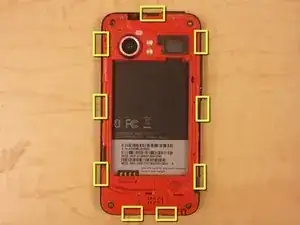
Using a spudger, unclip the nine clips holding the back panel to the front panel, highlighted in included pictures.
-
Start at the top, and work clockwise, being careful not to break the clips.
-
There are, 1, 3, 2, and 3 clips on each side, respectively.
-
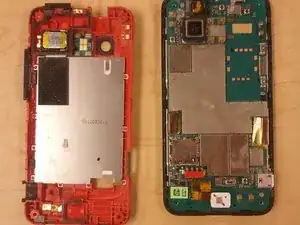
After the clips are disengaged, there are no cables holding the back panel in place.
-
-
-
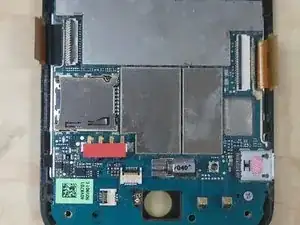
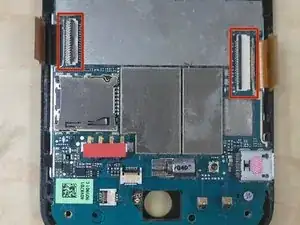
Use your spudger to release the remaining clips, disconnecting the ribbon cables from the logic board.
-
-
-
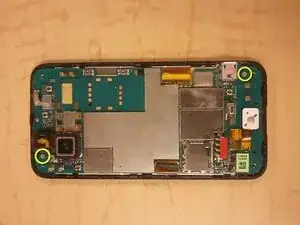
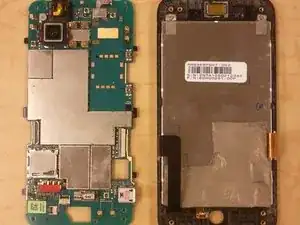
Remove 2 Phillips Screws holding the logic board to the front panel.
-
Gently lift the logic board off the front panel.
-
Conclusion
To reassemble your device, follow these instructions in reverse order.
