Introduction

Prerequisites Only

  1. iYmKV56NCqGmeXBZ
    iYmKV56NCqGmeXBZ
    K1dqPsOQVLeqbSST
    ZC5WYXZgQGLOJS5o
    • Use a Phillips #0 screwdriver to unscrew the six 2mm screws on the outer case of the camera.

    • If there is a battery or SD card inside remove before beginning the process.

  2. Q2Q4PhRBXoBPSCCn
    Q2Q4PhRBXoBPSCCn
    vwUPWYGscFcGBGTh
    • Use your hands or a Spudger to Pull off the front cover of the camera.

    • If the casing is not coming apart easily, do not force it.

  3. W65PVrCX1NiZPd1L
    • Remove the protective black cover layer with your hands and set it aside.

    • The use of tweezers may be necessary if the cover is difficult to remove.

  4. FPOCEuSnXEkaCE2b
    FPOCEuSnXEkaCE2b
    wNVbT3hWtW53Khxb
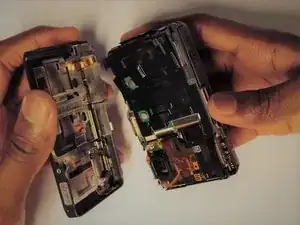
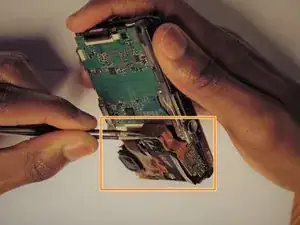
    • The ZIF connector can be removed by flipping the small black holder into the upright position and then sliding the ribbon cable out carefully.

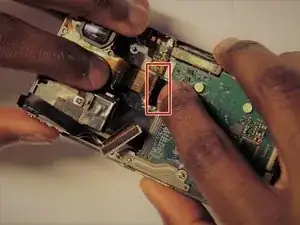
    • Once this has been done, use tweezers to unplug the flat topped connector for the lens’ circuit board from the motherboard.

    • DO NOT force the ribbon cables or they will rip.

    • Refer to the (Recognizing & Disconnecting Cable Connectors) page for assistance.

Conclusion

To reassemble your device, follow these instructions in reverse order.

Yegor Shea

Member since: 26/03/17

301 Reputation

0 comments