Introduction
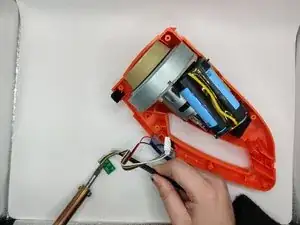
If the LEDs for the battery life indicator on your ORFELD EV-660 have gone out, it can make it impossible to tell how much charge you have left and how long you can continue to vacuum for. Make sure to exercise caution when desoldering wires.
Tools
-
-
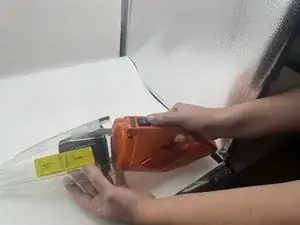
Place the vacuum on its side, with the screws facing towards you.
-
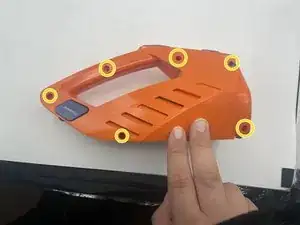
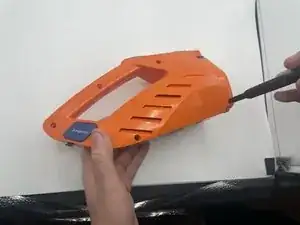
Remove the 11.5 mm screws using a Phillips #1 screwdriver.
-
-
-
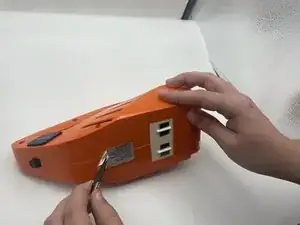
Using tweezers, remove the sticker connecting the two halves.
-
Use the opening pick to gently separate the top half and the bottom half of the vacuum.
-
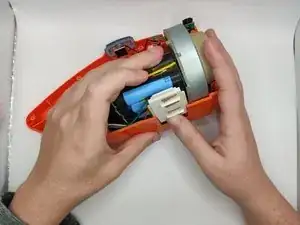
Press the blue buttons near the sides of the battery LEDs to remove the top half.
-
-
-
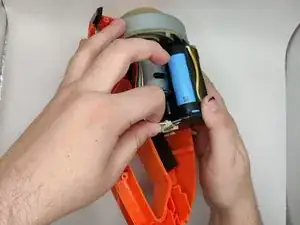
Lift the battery slightly to reveal the pin connectors.
-
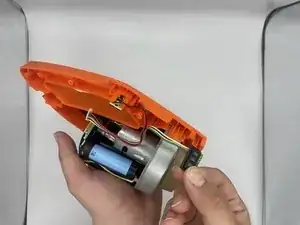
Gently disconnect the six-pin connector that connects to the power button and battery LEDs.
-
-
-
Slide out the battery LEDs from the compartment.
-
Remove the plastic LED cover from the LED board.
-
To reassemble your device, follow these instructions in reverse order.
