Introduction

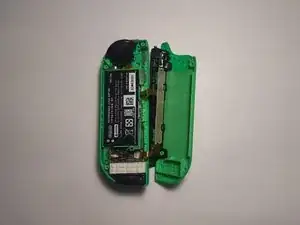
A bent SL/SR button board cable will cause the SYNC button, the LED lights and the SL/SR buttons to be unresponsive. This will make the Nintendo Switch Joy-Con unable to connect to a game console by itself without a second Joy-Con.

Before using this guide, determine that the buttons are unresponsive by going to the system settings of the game console and testing the input devices under the 'Controllers and Sensors' section.

  1. qCUmEWTRWEdt4QrZ
    qCUmEWTRWEdt4QrZ
    iPfy3p1ZATgyikIK
    k5DUvqlvrSDuCprZ
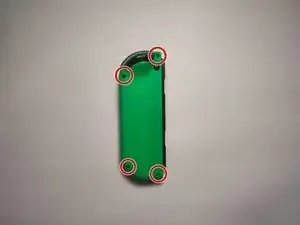
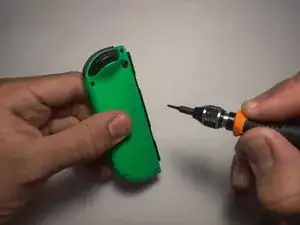
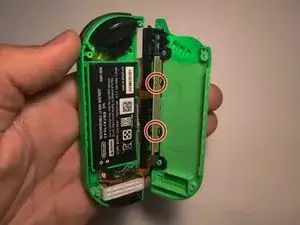
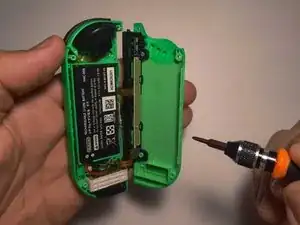
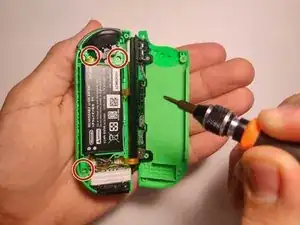
    • Remove the four 6 mm screws visible on the back of the Joy-Con using the Tri-point Y00 screwdriver.

    • During the entire procedure, place the small screws somewhere you won't lose them and keep them organized.

  2. oegGqkkt31LnXEsY
    oegGqkkt31LnXEsY
    HEVbSsSDbcdK4WXM
    dsJX1bvkCMeYWJ5E
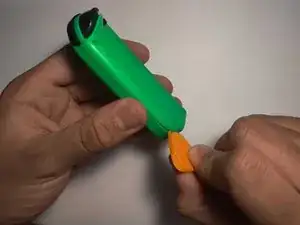
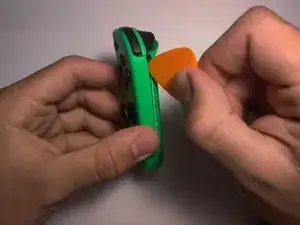
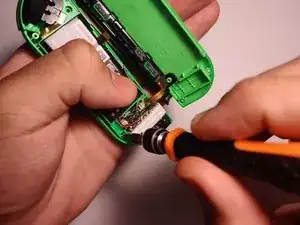
    • Open the Joy-Con by inserting the opening pick tool into the bottom corner and sliding it upwards.

    • When opening, be careful not to 'yank' the two halves of the Joy-Con far apart, as they are still attached by cables.

    • The ribbon cables are fragile. Forceful pulling may lead to device damage.

  3. 5oIT4HTlaHvJxrpy
    5oIT4HTlaHvJxrpy
    ZiMsdfDIU3od5W1G
    gdCPtPX3kZTmJTae
    • Remove the two 3 mm screws on the charging rail using the Phillips #00 screwdriver.

    • The part that needs to be replaced is the button board directly under these two screws.

  4. 1okmN2XdGkIiUEOk
    1okmN2XdGkIiUEOk
    AGVCODAJJU4kyLqH
    TcP4RYMtKCxjsd62
    • Remove the three 3 mm screw on the battery compartment using the Phillips #00 screwdriver.

    • With the battery compartment loosened, the locking tab holding the cable in place will be easy to access.

  5. TBQigH3DOFnpZMkk
    TBQigH3DOFnpZMkk
    PGai5Qh2r5EYtkuT
    QkRdGyLtefQZJ3ZK
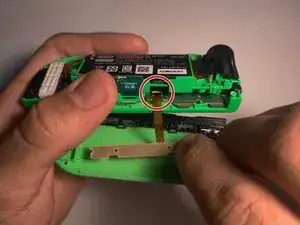
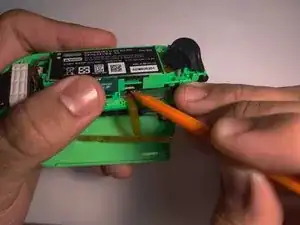
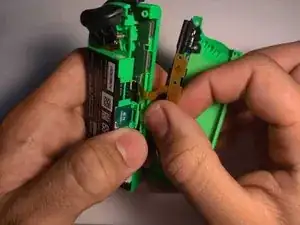
    • Use the plastic spudger tool to lift the tab lock holding the bent button board cable. Lightly lift the battery compartment to have more space while doing so.

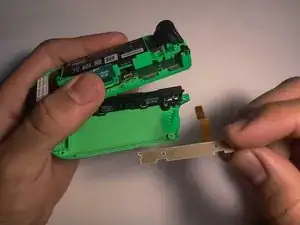
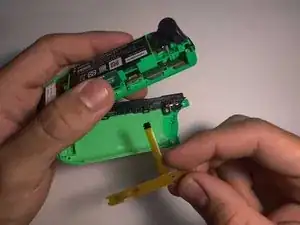
    • Once the tab is unlocked, remove the bent cable.

  6. jMRsAYsM3ndubpuU
    jMRsAYsM3ndubpuU
    WuicTSQMjPOEWiCP
    16VJrOw6I2a6QPPW
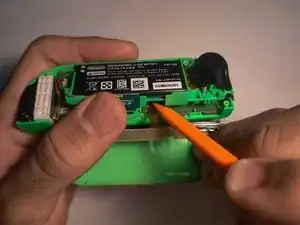
    • Insert the new replacement button board cable into the tab.

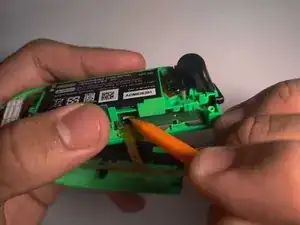
    • Use the spudger to re-lock the tab to hold the new part in its place.

  7. rslgRrJRlkVGCiQq
    rslgRrJRlkVGCiQq
    AH1nRxgVgvSjA4bV
    DdtKHZduFoeVm1t3
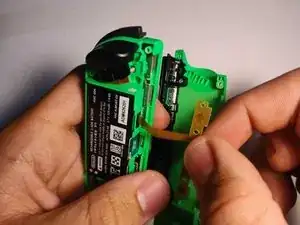
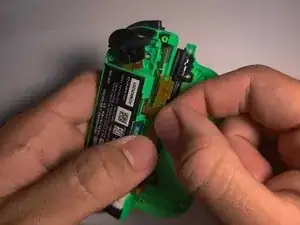
    • To avoid having the same problem in the future, make sure the new cable is bent under the battery compartment after reassembly.

    • Lightly lift the battery compartment to make it easier to bend the new button board cable under it.

    • The space between the battery and the back shell of the Joy-Con is very tight, which caused the original cable to bend and malfunction. Inserting the new cable under the battery will give it more space.

Conclusion

To reassemble your device, follow these instructions in reverse order, starting from Step 4.

Javier Cora

Member since: 18/03/22

1324 Reputation

11 comments

Valuable step-by-step guide plus pictorial samples. Keep writing your good stuff, Javier!

Rudi Lim -

Nice guide. To loosen the battery compartment on my controller I had to remove te battery first. I couldn't see te top 2 screws in step 4. The battery was sticked to the bracket with some tape but removes easily. Underneath the battery were two screws.

Edit: maybe its different because I had to change the button board on the left JoyCon.

Stefan Haarman -

Yes! This Guide above shows the right Joycon. As for the left one there are two screws below the battery as you said!

Paul Stachowiak -

Very helpful step-by-step guide. Thank you.

Had to change the Button Board on the left Joy-con. The screws were also located under the battery in my case. Attention: there 4 screws under the battery, two of which diagonal to each other that hold the battery compartment in place. No need to unscrew all 4.

Tone -

I’ve replaced the board, but SL and SR still not working, also two lights not working. What to do?

Mike -

Will this replacement also fix the LED lights that are now not working on my controllers? And if not, will this be a problem for playing with one Joy-con?

Sofie Lazeroms -

Depends on why your LED´s are not working. For my it was because the SR SL input was not registered, which will be a problem (only) for single joycon use. If its only the LED which is not working, then you should be fine.

Paul Stachowiak -

Thanks for spreading this knowledge to us.

Nolan Lester -

Thank you! My right button on the side turned unresponsive. I replaced the button board with this guide and fixed it!

Bouw De Vrieze -

Great guide - thank you. i need new eyes though... can barely see the screw heads!

Matt Glover -

I followed this guide, the LEDs, sync button and charging all work again, but the sl sr buttons still don't work

Julie -