Introduction
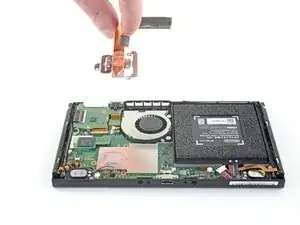
Follow this guide to remove and replace the heat sink on the Nintendo Switch game console.
The Switch uses JIS screws, but you can use a Phillips screwdriver in a pinch. Be very careful not to strip the screws. iFixit's Phillips bits are designed to be cross-compatible with JIS-style screws.
Note: When you remove the shield plate, you’ll need to replace the thermal compound between the plate and the heatsink. Since normal thermal paste isn’t designed to bridge large gaps, the closest replacement is K5 Pro viscous thermal paste. You will, however need normal replacement thermal paste for the CPU.
Note: This guide, and the part we sell, are compatible with the original Nintendo Switch model released in 2017, as well as the newer refreshed model released in 2019 (model numbers HAC-001 and HAC-001(-01), respectively).
Tools
Parts
-
-
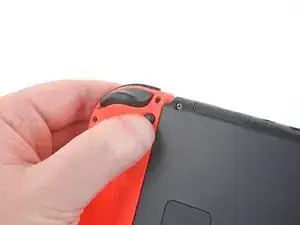
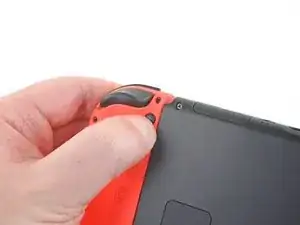
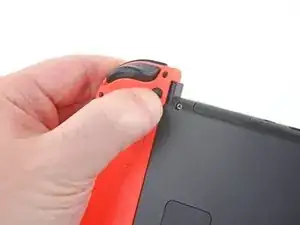
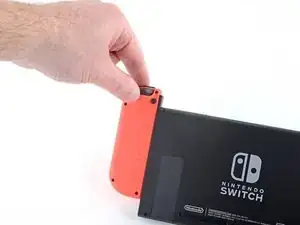
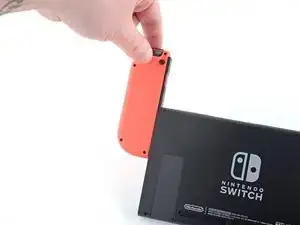
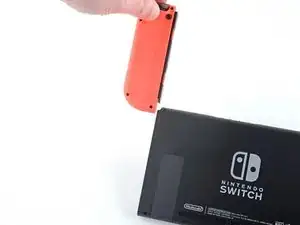
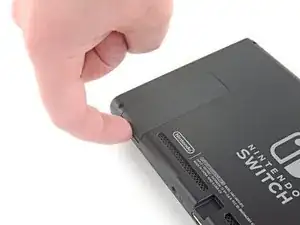
Press and hold down the small round button on the back of the Joy Con controller.
-
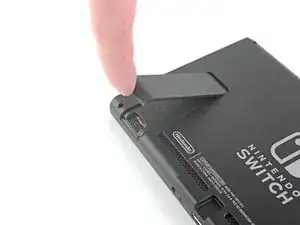
While you hold down the button, slide the controller upward.
-
-
-
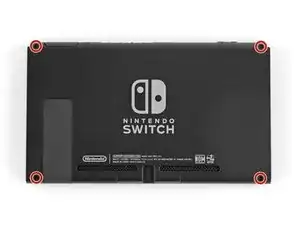
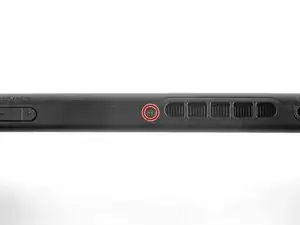
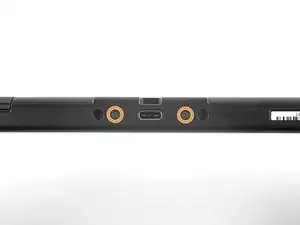
Use a JIS 000 driver or an official iFixit PH 000 driver to remove the following screws securing the rear panel:
-
One 2.5 mm-long screw on the top edge of the device
-
Two 2.5 mm-long screws on the bottom edge of the device
-
-
-
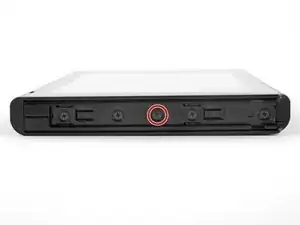
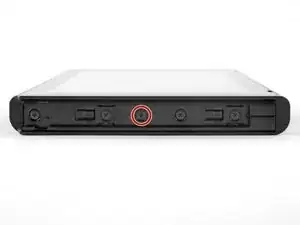
Use a JIS 000 screwdriver or an official iFixit PH 000 driver to remove the two 3.8 mm center screws on the sides of the device (one on each side).
-
-
-
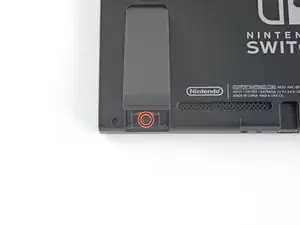
Use a JIS 000 screwdriver or an official iFixit PH 000 driver to remove the 1.6 mm screw in the kickstand well.
-
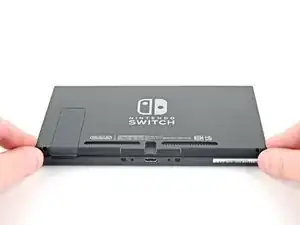
Close the kickstand.
-
-
-
Open the game card cartridge flap.
-
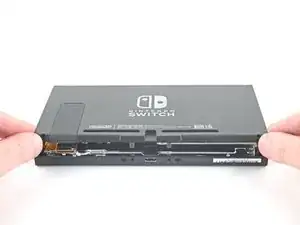
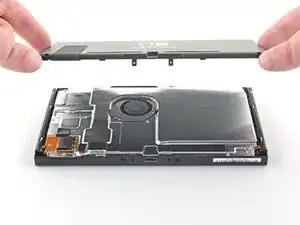
Lift the rear panel up from the bottom of the device and remove it.
-
-
-
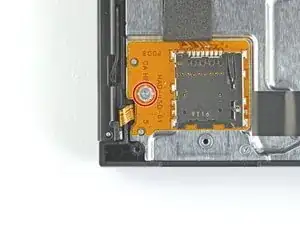
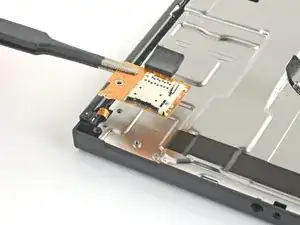
Use a JIS 000 screwdriver or an official iFixit PH 000 driver to remove the 3.1 mm screw securing the microSD card reader to the device.
-
-
-
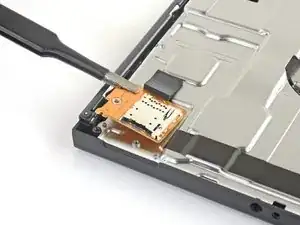
Use your fingers or a pair of tweezers to lift the microSD card reader straight up from the device to disconnect and remove it.
-
-
-
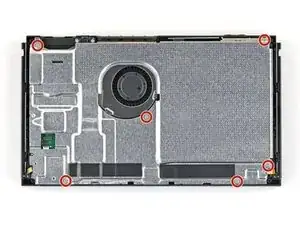
Use a JIS 000 screwdriver or an official iFixit PH 000 driver to remove the six 3 mm screws securing the shield plate to the device.
-
-
-
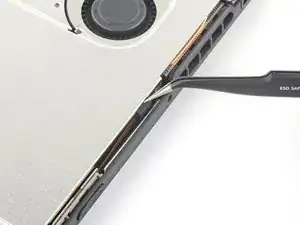
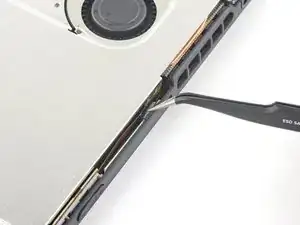
Use your fingers or a pair of tweezers to peel back the piece of foam on the top edge of the device near the fan exhaust port.
-
-
-
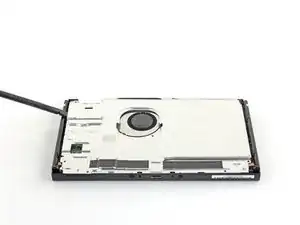
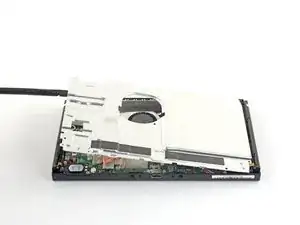
Insert a spudger underneath the shield plate along the edge of the device.
-
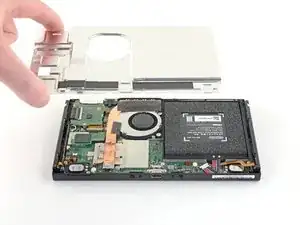
Pry up to lift the shield plate and remove it from the device.
-
You can reuse the pink thermal compound if you're careful. Keep the compound clean and make sure it makes solid contact between the heat sink and the shield during reassembly.
-
If you need to replace it, refer to our thermal paste guide to remove the old thermal compound and replace it with an appropriate compound, such as K5 Pro, during reassembly.
-
-
-
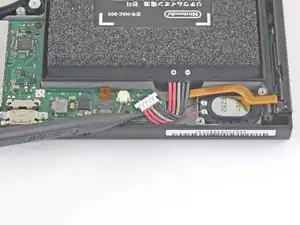
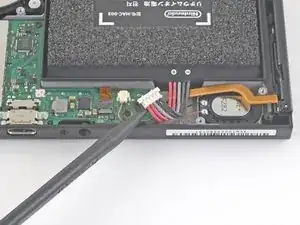
Use the point of a spudger to pry the battery connector straight up and out of its socket on the motherboard.
-
-
-
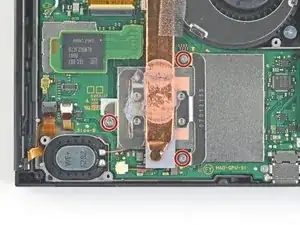
Use a JIS 000 screwdriver or an official iFixit PH 000 driver to remove the three 3 mm screws securing the heat sink to the motherboard.
-
-
-
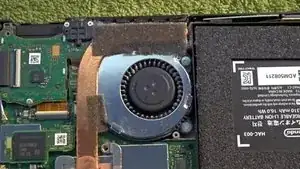
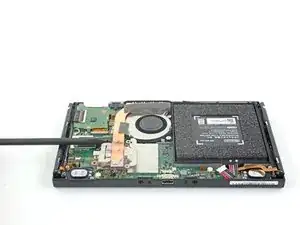
Carefully peel the two foam pieces stuck over both the heatsink and the fan away from the fan.
-
Insert the point of a spudger underneath the part of the foam that isn't stuck against anything,
-
Press the top of the foam with your finger to hold it in place.
-
Roll the spudger tip underneath the foam all the way to the other end of the foam to release it.
-
-
-
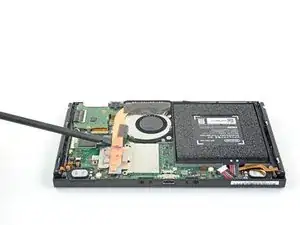
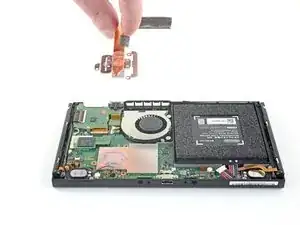
Use a spudger or your fingers to lift the heatsink up and off the motherboard to remove it.
-
Apply thermal paste to all surfaces that had thermal paste applied previously. This includes between the heatpipe and aluminum shield, which the Switch uses as additional heatsinking.
-
Compare your new replacement part to the original part. You may need to transfer remaining components or remove adhesive backings from the new part before installing.
To reassemble your device, follow these instructions in reverse order.
Take your e-waste to an R2 or e-Stewards certified recycler.
Repair didn’t go as planned? Try some basic troubleshooting, or ask our Nintendo Switch Answers community for help.
9 comments
I couldn’t even get past the first step because my screws were in so tight I made them threadbare trying to get them out. I did use the iFixit toolkit so I was using the right head but taking the screws out is not as easy as demonstrated lol
same mines are stripped
Same happened to me :( I was able to file down the screwdriver I was given and it worked on three of the screws before they’d stripped too much. The fourth screw I couldn’t remove so I was able to slightly bend and turn the backing enough to access the fan. I also wasn’t able to peel the tape back without it completely disintegrating. Haha guess I don’t have the magic touch.
Do you need the K5 thermal peas or is the Arctic silver 5 thermal paste enough?
Carlos O -
You just need a good thermal paste
Thank you for this guide, I managed to repair our family switch using the strip down guide here, Our console was working fine as a hand held but when docked it started to show intermittant blank screen making the games unplayable.
I thought it was a cooling issue so I got some new high spec heatsink paste and took the heatsink and fan off, cleaned out the fan and fins removed the dried old compound and replaced it, also new paste put on the metal housing on the back, cleaned out the vents on the shell and rebuilt it. and now its working perfectly both handheld and docked

Kann ich diese Anleitung auch für die OLED anwenden? Habe im INet sonst leider nichts brauchbares gefunden.
Ina Barz -