Introduction
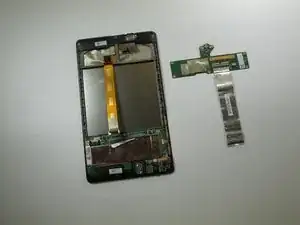
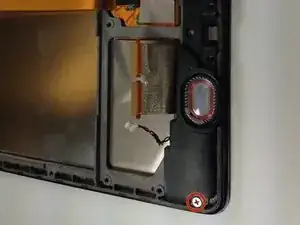
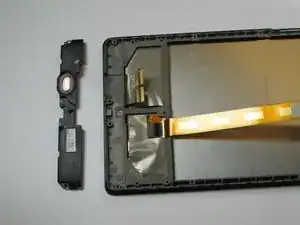
The Nexus 7 2nd Generation has two sets of speakers, at the top and bottom of the tablet. These are called the front speakers and rear speakers, respectively. In order to remove the speakers, you will first need to complete some prerequisite steps to remove the back cover, battery, daughterboard, and motherboard.
Tools
Parts
-
-
Power down your device.
-
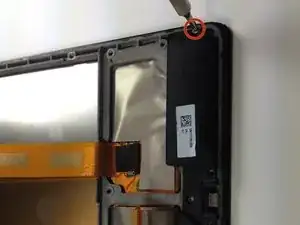
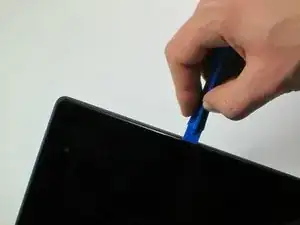
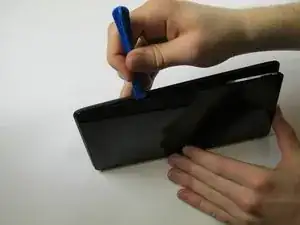
Use your plastic opening tool to wedge between the seams around the sides of the device. Pry open each side, one at a time. For some a finger nail may be best. The case comes up quite high to the glass.
-
-
-
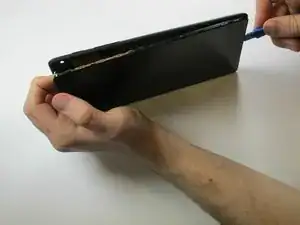
Work fingers around the seam between device and back cover. Use your plastic opening tool and fingers to separate each side until device and back cover are completely apart.
-
-
-
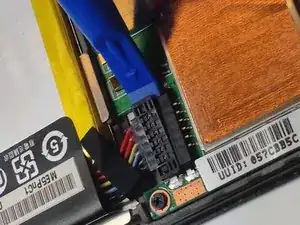
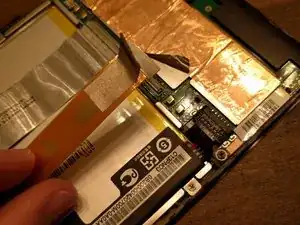
Insert the plastic opening tool under the side edge of the battery connector, and gently pry upward to disconnect it.
-
-
-
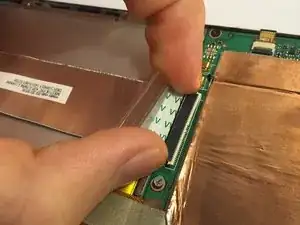
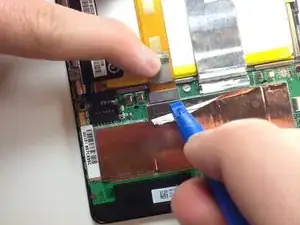
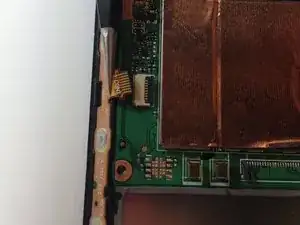
Use the flat end of a spudger or your fingernail to flip up the clear protective flap on the ribbon cable ZIF socket.
-
Using the flat end of a spudger or your fingernail, flip up the thin portion of the connector (the white part, opposite of the side where the cable inserts) to release the cable from its socket.
-
Slide the cable out of the ZIF socket.
-
-
-
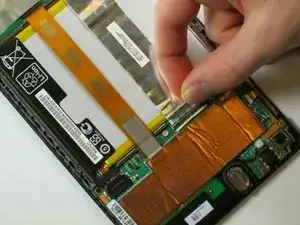
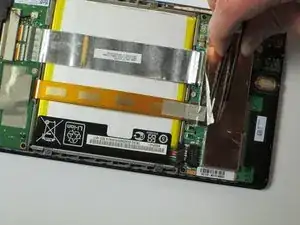
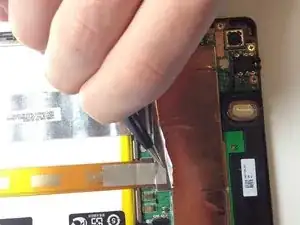
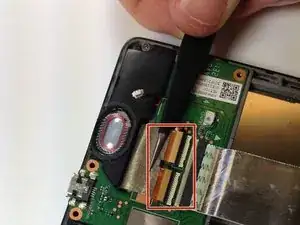
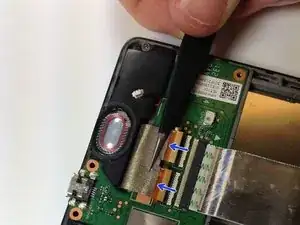
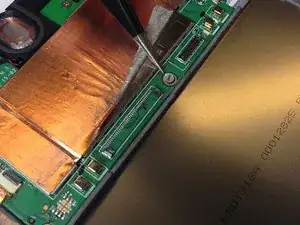
Using the tweezers, peel back the silver protective foil on top of the orange ribbon connector.
-
Using the plastic opening tool, pry upward under the orange ribbon connector. It will pop right out of place.
-
-
-
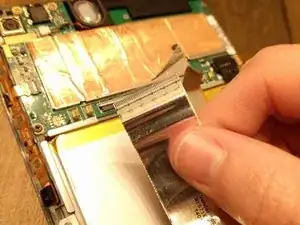
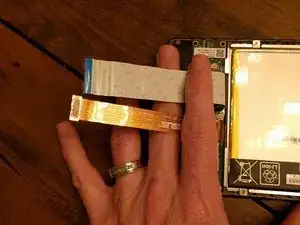
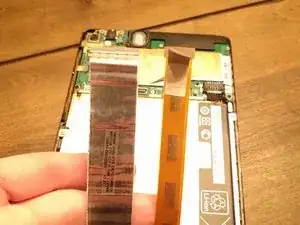
Now that the two main ribbons are disconnected, fold and hold them back with your fingers, or place the tweezers or a light object on the ribbons to keep them in place.
-
-
-
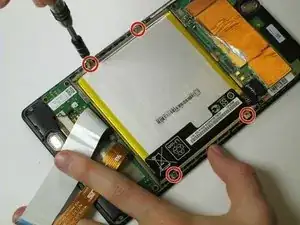
Use the #0 Phillips Screwdriver to remove the four silver 3 mm Philips #0 screws from around the battery housing.
-
-
-
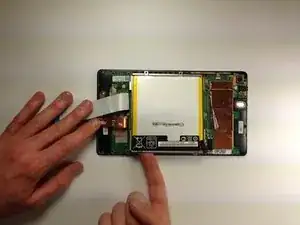
Remove the battery from your device by applying pressure at the base of the battery and lifting it out.
-
-
-
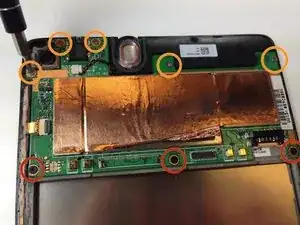
Using the Phillips #0 screwdriver, unscrew the 5 black 2 mm sized screws from around the edge of the daughterboard.
-
Use the same Phillips #0 screwdriver to remove the two silver 3 mm sized screws from either side of the micro USB.
-
-
-
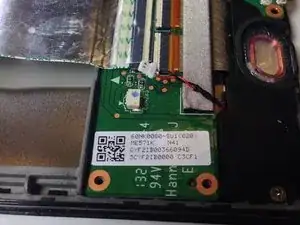
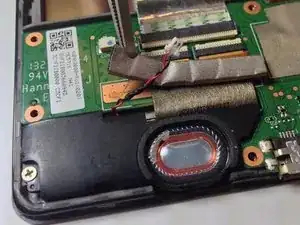
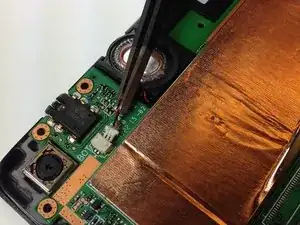
Use the tweezers to unplug the speaker connector from the daughterboard by pulling sideways.
-
-
-
Slowly peel off the EMI gasket over the ribbon cable assembly. This will expose the ribbon cable which can be removed from the connectors.
-
-
-
Use the flat end of a spudger or your fingernail to carefully flip up both retaining flaps one each of the ZIF sockets.
-
-
-
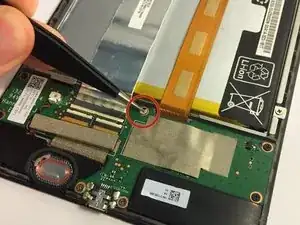
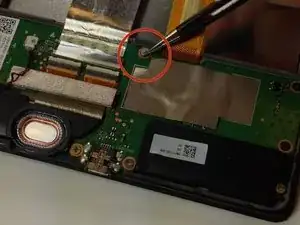
Use the tweezers to peel the seal sticker off of the center screw that is closest to the battery.
-
-
-
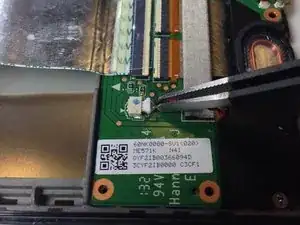
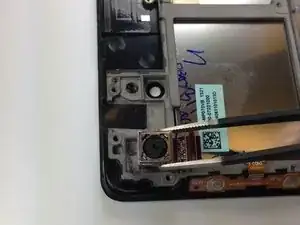
Using the tweezers, or carefully with your fingers, disconnect the speaker from its motherboard connection by pulling directly sideways.
-
-
-
Use the flat end of a spudger or your fingernail to carefully flip up the retaining flap on the ribbon cable ZIF socket.
-
-
-
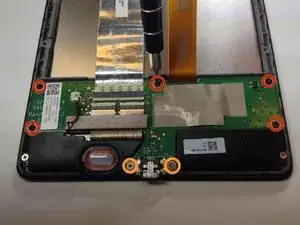
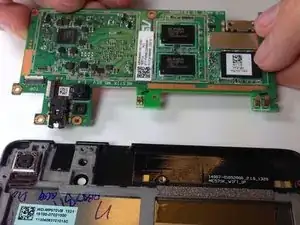
Using the #0 Philips head screwdriver, remove the three black 2 mm screws holding the inner edge of the motherboard in place.
-
Using the #0 Philips head screwdriver, remove the five silver 3 mm screws holding the outer edge of the motherboard in place.
-
To reassemble your device, follow these instructions in reverse order.
I had a heck of a time doing this, spent ten or twenty minutes carefully prying, and I STILL cracked the case. At least on mine, the case was held in VERY well and required prying pretty much everywhere before it would let go. The tools I bought from iFixit really helped, but still a royal pain to open.
pacmanmaster -
a couple of obscure things that might help in opening:
guitar pick. get a few; they are cheap.
a prying device made for the sign industry: its called"lil' chizler". I have found that this to be the most helpful opening tool.
http://www.ebay.com/itm/like/16184595677...
also
https://www.qualitylogoproducts.com/trad...
you can use the broken screen unit to test.
Len Gorsky -
Add "remove the sim tray"...
Iain Lennon -
I echo the previous - a right royal pain to get the cover off! I started on the right side as seemed to be more give there… iFixit tools helped tho!
Steven Emery -
Just for the sake of clarity, I would add that you need to pry between the plastic bezel and the back casing. Not between the glass and bezel. Someone had already tried on the one I worked on and part of the bezel was missing in the top right corner. Made my job easier!
The best tools for this part are definitely something like the iFixit Jimmy and their opening tool, a few guitar picks and a spudger. Not too difficult once you get the first separation.
Cool_Breeze -
I managed to easily crack the screen, guess I’ll have to order a new one and “try” to put it in, in addition to the original job of replacing a dead battery on Nexus 7 2013..ahhhhhh, slow learner…
Gary Stamey -
Opened the case for the first time. It took me a while to find any gaps, but I found that the easy way to begin was using your fingernail to get into the sides. The middle left and middle right seemed a lot easier to…slip a nail in compared to the rest of the case, especially the corners and the top and bottom. With a small opening on both sides I used the opening tool to increase the gaps while using a couple of guitar picks to prop up the device against the back case. With most of the sides exposed, I worked on the bottom (create opening, leave a guitar pick to keep that part open, use the opening tool to get the rest out), and the opening was pretty much complete.
So far only the corners of the back case showed small cracks and my screen was pretty much unscathed.
Nam Lam -
This method worked best for me! Start opening on the middle left and right sides, then prop them open with guitar picks and use to the opening tool (carefully) prying up several times moving away from the middle towards the corners to pop off the back casing.
Frank's VR -