Introduction
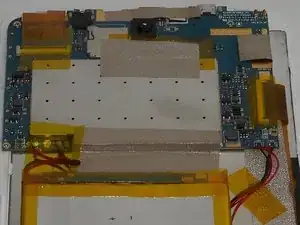
The motherboard is the central hub for all of your device component's connections. Failure of this component means that your device ceases to work entirely. As such, it is crucial to ensure successful repair of this component as it is one of the most important parts of the device. Follow this guide to perform successful replacement of the motherboard.
Tools
-
-
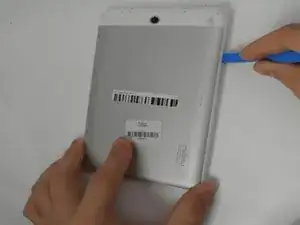
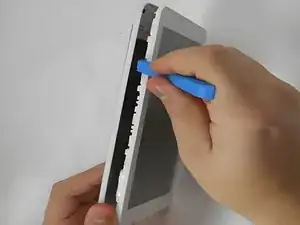
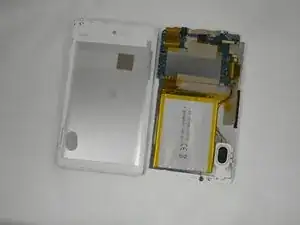
Use the opening tool to gently pry the back cover off of the tablet, running it along the perimeter of the device.
-
-
-
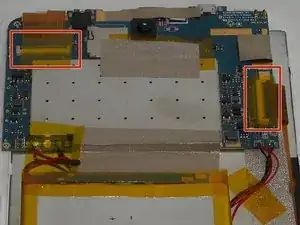
Remove any adhesive tape attached to the motherboard.
-
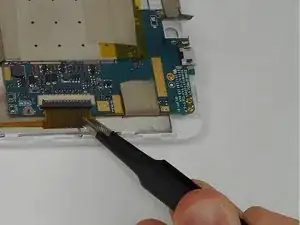
Detach the connecting ribbons on the motherboard using tweezers or your fingers.
-
-
-
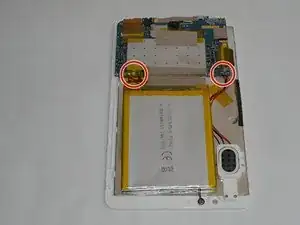
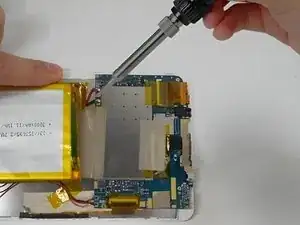
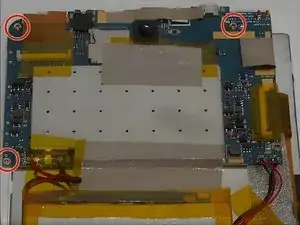
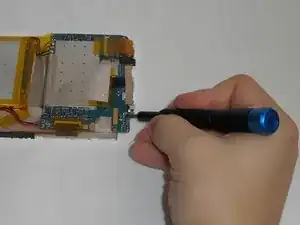
Use a Phillips #00 screwdriver to remove all three 0.8 screws holding the motherboard in place.
-
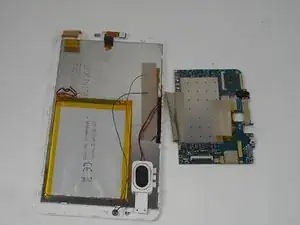
Remove the motherboard.
-
To reassemble your device, follow these instructions in reverse order.
