Introduction
Use this guide to replace the battery in your Motorola Moto 360 2nd Gen. The battery part numbers are FW3S and FW3L for the 42mm and 46mm respective case sizes.
Tools
Parts
-
-
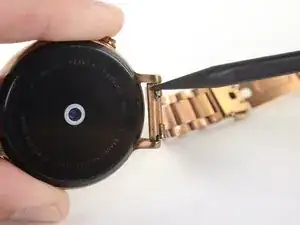
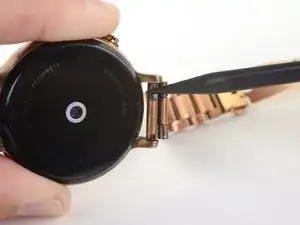
Use your finger or the tip of a spudger to compress the pin securing the watch band.
-
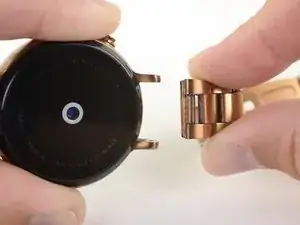
With the pin compressed, remove the watch band.
-
-
-
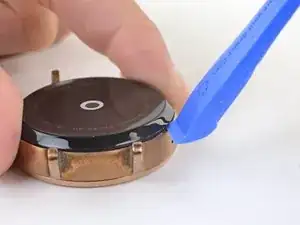
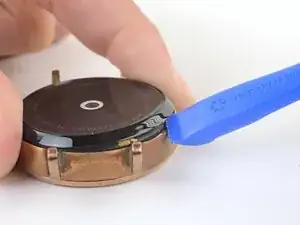
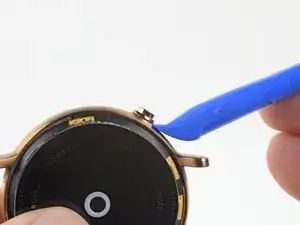
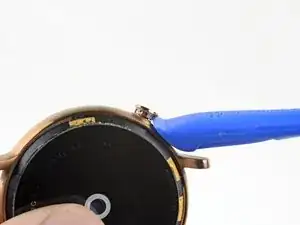
Insert an opening tool to into the small notch next to the microphone hole.
-
Slide the opening tool around the perimeter of the trim ring while prying up slightly to slice through the adhesive securing the ring to the watch.
-
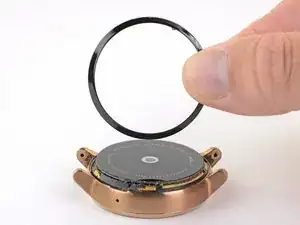
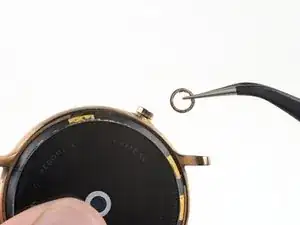
Remove the trim ring.
-
-
-
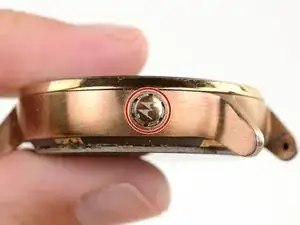
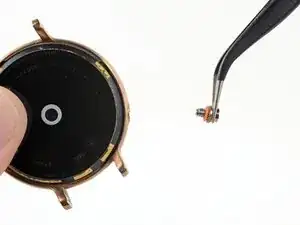
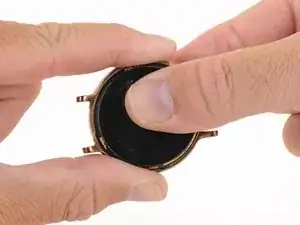
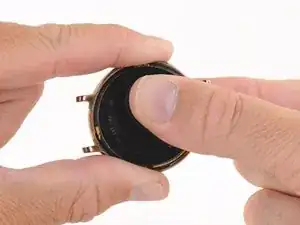
While holding the outer case steady, twist the inner watch assembly clockwise until it stops.
-
-
-
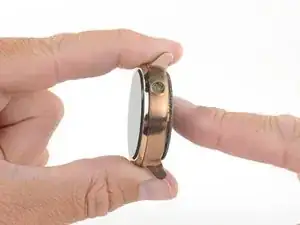
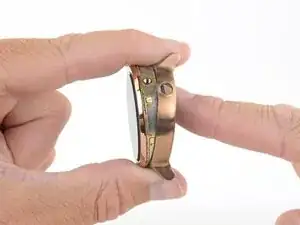
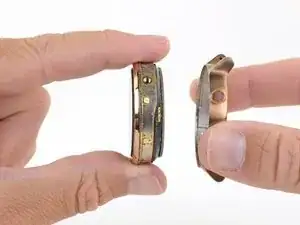
Hold the outer watch case steady and push against the bottom of the inner assembly to remove the inner assembly from the frame.
-
-
-
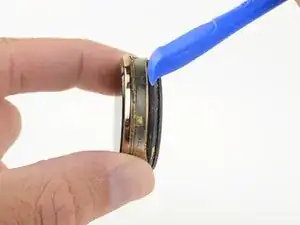
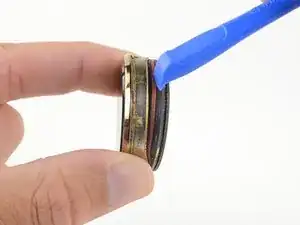
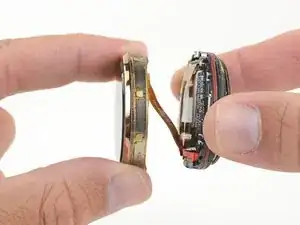
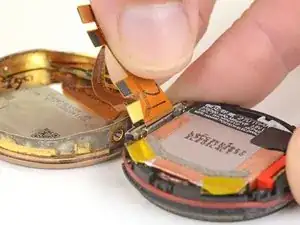
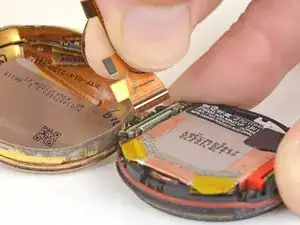
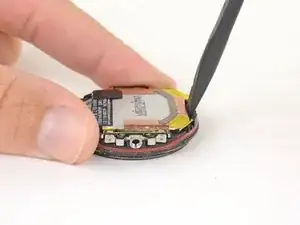
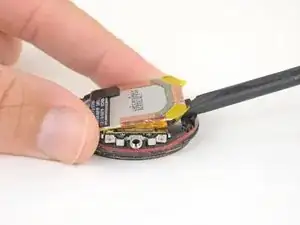
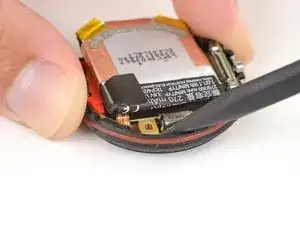
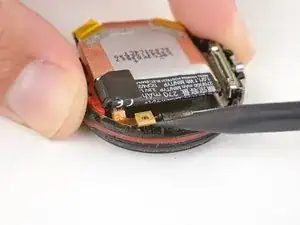
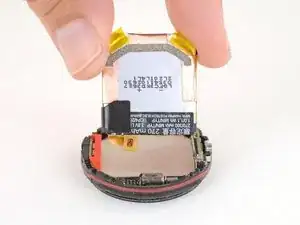
Use a fingernail or opening tool to pry the plastic lower assembly away from the display assembly.
-
-
-
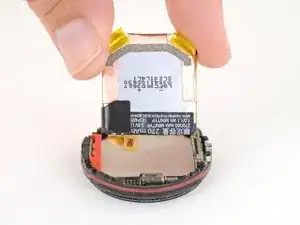
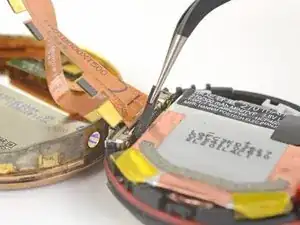
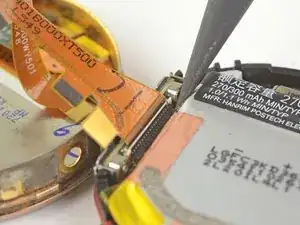
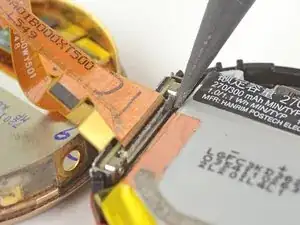
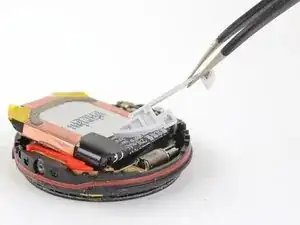
Use tweezers to remove the small rubber strip between the battery and the display ZIF connector.
-
To reassemble your device, follow these instructions in reverse order.
26 comments
Hi,
bei mir hat die Anleitung zu 100 % gepasst.
Meine Moto läuft nun wieder mit neuem Akku.
thomas01 -
Just went through with this. Had a few comments/suggestions for anyone trying this:
Step 1
- I moistened a small hand towel (you could probably use a paperwork) and microwaved it. I put it in a ziplock bag and it worked fine.
Step 2
- I only had two small flat head screw drivers (from an electronics repair kit.) I used one to pry near the microphone then worked the other around. The adhesive is a strip so it may come off on the ring in some areas and the watch body on others. At the end I scraped it from the body and reapplied it to the ring and it seemed to work well when I reassembled.
Step 3
- My watch had a gold ring and I couldn’t find a way to remove it at first. I ended up just using my smallest flat head and got underneath it to pry it off. Went pretty fast after that.
Ben -
We’ve updated this guide with better photos and instructions. Thank you for your comments and suggestions!
Step 3 (continued)
- As for removing the button, use a small flat head and place it at an angle in one of the spanner sockets. Then gentle tap the end with another object to loosen the screw. Once loosened, it unscrewed pretty easily by using one screw driver.
Step 4
- Similar to step 2, I inserted one then walked one around the outside gentle prying out the innards. Slipping the flat head between the gasket and the inside of the body takes some finesse but once you get about half way around it’s not too bad.
- The innards have a lip that runs around 2/3 the way around that goes under a lip on the body. I found this the most challenging part on removing and reinserting the innards. Just use a screw driver to pry away the body and then use a second to push in the innards. It takes some work. I tore a few parts of the gasket so I don’t think i’ll be swimming with this anymore, but the ring (first step) gives a decent seal against sweat and moisture.
Ben -
I am salivating at the trim ring because I've needed one for about a year and a half ?
Buff Boi -