Introduction

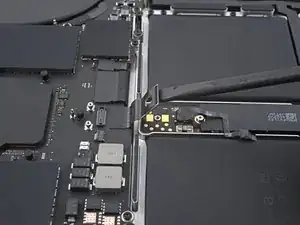
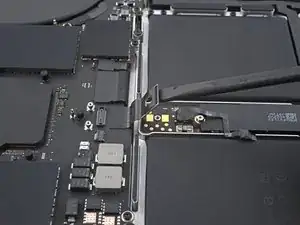
Use this guide to disconnect the battery in your MacBook Pro 16" 2021.

This is a prerequisite-only guide! This guide is part of another procedure and is not meant to be used alone.

  1. sAvCLYXqUkq3CpsT
    sAvCLYXqUkq3CpsT
    dYQhaLBJXSRTTctb
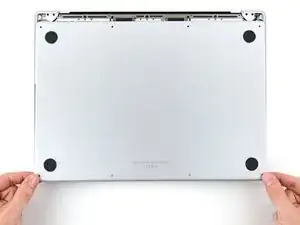
    • Completely power off and unplug your MacBook Pro before you start. Close the display and flip the entire laptop upside-down.

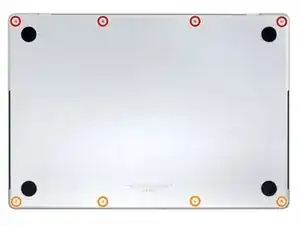
    • Use a P5 Pentalobe driver to remove eight screws securing the lower case:

    • Four 9.1 mm screws

    • Four 5 mm screws

    • Throughout this repair, keep track of each screw and make sure it goes back exactly where it came from to avoid damaging your device.

  2. XaNohnCmRnh2nZpJ
    XaNohnCmRnh2nZpJ
    vL2whH15EFx1twZH
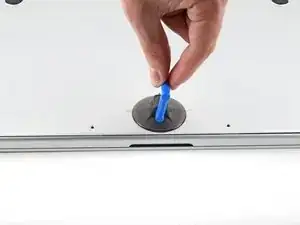
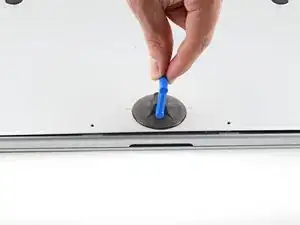
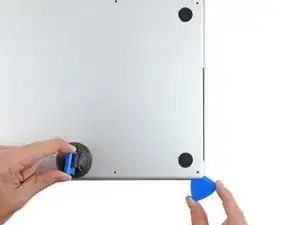
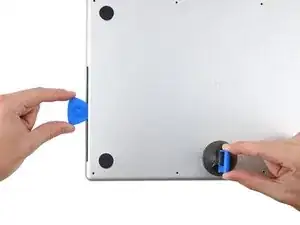
    • Press a suction handle into place near the front edge of the lower case, between the screw holes.

    • Pull up on the suction handle to create a small gap under the lower case.

  3. gKFYYs2sw4AKQjyZ
    gKFYYs2sw4AKQjyZ
    H4KsmKKCORb6oQgS
    XipK6OFYbtmB2HXx
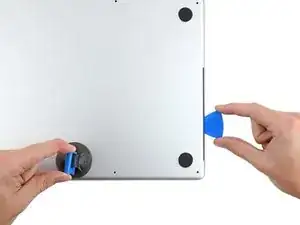
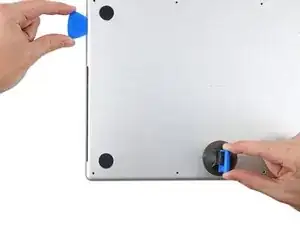
    • Insert an opening pick into the gap you just created.

    • Slide the opening pick around the nearest corner and then halfway up the side of the MacBook Pro.

    • This releases the first of the hidden clips securing the lower case. You should feel and hear the clip pop free.

  4. D6bdEaUShxT3UVIG
    D6bdEaUShxT3UVIG
    MUSM2IsQWQnMyLTY
    PVitYNF6oBIbr23x
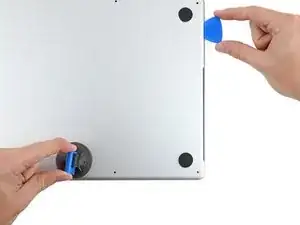
    • Repeat the previous step on the other side, using an opening pick to to release the second clip.

    Terrifying, don't be afraid, give it a good pull, the description above is exactly right.

    Scott -

  5. jhQl23lkLmdIajyL
    jhQl23lkLmdIajyL
    5Biq1bJPZBQJR6co
    SosOCOgOT4DGPusW
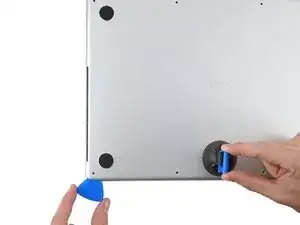
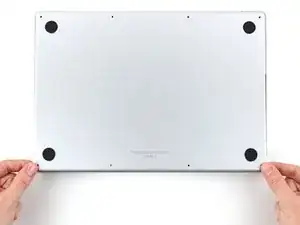
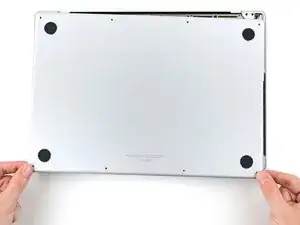
    • Pull firmly to slide the lower case towards the front edge of the MacBook (away from the hinge area) to separate the last of the clips securing the lower case.

    • Pull first at one corner, then the other.

    • Pull to the side—not up.

    • This may require a lot of force.

  6. Opome2xEF244Sbik
    Opome2xEF244Sbik
    Zhm2CbuWmJyMyRHI
    NZBNkwTekFWxsHvu
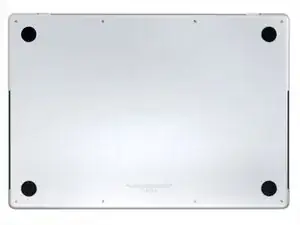
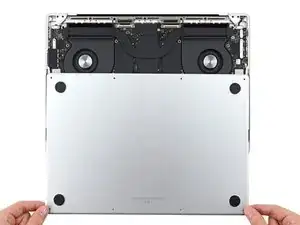
    • Remove the lower case.

    • To reinstall the lower case:

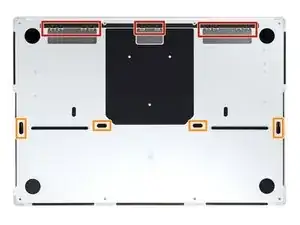
    • Set it in place and align the sliding clips near the display hinge. Press down and slide the cover toward the hinge. It should stop sliding as the clips engage.

    • When the sliding clips are fully engaged and the lower case looks correctly aligned, press down firmly on the lower case to engage the four hidden clips underneath. You should feel and hear them snap into place.

  7. LLefRtZMZ3sxFYAq
    LLefRtZMZ3sxFYAq
    ASjTh2lGvC5ljHUc
    6dswNWn4yXoaF6nr
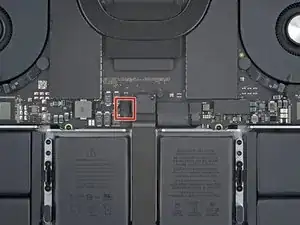
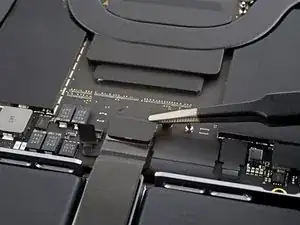
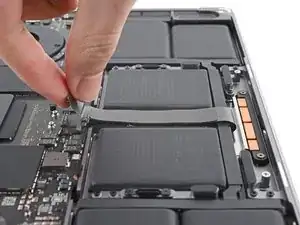
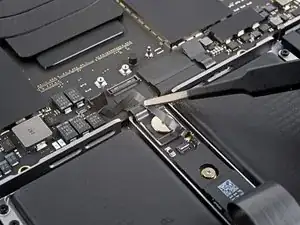
    • Peel back any tape covering the battery board data cable connector on the logic board.

  8. FQOeUAMampuhHfcv
    FQOeUAMampuhHfcv
    u1JNemMNxIRwXdgQ
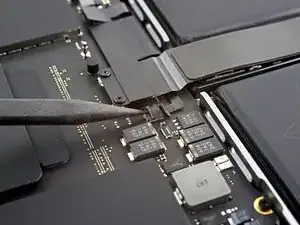
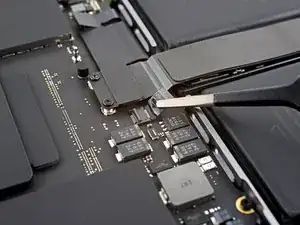
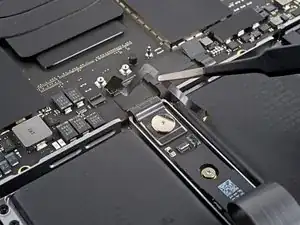
    • Use a spudger to gently pry up the locking flap on the ZIF connector for the battery board data cable.

  9. rWcLXdfLoUAAyt1U
    rWcLXdfLoUAAyt1U
    QOTQylMDMkoi6FHG
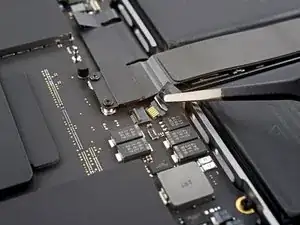
    • Disconnect the battery board data cable by sliding it out from its socket on the logic board.

  10. nJWDpHdBT5p4Fl1P
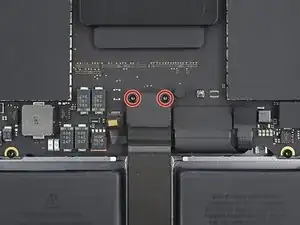
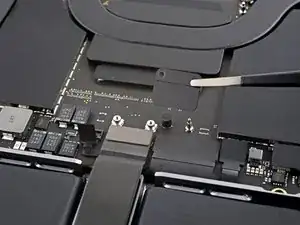
    • Use a T3 Torx driver to remove the two 2.1 mm‑long screws securing the trackpad cable bracket to the logic board.

    Das sind T4 Schrauben bei mir

    Ralf Schäfer -

  11. TDLlTPDWBqrZMSdE
    TDLlTPDWBqrZMSdE
    wDrsl5nnA1K31knG
    • Use tweezers, or your fingers, to remove the trackpad cable bracket.

  12. RcTGakJu5YZwLSCQ
    RcTGakJu5YZwLSCQ
    elqdt4ScLTAtGDQO
    • Use the flat end of a spudger to pry up and disconnect the trackpad cable's press connector from the logic board.

    • To re-attach press connectors like this one, carefully align and press down on one side until it clicks into place, then repeat on the other side. Do not press down on the middle. If the connector is misaligned, the pins can bend, causing permanent damage.

  13. sYAtIqlcTEYxokrn
    sYAtIqlcTEYxokrn
    yy5FwLmYLN5hmmVh
    • The trackpad cable is lightly adhered to the frame.

    • Peel the trackpad cable away from the device, making sure to separate the adhesive.

  14. sspXELRZt1xWGUlS
    sspXELRZt1xWGUlS
    FTLGaItLAMAfeYrB
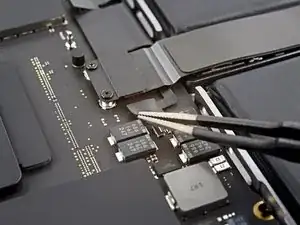
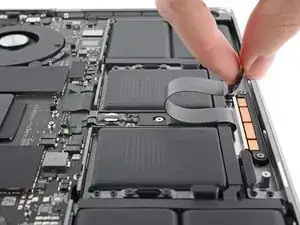
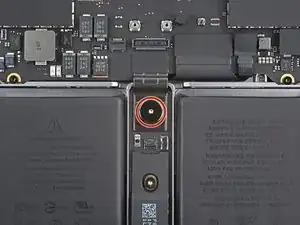
    • Peel back any tape covering the battery board data cable connector under the large pancake screw.

  15. GDuYjnNH5iYGtRvW
    GDuYjnNH5iYGtRvW
    DrMamQumljVB3anV
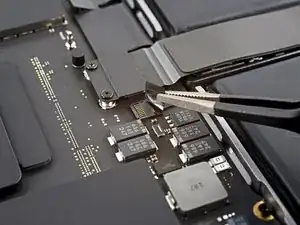
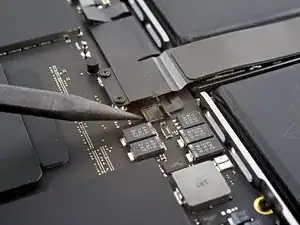
    • Use a spudger to gently pry up the locking flap on the ZIF connector for the battery board data cable.

  16. NfpQXfGHLNltvL2i
    NfpQXfGHLNltvL2i
    gV4U1VA1gQWNHEyR
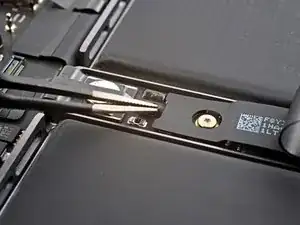
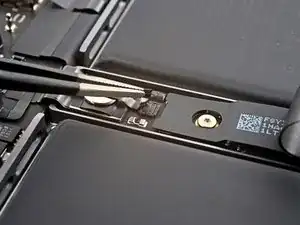
    • Disconnect the battery board data cable by sliding it out from its socket on the battery board.

    This is SO small - I used a very fine guitar pick to get it to release, none of my tools were small enough.

    Scott -

  17. VONenjYIZcfg1ioj
    VONenjYIZcfg1ioj
    NcSXpygTI6GDcqGk
    • The battery board data cable is lightly adhered to the device.

    • Slide blunt nose tweezers under areas with adhesive to separate the cable from the device.

    • Remove the battery board data cable.

  18. OkqL5dxBAJeXCSFx
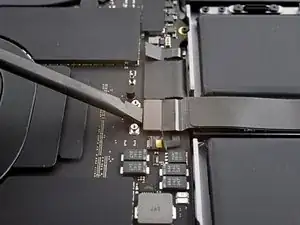
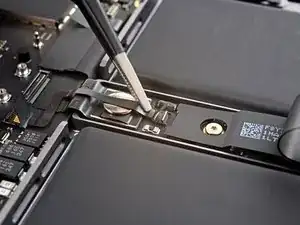
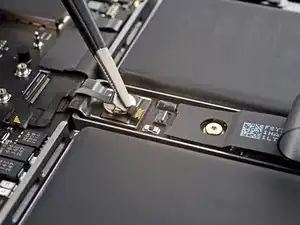
    • Use a T5 Torx driver to remove the 3.9 mm pancake screw securing the battery power connector.

  19. hvVm3YJcO2MRuHkK
    hvVm3YJcO2MRuHkK
    rFVOELLuBj2ZHQDt
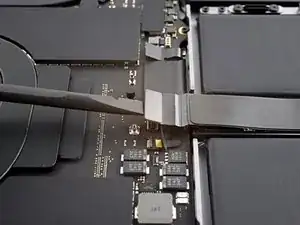
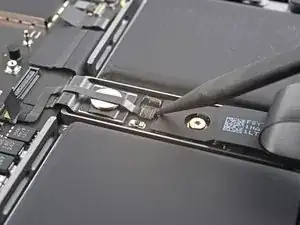
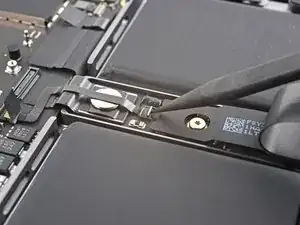
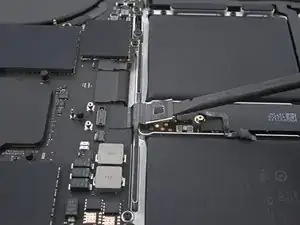
    • Use a spudger to lift the battery power connector, disconnecting the battery.

    • Lift the connector high enough to keep it separated from its socket while you work. If it accidentally makes contact, it could damage your MacBook Pro.

    is it possible to buy/replace this battery power connector? I broke mine on the logic board side and they are impossible to find. Ofc apple want $900 because the laptop is "modified" after replacing the keyboard :|

    Thenon -

Conclusion

To reassemble your device, follow these instructions in reverse order.
Alex Diaz-Kokaisl

Member since: 16/01/22

117875 Reputation

0 comments