Introduction
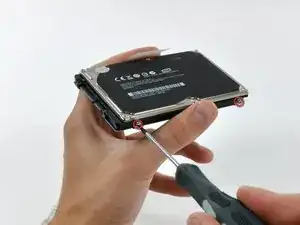
When replacing your hard drive, you must transfer the Torx screws from the old drive to the new one.
-
-
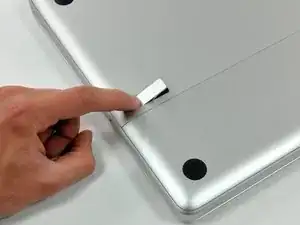
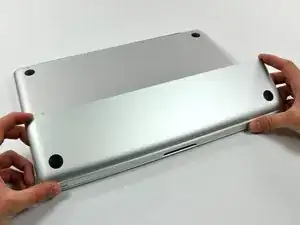
With the case closed, place the Unibody top-side down on a flat surface.
-
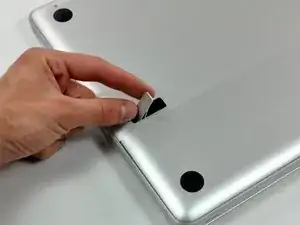
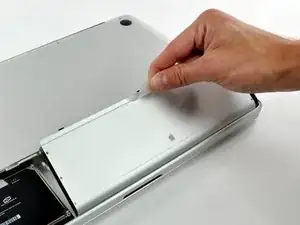
Depress the grooved side of the access door release latch enough to grab the free end. Lift the release latch until it is vertical.
-
-
-
Grab the translucent plastic tab and pull the battery up and out of the Unibody.
-
If the latch is depressed it will lock the battery in place.
-
-
-
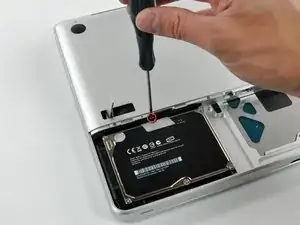
Lift the hard drive by its pull tab enough to grab and remove the retaining bracket.
-
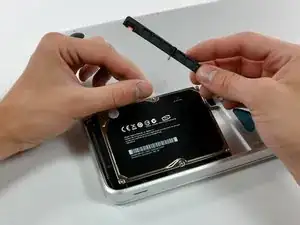
Lift the hard drive out of the upper case, minding the cable attaching it to the computer.
-
-
-
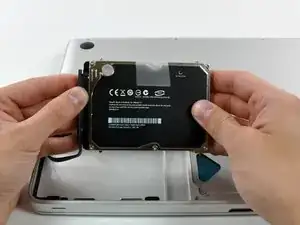
Remove the hard drive from its cable by pulling the cable connector straight away from the drive.
-
To reassemble your device, follow these instructions in reverse order.

7 comments
At step 7, the side screws are very tight. Both T6 Torx and 1.5 Hex keys dont work for me. I fear the screws could get damaged if i try more. How do i unscrew them?
svelcme -
What was your solution to removing the screws? I am having the same isse.
Perfect instructions. I am now running a Crucial SSD drive and the improvement is amazing. Thanks.
Carlos -
Hello
Sandisk X400 SSD proposed for this macbook works in 3gb/s?
There is a known limitation of nvidia chipset with ssd's who appear to work as sataI instead of sataii.
Thank you
Any news regarding this?
The A1286 has no Access Door.!!
I actually can see no sign of the battery!...
aguib -