Introduction
This serves as the starting point for every repair on your MacBook Pro. You'll need a P5 Pentalobe screwdriver to remove the lower case and get into the device.
For your safety, discharge your MacBook Pro's battery before you begin this procedure. A charged lithium-ion battery can create a dangerous and uncontrollable fire if accidentally punctured.
Tools
Parts
-
-
If your MacBook is running Big Sur v11.1 or later, disabling Auto Boot may not work. You can proceed normally, but make sure to disconnect the battery as soon as you're inside.
-
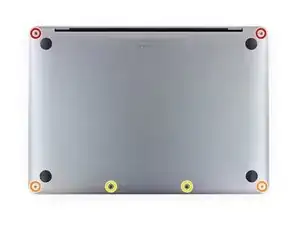
Use a P5 Pentalobe driver to remove the six screws securing the lower case:
-
Two 6.8 mm screws
-
Two 5.3 mm screws
-
Two 3.4 mm screws
-
-
-
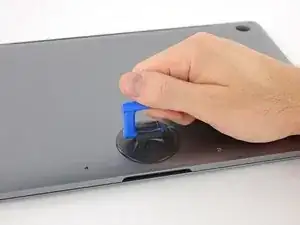
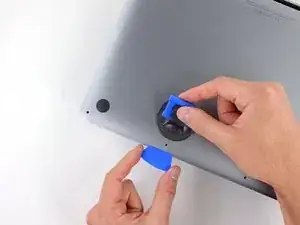
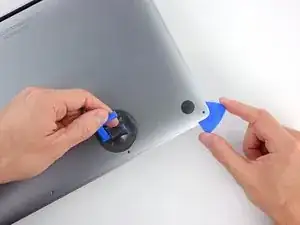
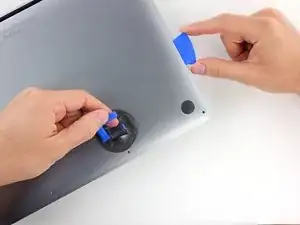
Apply a suction handle to the lower case near the front-center area of the MacBook Pro.
-
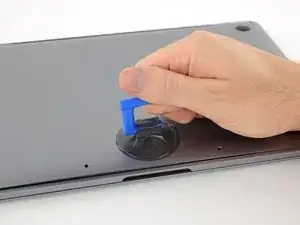
Lift the suction handle to create a slight separation between the lower case and the chassis.
-
-
-
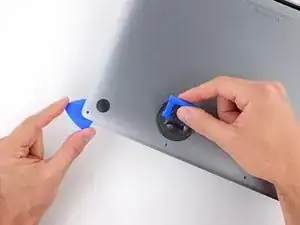
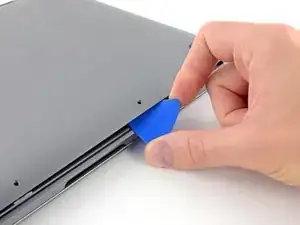
Insert one corner of an opening pick into the space between the lower case and the chassis.
-
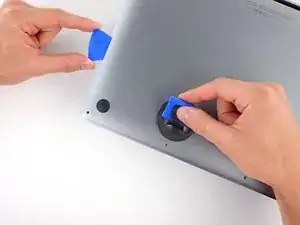
Slide the opening pick around the nearest corner and halfway up the side of the case.
-
-
-
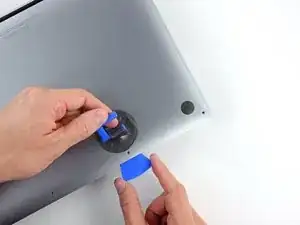
Repeat the previous step on the opposite side, sliding your opening pick under the lower case and up the side to pop the second clip free.
-
-
-
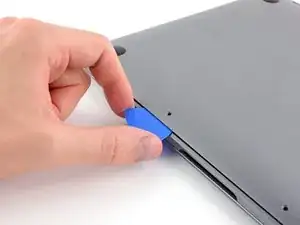
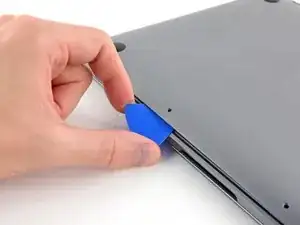
Insert your opening pick once again under the front edge of the lower case, near one of the two centermost screw holes.
-
Give the pick a firm twist to pop free the third clip securing the lower case to the chassis.
-
Repeat this procedure near the other of the two centermost screw holes, popping the fourth clip free.
-
-
-
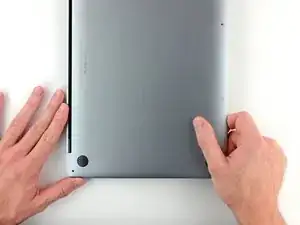
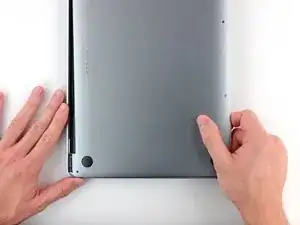
Pull the lower case firmly towards the front of the MacBook (away from the hinge area) to separate the last of the clips securing the lower case.
-
-
-
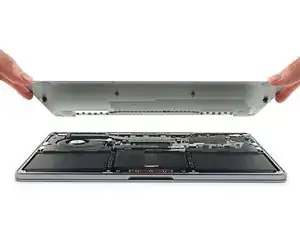
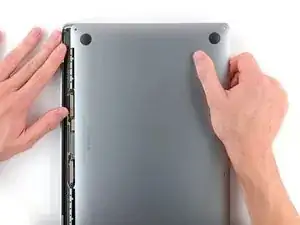
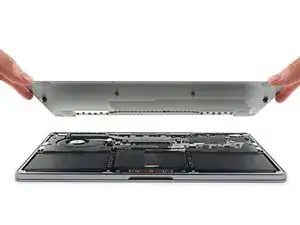
Remove the lower case.
-
Set it in place and align the sliding clips near the display hinge. Press down and slide the cover toward the hinge. It should stop sliding as the clips engage.
-
When the sliding clips are fully engaged and the lower case looks correctly aligned, press down firmly on the lower case to engage the four hidden clips underneath. You should feel and hear them snap into place.
-
To reassemble your device, follow these instructions in reverse order.
One comment
Fantastic guide! Makes no sense why Apple makes such a simple thing so hard. Almost thought I broke something.
Eli Dinh -

I use a empty egg carton to place screws in in the order of removal from computer
robert -
That's a good idea Robert!
Tom Kingsley -