Introduction

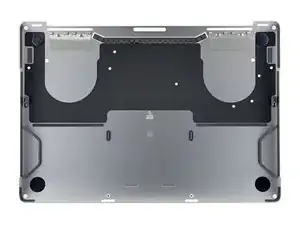
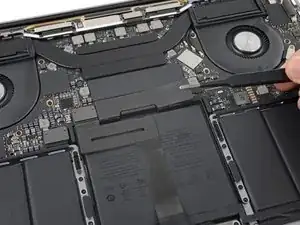
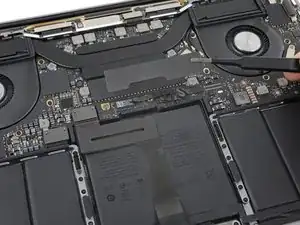
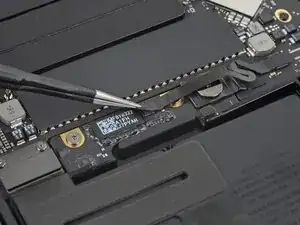
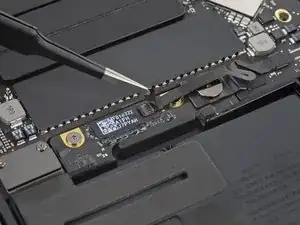
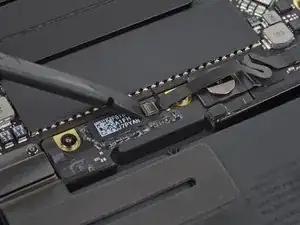
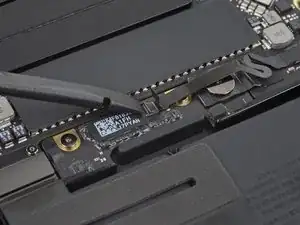
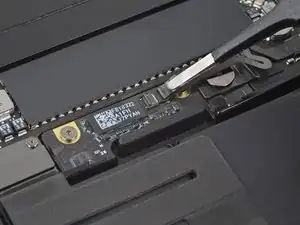
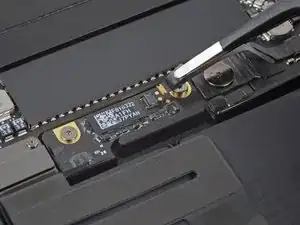
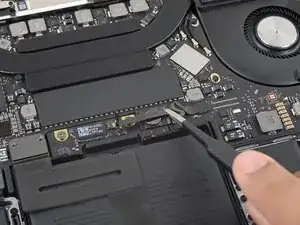
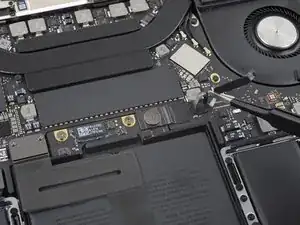
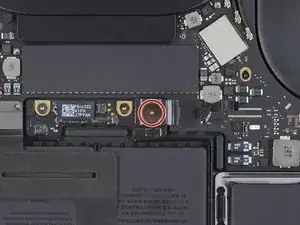
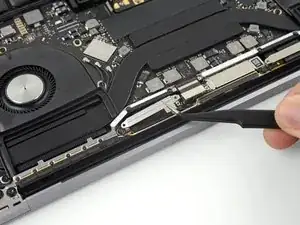
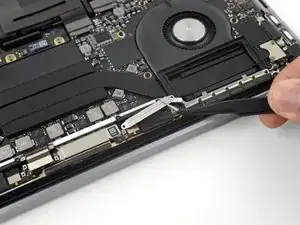
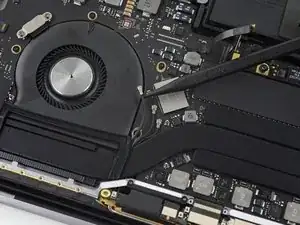
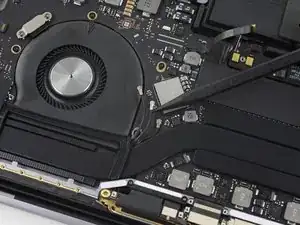
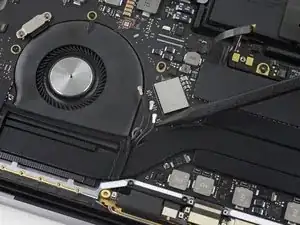
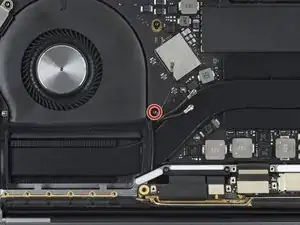
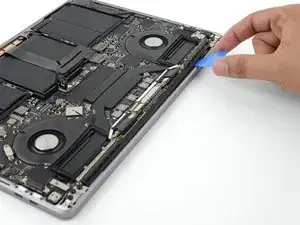
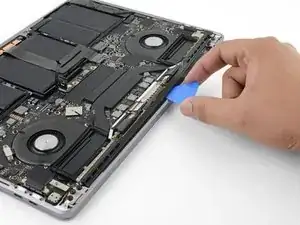
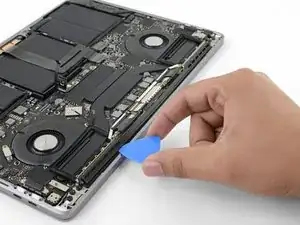
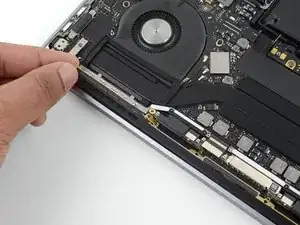
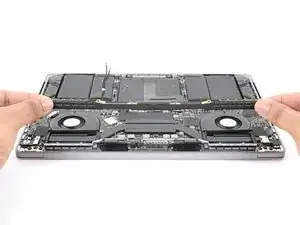
Follow this guide to replace the wireless antenna assembly in your MacBook Pro, or to get it out of the way for other repairs.

For your safety, drain your MacBook Pro’s battery to 25% charge or less before you begin.

Some photos in this guide are from a different model and may contain slight visual discrepancies, but they won't affect the guide procedure.

  1. sLGCwxfH5Z1fVqiP
    • Before starting this procedure, you should disable your Mac's Auto Boot feature. Auto Boot powers on your Mac when you open the lid, and may be accidentally triggered during disassembly. Use this guide to disable Auto Boot.

    • If your MacBook is running Big Sur v11.1 or later, disabling Auto Boot may not work. You can proceed normally, but make sure to disconnect the battery as soon as you're inside.

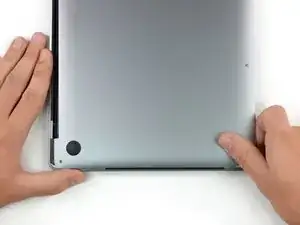
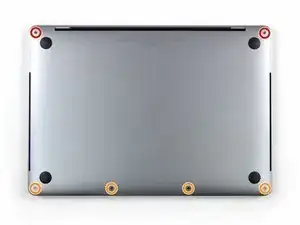
    • Completely power off and unplug your MacBook before you start. Close the display and flip the entire laptop upside-down.

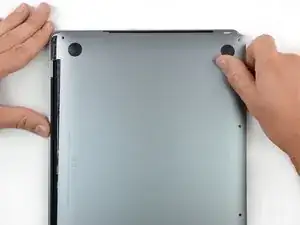
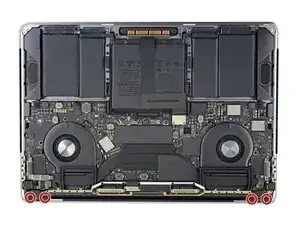
    • Use a P5 Pentalobe driver to remove the six screws securing the lower case:

    • Two 6.7 mm screws

    • Four 3.4 mm screws

    • Throughout this repair, keep track of each screw and make sure it goes back exactly where it came from to avoid damaging your device.

  2. osaHpsUCcqYJ5vkG
    osaHpsUCcqYJ5vkG
    NboVOdHFBNHFOJPr
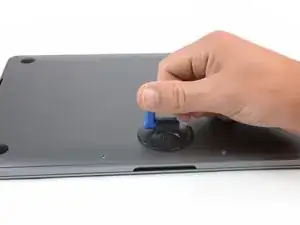
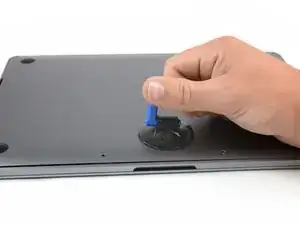
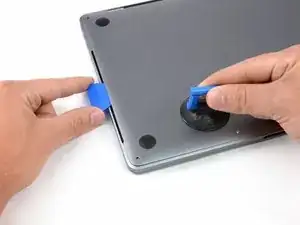
    • Apply a suction handle to the lower case near the front-center area of the MacBook Pro.

    • Lift the suction handle to create a slight gap between the lower case and the chassis.

  3. hAHYIDBFvJ4WNxf2
    hAHYIDBFvJ4WNxf2
    psLt1wKSkYhQNYHd
    UK5yIrxfcfRZGhqX
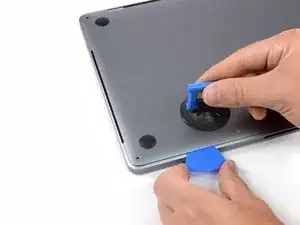
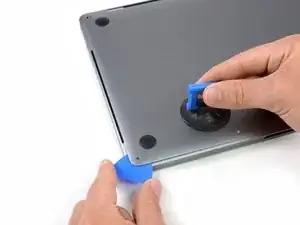
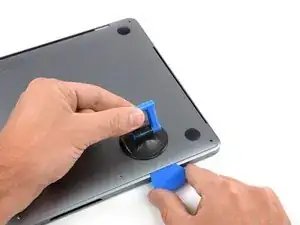
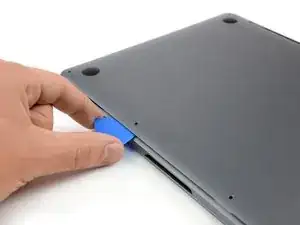
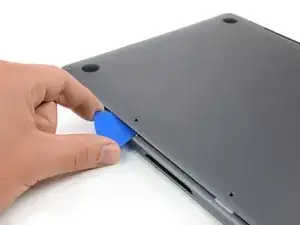
    • Insert one corner of an opening pick into the space between the lower case and the chassis.

    • Slide the opening pick around the nearest corner and halfway up the side of the case.

    • This releases the first of the hidden clips securing the lower case to the chassis. You should feel and hear the clip pop free.

  4. ISWfetPgvKBsjOuU
    ISWfetPgvKBsjOuU
    wUQs1NsoXumTrLUN
    YjPRQuBO3PgmxHZ2
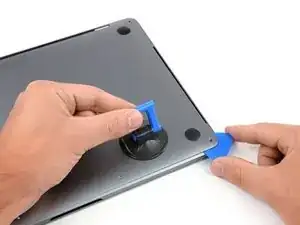
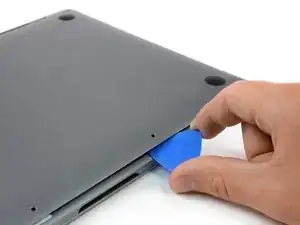
    • Repeat the previous step on the opposite side, sliding your opening pick under the lower case and up the side to pop the second clip free.

  5. JBYHNMxfrfyDYIAS
    JBYHNMxfrfyDYIAS
    buRCKFSn4k1aNdcQ
    3rpxVUDIFteVN6Gp
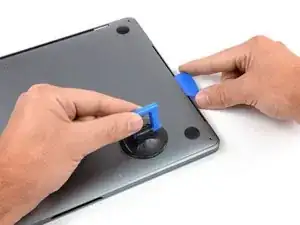
    • Insert your opening pick once again under the front edge of the lower case, near one of the two centermost screw holes.

    • Give the pick a firm twist to pop free the third clip securing the lower case to the chassis.

    • Repeat this procedure near the other of the two centermost screw holes, popping the fourth clip free.

  6. dGMQvsHgheHZuSMs
    dGMQvsHgheHZuSMs
    vtTeKNQv4hK1mfJ5
    UKBDcHJSTtaPlDRT
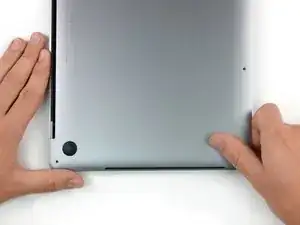
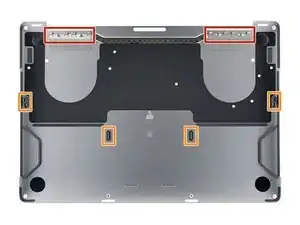
    • Pull the lower case firmly towards the front of the MacBook (away from the hinge area) to separate the last of the clips securing the lower case.

    • Pull first at one corner, then the other.

    • Pull to the side—not up.

    • This can require a lot of force.

    How much force are we talking. I am giving it hell.

    Chris MacCoy -

  7. QE5DDkPTCUxkMojR
    QE5DDkPTCUxkMojR
    IsIJ1d6SwI1DSZq6
    V4ZAwLEAhuHqYWWq
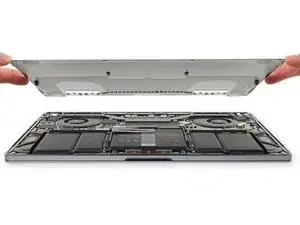
    • Remove the lower case.

    • To reinstall the lower case:

    • Set it in place and align the sliding clips near the display hinge. Press down and slide the cover toward the hinge. It should stop sliding as the clips engage.

    • When the sliding clips are fully engaged and the lower case looks correctly aligned, press down firmly on the lower case to engage the four hidden clips underneath. You should feel and hear them snap into place.

  8. 5HZMhBjrioUj5lL6
    5HZMhBjrioUj5lL6
    EPhIVvuNvBaLRTE6
    • Carefully peel up the large piece of tape covering the battery connector, on the edge of the logic board nearest the battery.

    • Remove the tape.

  9. kaRhnoaZYErSUvLf
    kaRhnoaZYErSUvLf
    Nef2wjSqIEPJxaWL
    • Gently peel back the small piece of tape covering the battery board data cable connector.

    • The tape is integrated into the ribbon cable and will not detach completely. Simply peel it back enough to access the connector.

  10. t5QBGUw6LpBCoPHc
    t5QBGUw6LpBCoPHc
    6sjTkPKRATTmNuCM
    • Use the tip of a spudger to flip up the small black locking tab securing the cable in its connector.

    Be very careful here. It is easy to break the whole connector off the battery board, which is what I did. Luckily the connector is part of the replacement battery, so you just need to remove the connector from the cable. The pictures here should provide more detail so you can see better what is going on.

    Mark Hayden -

    thanks a lot !!!!! great help :)

    der gute Geist -

  11. 2bersiQZgUKN1NMO
    2bersiQZgUKN1NMO
    5hQYuIWHnCmArPDg
    • Disconnect the battery board data cable by sliding it out from its socket.

    • Slide parallel to the logic board, in the direction of the cable.

    As simple as this step might seem, the golden leads will disapper the moment you remove it as it has some adhesive under the black strip that covers it. Ensure you peel it back enough to display the golden leads after swapping the batteries out.

    Harish Prasanna -

    Your battery may come with this ribbon cable. In that case, disconnect the other end.

    bencottrill -

  12. QcIDoURXUwuHwaPm
    QcIDoURXUwuHwaPm
    ZmvLtlhYsOxYHuLw
    • Fold the battery board data cable to the side and out of the way.

    I don't recall removing this cable from the laptop. I see that when actually putting the new battery in, the cable is attached already where it was detached and the right end needs to be reconnected.

    durphym -

    unfortunately the instructions to removing this cable are absent and I tried to pry the tab up instead of out and I damaged my board. Now no battery will work but it still functions with only with power cord. So be careful!

    Laloyd -

  13. AeJIpXPThW6iLJfx
    • Use a T5 Torx driver to remove the 3.7 mm pancake screw securing the battery power connector.

  14. XGJ1kgie42wG3Qx6
    XGJ1kgie42wG3Qx6
    XGaY2hUpcsfZgnQW
    • Use a spudger to gently lift the battery power connector, disconnecting the battery.

    • Lift the connector high enough so that it stays separated from its socket. If it accidentally makes contact during the course of your repair, it could damage your MacBook Pro.

    To completely avoid accidental contacts I recommend to wrap this connector in a piece of paper and hold it in place with tape.

    Do not put tape directly on the contact underside, as that may leave some glue that would affect the contact conductivity.

    Sergio Ballestrero -

    I put a piece of tape on the underside of the connector (sticky side up) to insure against accidental battery contact. If you put tape on the logic board side of the connection, some insulating padding material might accidentally stick to the tape when the tape is removed during reassembly.

    W. Smith -

  15. yNHrAaGME3XGgqaM
    yNHrAaGME3XGgqaM
    EPqjYX1pCBmS5Gsg
    iU2BjKmAtQYPJfPI
    • Use a T3 Torx driver to remove the four 1.9 mm screws securing the plastic covers on top of the display hinges.

    • Remove both plastic hinge covers.

  16. BphDrMIHMU4WfAUA
    BphDrMIHMU4WfAUA
    WFDcfnabYEe3uFR4
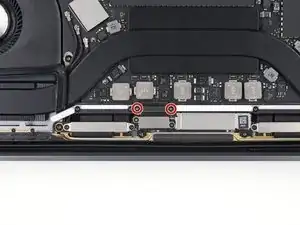
    • Remove the two 2.9 mm T3 Torx screws securing the aluminum cover on top of the main display cable.

    • Remove the cover.

  17. QFa3RgJJDPnkXKTY
    QFa3RgJJDPnkXKTY
    YCCafBGikPcPEDFH
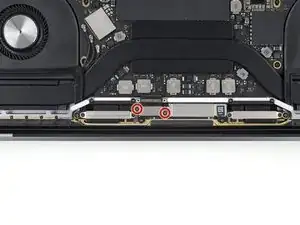
    • Remove the two 1.7 mm T3 Torx screws securing the aluminum cover on top of the display cable flex connector.

    • Remove the cover.

  18. TgWPIZDNFMlLbvSf
    TgWPIZDNFMlLbvSf
    Y3edDG13ZQHSneGV
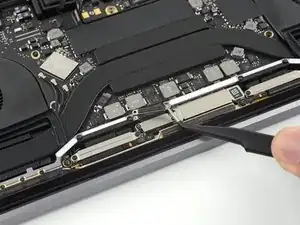
    • Pry the display board flex cable straight up from its socket to disconnect it from the display board.

  19. 2rtkEkjhvNmuiShE
    2rtkEkjhvNmuiShE
    kPWWPo3aBr5PX1mL
    4XeUWhDNWe6ce6T1
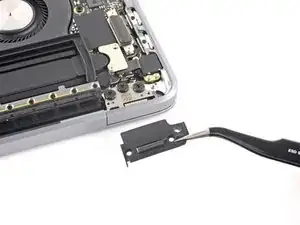
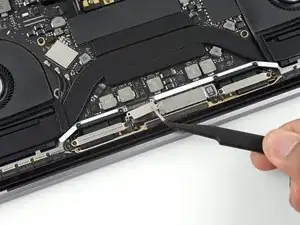
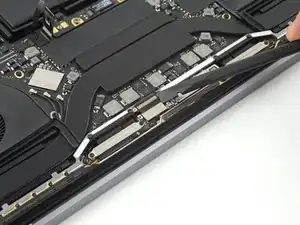
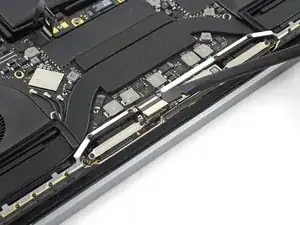
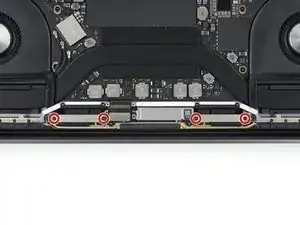
    • Remove the four 1.5 mm T3 Torx screws securing the two aluminum covers on top of the two display board cables.

    • Use a pair of tweezers to remove the two aluminium covers.

    this step is completely unnecessary, there is no reason what so ever that this would even need to be done, unless you want to desolder the board

    Jacob Whitney -

    If you are replacing the screen, and your replacement screen doesn't come with these pre-installed, you'll need to transfer them to the new screen.

    Some of the steps in these guides are shared with other guides, depending what brought you here you may not need to do this step.

    maccentric -

  20. c4V1gxjnxUbeABMU
    c4V1gxjnxUbeABMU
    JW6QHOvWCviSdlho
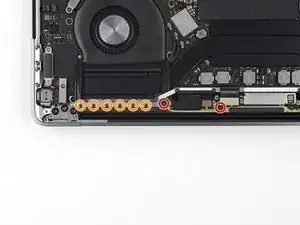
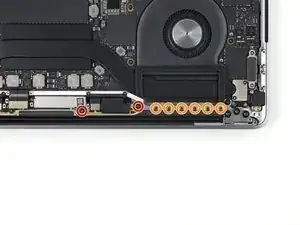
    • Remove the four 3.9 mm T5 Torx screws (two from each side) securing the antenna cable assembly.

    • Also remove the twelve 1.1 mm P2 pentalobe screws (six from each side).

  21. CL5XUQFupQxPhSXM
    CL5XUQFupQxPhSXM
    vJij4ZGXVXUyGDyo
    1DEhIsLSQqUFLpfe
    • Carefully disconnect the three antenna coax cables by prying them straight up from the logic board.

    • Slide your tweezers or the pointed end of your spudger underneath each cable until it's near the socket, and then gently twist or pry up to disconnect it.

    • To reconnect each cable, align the connector directly over its socket, and then press down so it snaps into place.

  22. rSgUvEPGOmnCWnZv
    • Remove the 2.8 mm T5 Torx screw securing the three antenna coax cables to the main board.

  23. 2KeT1au4LADWETJE
    2KeT1au4LADWETJE
    PCpFTX3I5hDBEdGf
    4ZFbFUS1QYgQXoNt
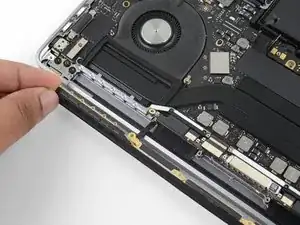
    • Use an opening pick to lever out the antenna cable assembly in the areas shown.

    • Don't slide the opening pick from side to side, as there are two display cables that could be damaged in the way.

  24. HVqTy4fYBOLGXqIb
    HVqTy4fYBOLGXqIb
    ahmXV1RMxmfSlXW2
    FJgUwKrKReA3BPCp
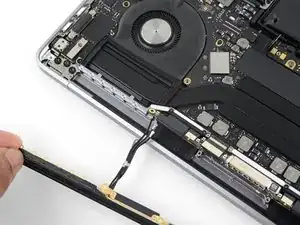
    • Carefully remove the antenna assembly, while simultaneously feeding the antenna cable bundle out from underneath the heat pipe.

  25. l1EAeQaTZMDSTGUH
    • Remove the antenna cable assembly.

    • During reassembly, gently pinch the cable bundle together and guide it under the heat pipe into the correct position on the board. If needed, use your tools to help guide it through, but don't force it.

Conclusion

Compare your new replacement part to the original part—you may need to transfer remaining components or remove adhesive backings from the new part before installing.

To reassemble your device, follow the above steps in reverse order.

Take your e-waste to an R2 or e-Stewards certified recycler.

Repair didn’t go as planned? Try some basic troubleshooting or search our Answers community for help.
Carsten Frauenheim

Member since: 10/03/20

110978 Reputation

0 comments