Introduction

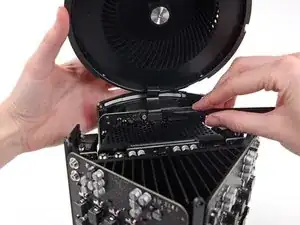
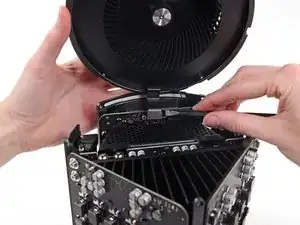
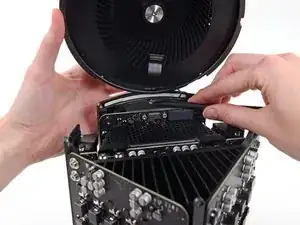
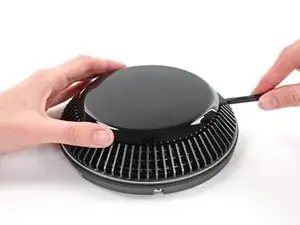
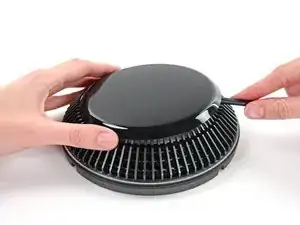
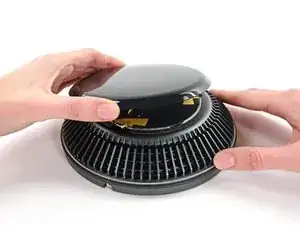
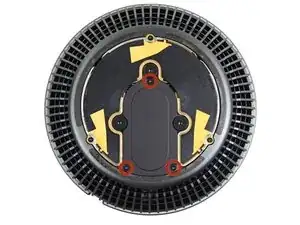
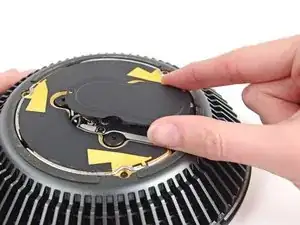
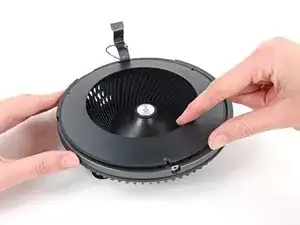
The Mac Pro is cooled by a single centrifugal fan. Use this guide to remove the fan for cleaning or replacement.

  1. UvUDEeuAGOcSyZ6Y
    UvUDEeuAGOcSyZ6Y
    6E4dVROBn2KCRitH
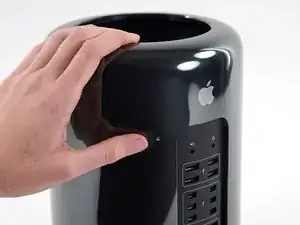
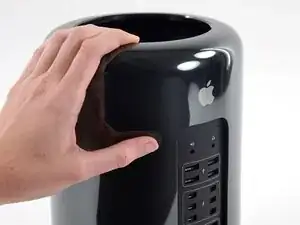
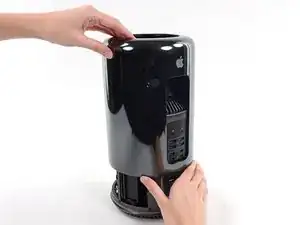
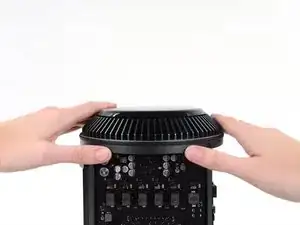
    • Slide the lock switch to the right, to the unlocked position.

  2. 1T6FWnrfHWRH2PIX
    1T6FWnrfHWRH2PIX
    LZUjZMT1W2HyocfY
    qEZURvNGfsFRhn15
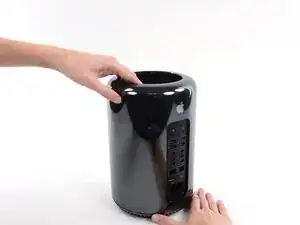
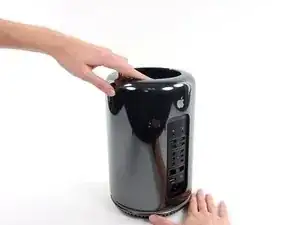
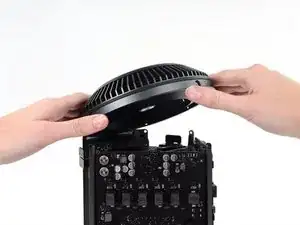
    • Lift the outer case straight up off the Mac Pro.

    • It may help to push down on the center of the fan while lifting the case up.

  3. thx2PRFESOcKGAcF
    thx2PRFESOcKGAcF
    fowEwJDQUHt5gRvN
    YkicYtjklAO35ERL
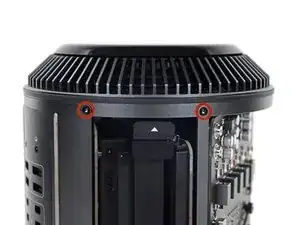
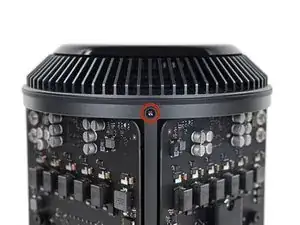
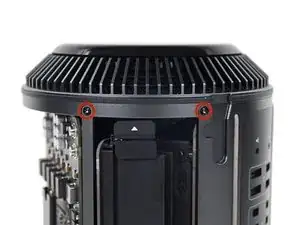
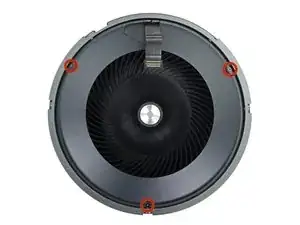
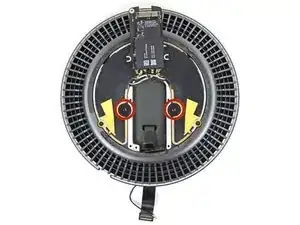
    • Remove five 5.1 mm T10 Torx screws from around the outer perimeter of the fan assembly.

    You don't have to remove the fan assy to get to the wifi board & card. It can be done with the fan assy still attached.

    Fat Mango -

    Fat Mango is correct. That said. If you do pull the fan assembly note that the screws are all held in with blue Permatex and breaking them free takes a fair amount of effort. Getting a good set of Torx screwdrivers is a must.

    Jim WIlson -

    Hey guys, what would happen if you only replace one card.. I have a D300 but the plan is to upgrade to D500 or D600. So If I can afford and install one instead of the pair would it increase something? or will it cause any conflict? I guess I don’t understand if I the Mac Pro has 2 D300 graphic cards that means each has 1GB? Same as If I would Install 1 D600 that would increase 3GB only? Thanks.

    marcotamayo -

    D300 = 2GB each card. Very few apps uses two cards at the same time.

    Gio Cas -

    The (5) Screws are Apple part number 923-0713

    Steven Gier -

  4. fEANTTnYS4TS3pQD
    fEANTTnYS4TS3pQD
    V2ArmlpPcrPPbGTB
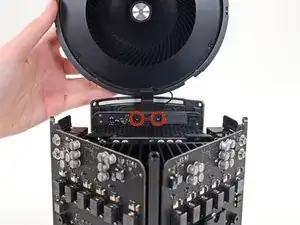
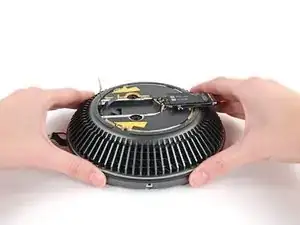
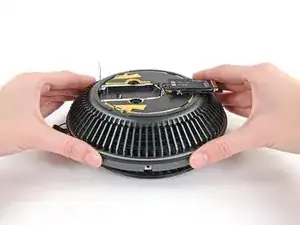
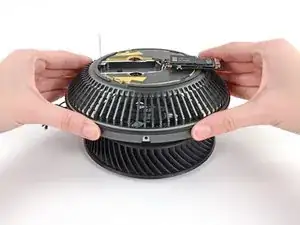
    • The fan assembly is attached to the rest of the computer by two cables on the IO board side.

    • Tilt the assembly up away from the IO board.

    • Do not try to remove the fan assembly yet, as it is still attached by two cables.

  5. lceQ6InRYFH5qg2f
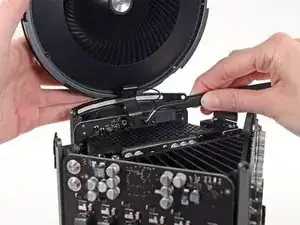
    • While supporting the fan assembly with one hand, loosen the two T8 captive screws in the fan cable bracket.

    • These screws are captive in the Mac Pro. Do not try to remove these screws from your Mac Pro.

    On my Mac Pro (assembled mid-2017) these are T8 screws. In fact, there were no T7 screws anywhere in my machine.

    mark33 -

    There was no bracket on top of the cable at all, so I got a bit confused, so I had to skip step 5 and 6.

    Rakesh -

    On my machine, a TR7 worked to remove them due to the weird angle.

    Wilson Gaberino -

  6. Y6MKDVBUdIumVZuf
    • Use a pair of tweezers to pull the fan cable bracket away from the fan assembly.

  7. JUE2RPF2GwjcP2kr
    JUE2RPF2GwjcP2kr
    oW6DugeJyYrgKGD4
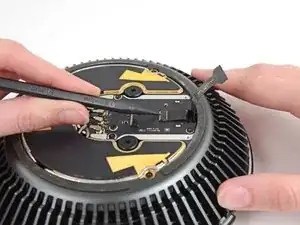
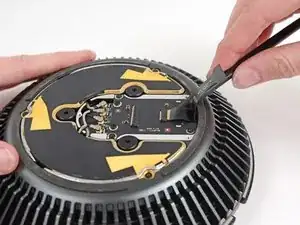
    • Use the flat end of a spudger to disconnect the fan assembly ribbon cable from the IO board.

  8. wMMmqDsn3NjCMRWu
    • Disconnect the fan assembly antenna cable from the IO board.

    • Remove the fan assembly from the Mac Pro.

    You don't have to remove the fan assy to do the steps below. They can be done with the fan assy still attached.

    Fat Mango -

  9. apNLOQVTbSwRJEmE
    apNLOQVTbSwRJEmE
    rayTDFNEYXXyajCi
    lJfnXsGRmB1PhKgl
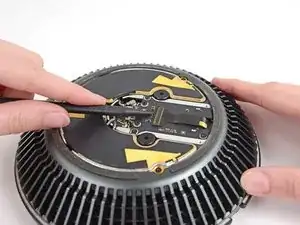
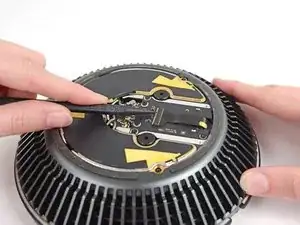
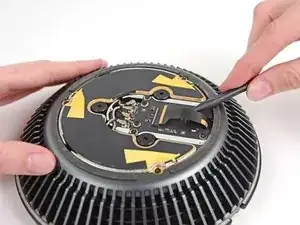
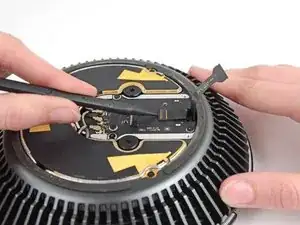
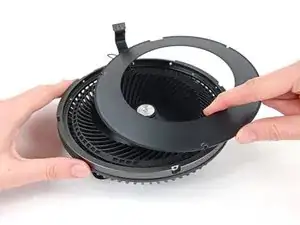
    • Use the flat end of a spudger to pry the fan assembly lid up off the fan assembly.

    • Remove the fan assembly lid.

    There is a thin circle of double sided adhesive that must be loosened in order to remove the plastic cover.

    somethingorother -

  10. PGPYZIOrE1pyOwKd
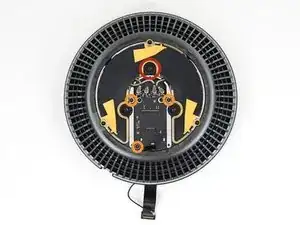
    • Remove the three 3.7 mm T4 screws securing the metal cover to the AirPort board bay.

    I had better luck using a T5 driver.

    somethingorother -

    Same here. Mine were T5, not T4.

    Carsten Clark -

    t4 was good for me

    Arden De Cuir -

  11. Y5vOw5AaByHX1PUG
    • Lift and remove the metal cover from the AirPort board bay.

  12. HioOaQOGRla4SCVb
    HioOaQOGRla4SCVb
    C646tHfOke2DRgKx
    HjDt4JNgKyaleTSj
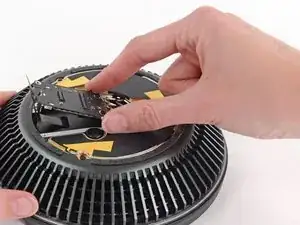
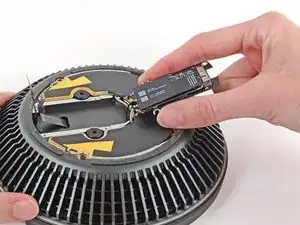
    • Use the tip of a spudger to flip the ZIF retaining tab on the fan assembly ribbon cable connector.

    • Remove the fan assembly ribbon cable from its ZIF socket.

  13. CCqnEFchgYXuKXAu
    CCqnEFchgYXuKXAu
    rhe2NNlNTCGFyVW1
    mfwaOUY31M1hKxJV
    • Use the tip of a spudger to flip the ZIF retaining tab on the fan ribbon cable.

    • Disconnect the fan ribbon cable.

  14. kqHqADw3Ejeg2me2
    • Remove the three 3.7 mm T4 screws securing the fan bezel to the fan assembly.

  15. Jsg1taZGZFjNnrov
    Jsg1taZGZFjNnrov
    T1ERxVoCHMmSmRu2
    • Remove the fan bezel.

  16. ZZ3Io1GVRrot1gX4
    • Remove the following screws from the top of the fan assembly:

    • One 10.4 mm T10 screw

    • Three 3.7 mm T4 screws

    'T4' screws here VERY tight - iFixit T4 bit spun out on 2, but managed to get them to turn with T5 bit and firm downward pressure....

    vbob -

  17. pFnLjPUGCvFm2Mb6
    pFnLjPUGCvFm2Mb6
    LP26EkIPDTYCG5oZ
    • Flip the AirPort board over.

  18. BOi212riQI6LyGLO
    • Remove the remaining two 10.4 mm T10 screws securing the fan to the fan assembly.

  19. ITyrTSYDV2AWqtyH
    ITyrTSYDV2AWqtyH
    rl23ifXnxqgEIld4
    XEy3ga2Dj5atquQK
    • Lift the fan assembly up from the fan.

    No way to install that last ribbon of a new fan is actually put on the last ribbon is attached

    themichaelguy -

    I would be happy to pay 100 dollars to find the solution for the last ribbon coennection when a new fan is actually put on

    themichaelguy -

    THANK YOU, now I know how to connect the ribbon to the fan again.

    Darius Zendeh -

Conclusion

To reassemble your device, follow these instructions in reverse order.

Andrew Optimus Goldheart

Member since: 17/10/09

502341 Reputation

5 comments

using my iFixit bit set, I'd have to say that the tiny screws for Airport card & cover, as well as fan bezel, are actually T5, not T4 - came very close to stripping the heads on two of the Airport card screws with the recommended T4 bit, but firm pressure and a steady hand with T5 bit got them out. Thanks for the guide - many careful steps to get a scrap of scotch tape out of the fan where its gentle ticks-ticka was driving us crazy thinking something far worse was going wrong.....

vbob -

Ha! I wondered what would happen if some tiny flotsam was dropped in through the top - terrible! Thanks for the tip!

Wagon Fixin -

Likewise, I've had a random noise in the fan at startup, and finally took the fan assembly apart to grab it. It was some even tinier screw from somewhere that had lodged in part of the fan housing. All is very, very well now!!!!

Colin Wright -

Hey Colin, I have same fan startup nois in my MP. Can you help me and tell how to fix in few steps?

Deny -
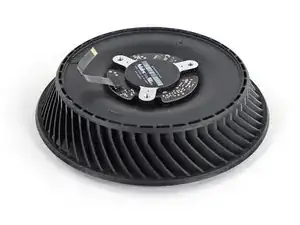
Using Macs Fan Control, I noticed the baseline fan speed of my “trashcan” slowly creeping up from 790 RPM (the usual) to 8 or 900 RPM. Using this guide I took the fan assembly off, and vacuumed and dusted everything with a vacuum, soft brush and canned air. It wasn’t necessary to disassemble the fan unit itself. That did the trick - fan speed is back down to 790 RPM after putting it back together.

PS - in Step 5, a Torx T8 screwdriver seemed to fit just fine for the fan cable bracket screws.

isonno -