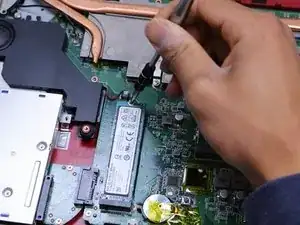
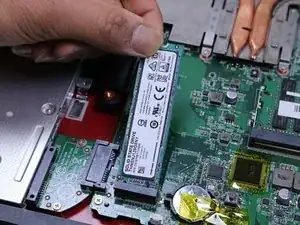
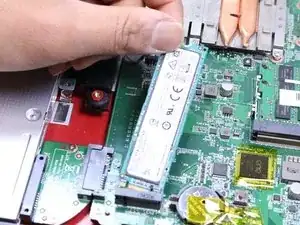
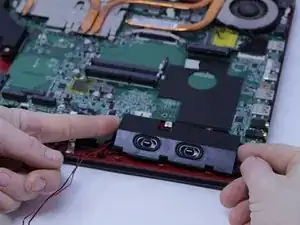
Introduction
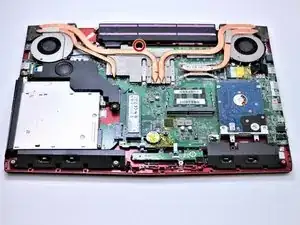
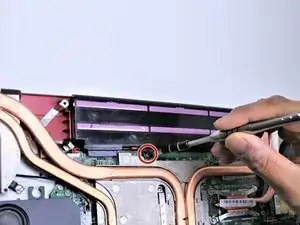
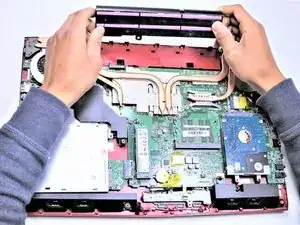
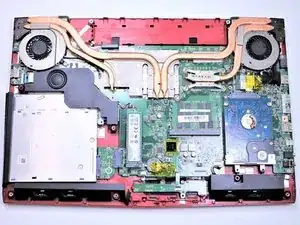
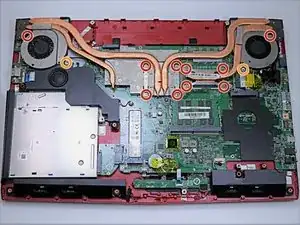
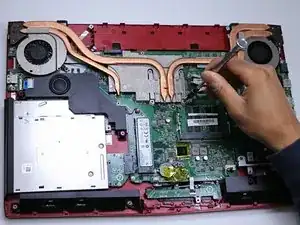
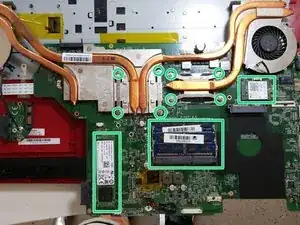
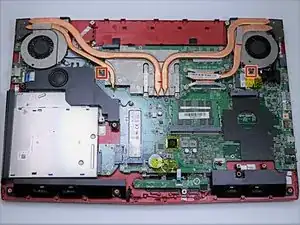
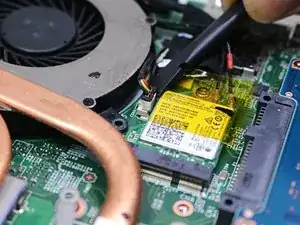
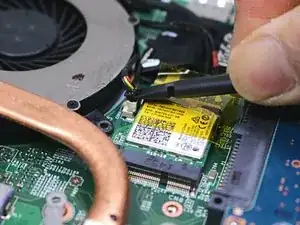
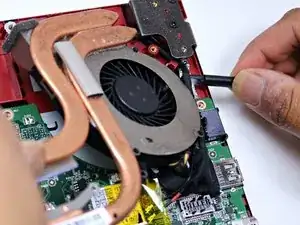
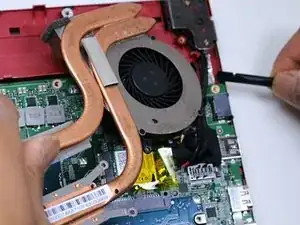
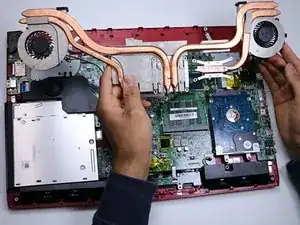
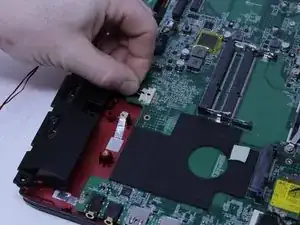
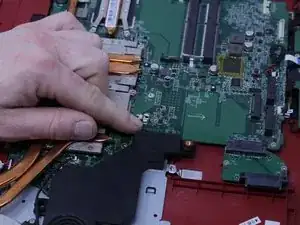
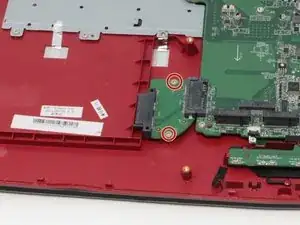
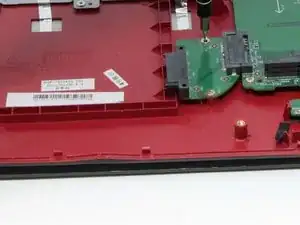
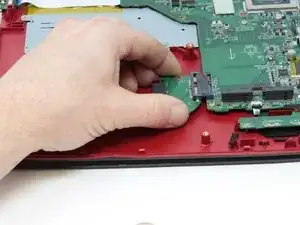
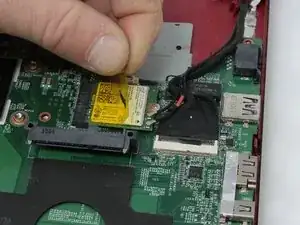
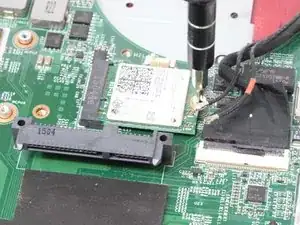
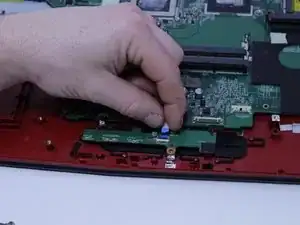
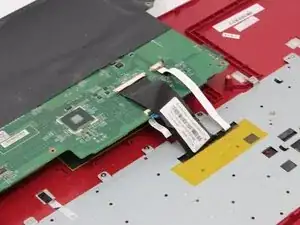
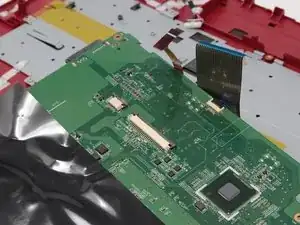
It is recommended when doing this guide to be very meticulous when disassembling the laptop to remove the motherboard. There are some connectors that may be fragile, so use caution when disconnecting some components.
Tools
Parts
-
-
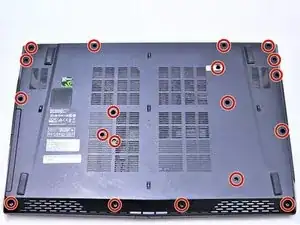
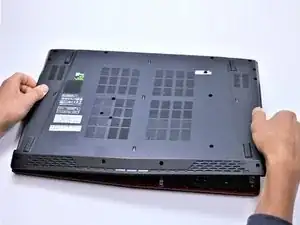
With the laptop closed and upside down, unscrew the nineteen 5.5mm Phillips #1 screws that keep the back cover in place.
-
-
-
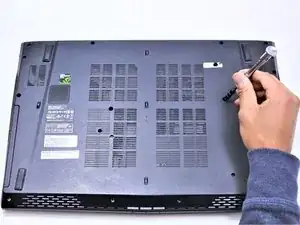
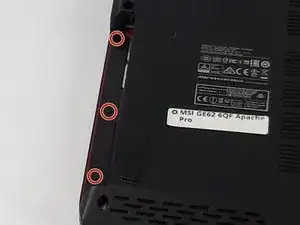
Use a Phillips screwdriver to remove the three screws along the edge of the optical drive bay.
-
-
-
Using your fingers, gently loosen the edges of all four sides of the back cover.
-
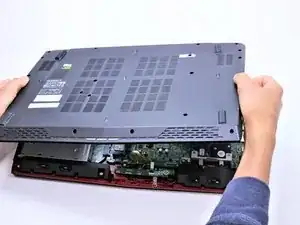
Gently pull off the back cover.
-
-
-
Grab the battery with your fingers and gently pull it up and away from the rest of the laptop.
-
-
-
Use a Phillips #1 screwdriver to remove the ten 5.5mm screws.
-
Remove the last two 5.5mm Phillips #1 screws, and remove the washers around them.
-
-
-
Continue to use the spudger to carefully separate the wires of the power cord from the laptop.
-
-
-
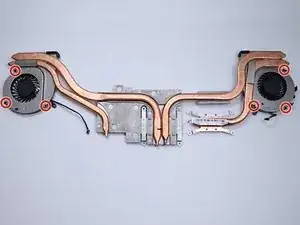
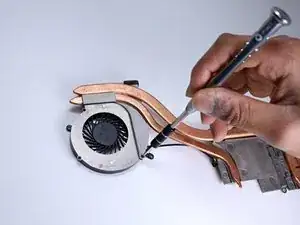
Using a Phillips #00 screwdriver, remove the six 5mm screws.
-
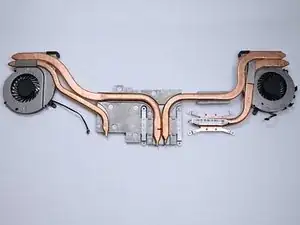
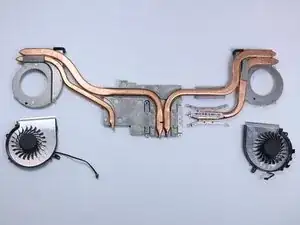
Separate the fans from the silver fan covers.
-
-
-
Gently pull out the hard drive by wiggling it from right to left with your hands until it is removed.
-
-
-
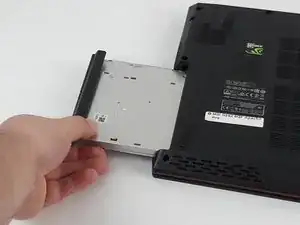
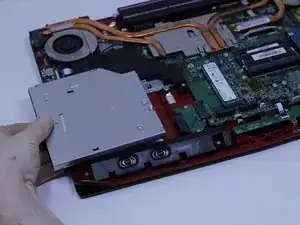
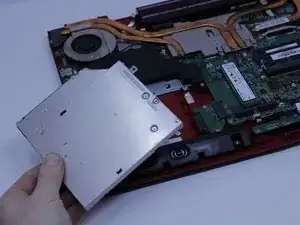
Carefully slide the Optical Drive off of the SATA connector.
-
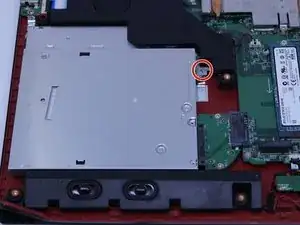
The red marker shows the location for where the retaining screw comes through the back panel to hold the Optical Drive.
-
-
-
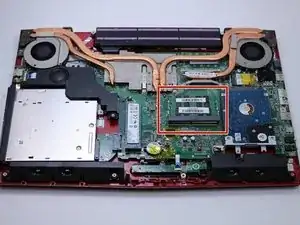
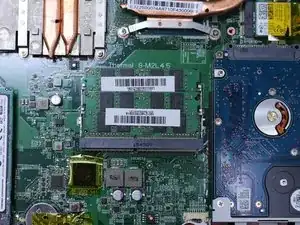
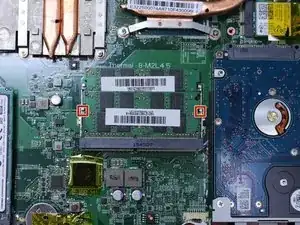
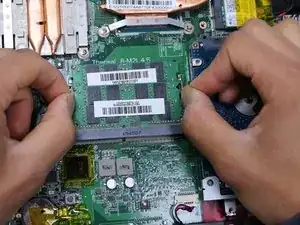
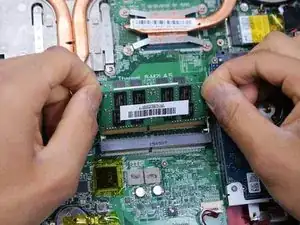
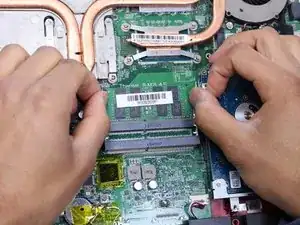
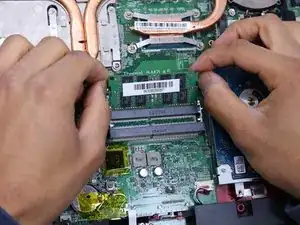
Press the hinges on the sides of the RAM chip as shown in the picture, in order to unlock it.
-
Carefully, slide it out at a 45 degree angle.
-
-
-
Pull upward to lift the front speakers and sub-woofer out of place.
-
Carefully slide out the connectors for both of the speaker systems.
-
-
-
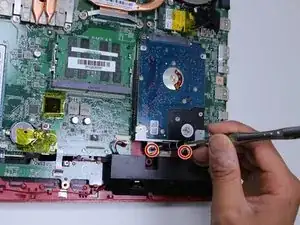
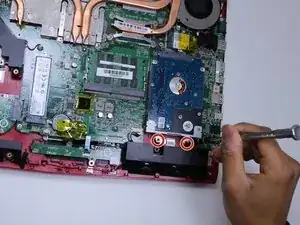
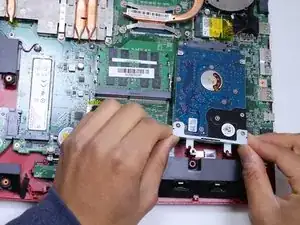
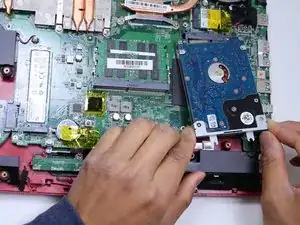
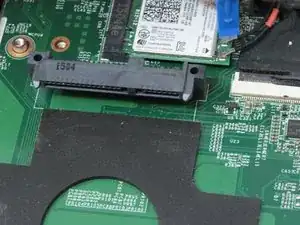
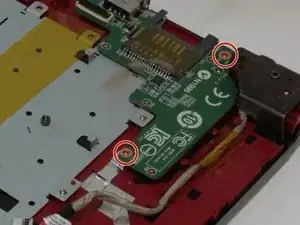
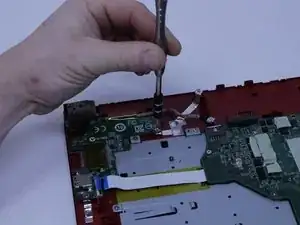
Use the Phillips #0 Screwdriver to remove the two 4mm screws that are holding the SATA connector in place.
-
-
-
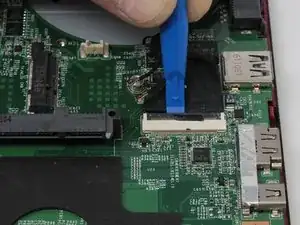
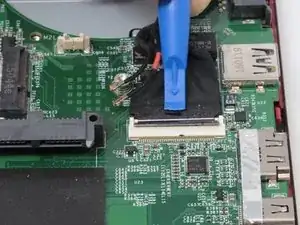
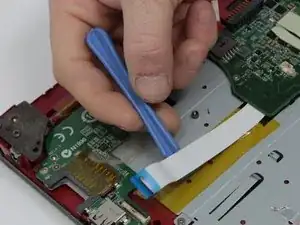
Use the plastic opening tool to pry up the connector that holds the display cable so it can be disconnected.
-
-
-
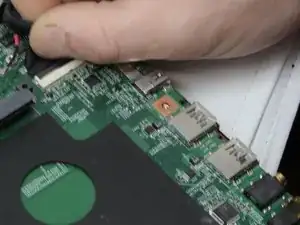
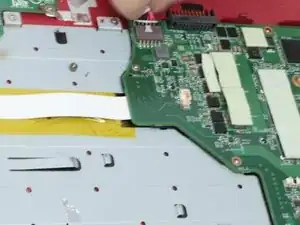
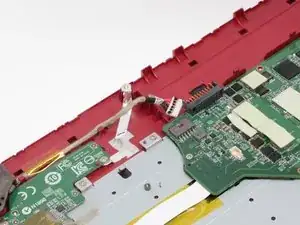
Remove the power and USB connectors that are connected to the left side of the motherboard by pulling them from the motherboard and SD card reader respectively.
-
-
-
Disconnect the keyboard from the motherboard by carefully sliding the connectors out of the connections on the motherboard
-
-
-
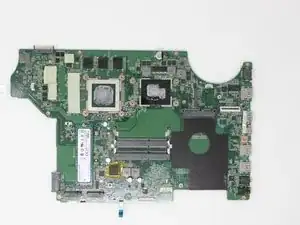
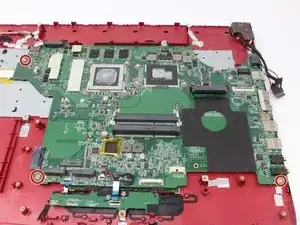
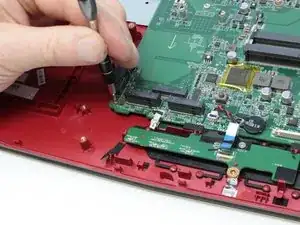
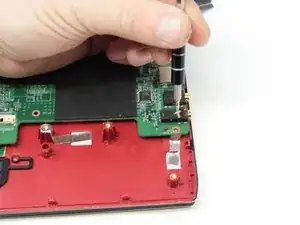
Use the Phillips #0 screwdriver to remove the three 3.8 mm standoff screws that retain the motherboard and carefully remove it.
-
To reassemble your device, follow these instructions in reverse order.
2 comments
looking a motherboard MSIGE72 2qe apache pro
Hi Riley,
Are you able to tell me what the number on the power IC is on this board? I have the same laptop and the power IC (located on the base of the board below ‘opposite side’ of the AC power connection cable to the board). The IC is fried and need the number to order the chip! It can’t be read off my chip due to damage.
Many thanks in advance, Luke :)
Luke -
