Introduction
Use this guide to replace a worn-out or dead battery in your Logitech MX Keys wireless keyboard.
Lithium-ion batteries have a limited lifespan. If your keyboard dies quickly and doesn't hold a charge, it may be time to replace the battery.
If possible, follow this guide after your battery has fallen below 15% charge. While your MX Keys keyboard has a relatively small battery, any charged battery is a potential safety hazard if accidentally bent or punctured.
If your battery looks puffy or swollen, take extra precautions.
-
-
Slide the keyboard's power switch into the OFF position.
-
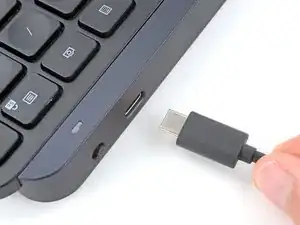
Unplug all cables from your keyboard.
-
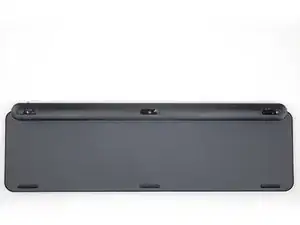
Lay your keyboard down with the feet facing up on a clean work surface.
-
-
-
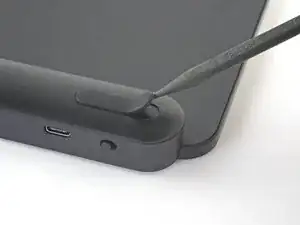
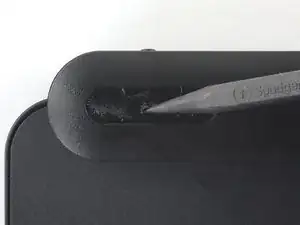
Insert the point of a spudger under an end of the foot.
-
Push the spudger underneath the foot and lift until you can grip it with your fingers.
-
Peel the foot up and remove it.
-
Repeat the previous two steps to remove the remaining feet.
-
-
-
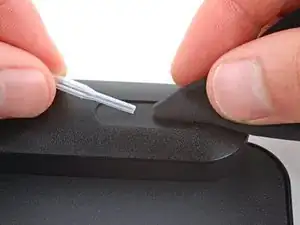
Use a pair of angled tweezers to peel up and remove all the plastic film from the foot recesses.
-
Use isopropyl alcohol and a microfiber cloth to thoroughly clean all adhesive residue from the recesses. Allow the surface to completely dry.
-
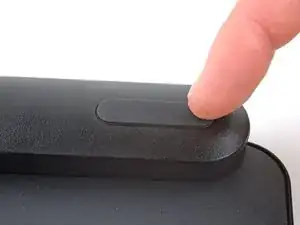
Remove the feet from their backing and firmly press them into place.
-
-
-
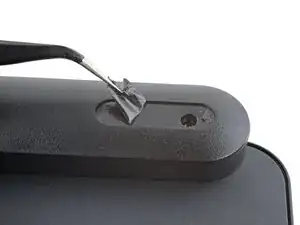
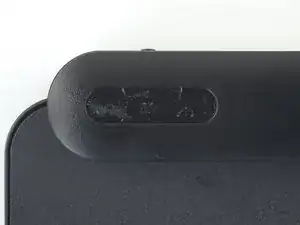
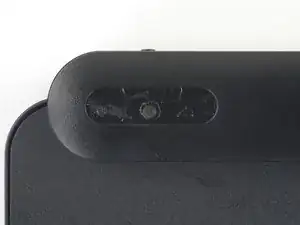
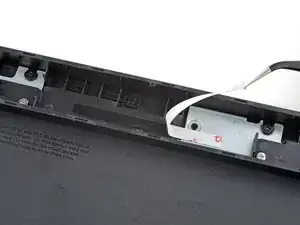
Use the pointed end of a spudger to poke through each film so you can access the screw underneath.
-
-
-
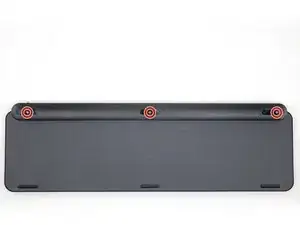
Use a Phillips screwdriver to remove the three 7.6 mm‑long screws securing the battery cover.
-
-
-
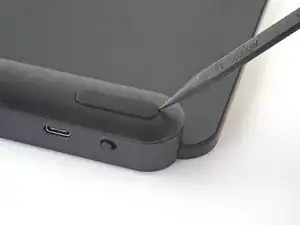
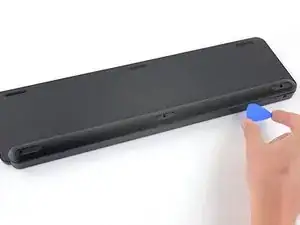
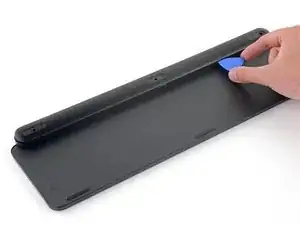
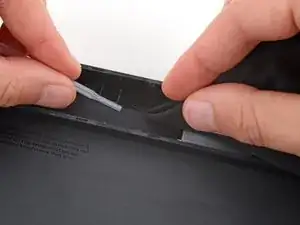
Insert an opening pick between the top edge of the battery cover and keyboard.
-
Slide the clip along the top edge to release the clips.
-
-
-
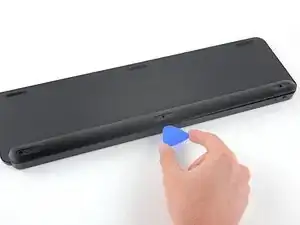
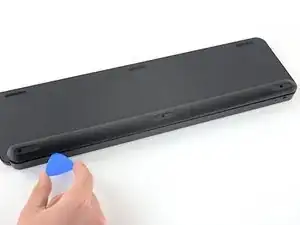
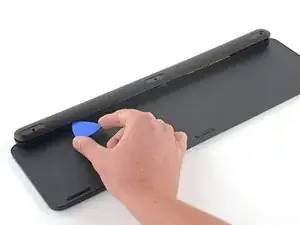
Insert an opening pick between the bottom edge of battery cover and keyboard.
-
Slide the pick along the bottom edge to release the remaining clips.
-
-
-
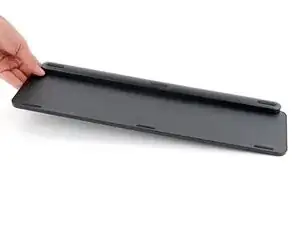
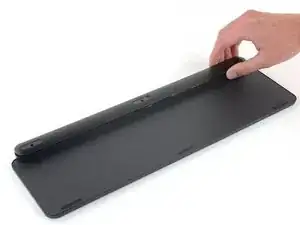
Remove the battery cover.
-
Place the battery cover onto the keyboard assembly so the screw holes line up with their posts.
-
Press down firmly along the battery cover to engage its clips.
-
-
-
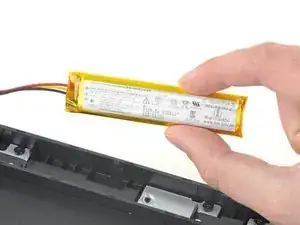
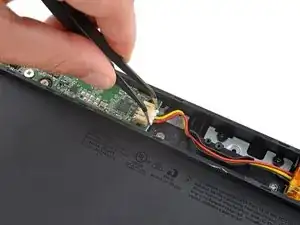
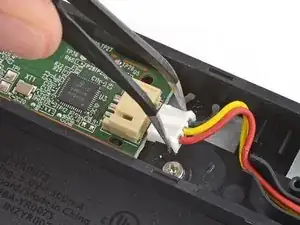
Use a pair of angled tweezers to firmly grip the battery connector and slide it straight out of its socket.
-
Insert the connector into its socket so the side with raised plastic in the center is facing up.
-
Push on the edges of the connector with the flat end of a spudger until it's fully seated in the socket.
-
-
-
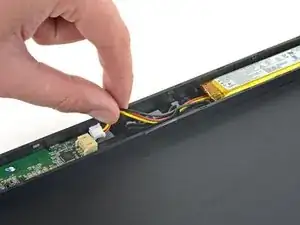
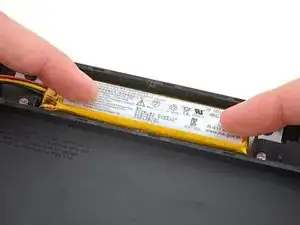
Insert the flat end of a spudger underneath the right edge of the battery, opposite the cables.
-
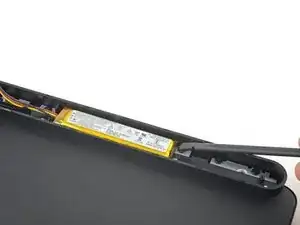
Slide the spudger underneath the battery and gently lift to separate the adhesive securing it to the keyboard.
-
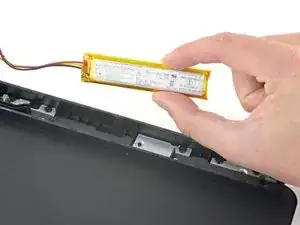
Remove the battery.
-
-
-
Use a spudger to remove any chunks of adhesive from the battery recess.
-
Use isopropyl alcohol (>90%) and a microfiber cloth to clean all adhesive residue from the recess.
-
If your replacement battery doesn't come with tape pre-installed, apply double-sided tape to the battery recess (not directly to the battery).
-
If your replacement battery has adhesive pre-installed, remove the plastic liner.
-


To reassemble your device, follow the above steps in reverse order.
Take your e-waste to an R2 or e-Stewards certified recycler.
Repair didn’t go as planned? Try some basic troubleshooting, or ask our Answers community for help.

8 comments
按照锂电池循环的寿命500次计算,mx key 充一次电至少可以用10天,那就是5000天,10几年后你才需要看这篇文章。
timo -
I wish ifixit would sell the battery as well.
Though @timo is technically correct with his calculations, I use this keyboard so often that after only eight months, the battery needs to be recharged about once every two days. Time to replace it! Such calculations can never account for usability. I use the backlight feature constantly which I'm sure is why my battery degraded as quickly as it did.
Yes I agree with you. Ever since Logi PC SW failed to control the auto-backlit function, my MX Keys just lights up every second. The battery status went poor after using it like 11 months.