Introduction

Use this guide to safely remove and replace the battery in a Logitech Craft wireless keyboard.

Note: If your battery looks puffy or swollen, take extra precautions.

  1. BacVKmOijODOIHXR
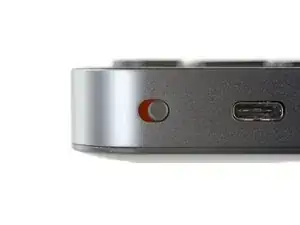
    • Before you begin, flip the keyboard's power switch into the OFF position.

  2. hjUGYilaVEuW1CA1
    hjUGYilaVEuW1CA1
    unswAEM2saeDkInv
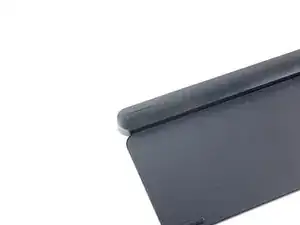
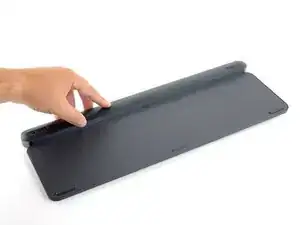
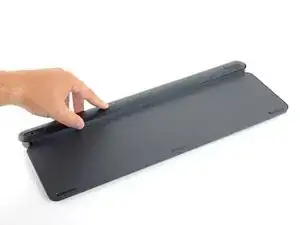
    • Flip the keyboard over, laying the it key-side down onto a clean work surface.

    • The dial will prevent the keyboard from laying perfectly flat. If you need to, lay the keyboard on a soft towel to prevent wobble.

    • Heat an iOpener and lay it on the left rear plastic foot for about two minutes.

    • Alternatively, a hair dryer or a heat gun may also be used, but be careful not to overheat the keyboard.

  3. 3s5oNm56tyioXAyY
    3s5oNm56tyioXAyY
    EwVolVEnFSHCFERQ
    4Km6hsy6RYJdDc4d
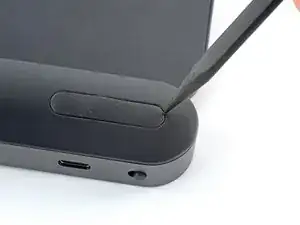
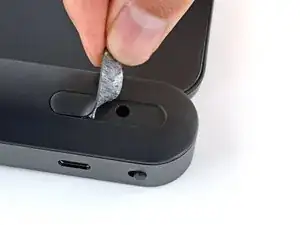
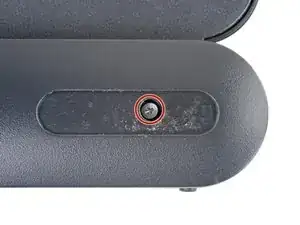
    • Only one foot (the one next to the power switch) has a hidden screw underneath—you don't need to remove both feet.

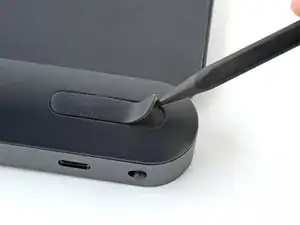
    • Insert the pointed end of a spudger at the edge of the foot.

    • Push the spudger underneath the foot and pry up to release its adhesive.

    • The foot should come away from the keyboard without much force. If it feels stuck, apply more heat and try again.

    • Once you can grip the foot with your fingers, peel it up and away from the keyboard to remove it.

  4. 3woRM6rmeN4STdBD
    • Use a Phillips screwdriver to remove the 4.7 mm screw securing the bottom cover.

  5. 31Ui4PNZlsXJYbI4
    31Ui4PNZlsXJYbI4
    LCsW5ODVmdLYhTLL
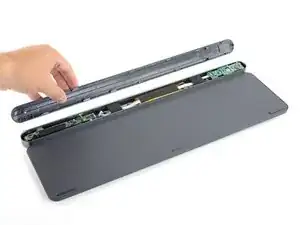
    • The bottom cover is held in place by slotted plastic clips along the entire length of the keyboard.

    • Don't attempt to force the cover off until all clips have disengaged. If done correctly, the bottom cover will come away with little to no force.

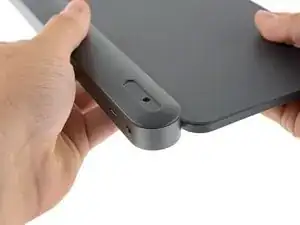
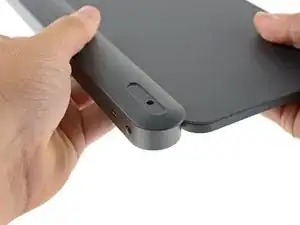
    • Hold the keyboard upside down.

    • Grip the bottom cover and slide it towards the ON/OFF switch to unlock it from the rest of the device.

  6. kM2HRufhOf6ZCRef
    kM2HRufhOf6ZCRef
    2PoNHgRbDhyc1bJ4
    TKQgxxVOVqBsCrjO
    • Lay the keyboard back down onto your work surface.

    • Lightly push down on the bottom cover and slide it towards the ON/OFF switch.

    • Remove the bottom cover.

    • During reassembly, make sure the bottom cover sits flush along the entire length of the keyboard. All clips need to lock back in place.

  7. O6lvJLUaJvgrVdMR
    O6lvJLUaJvgrVdMR
    B4kcecUGofETFivv
    kZnTcIcpuOGGXxIv
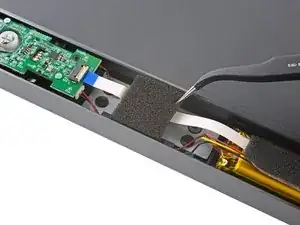
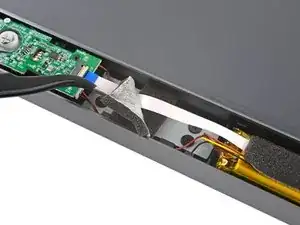
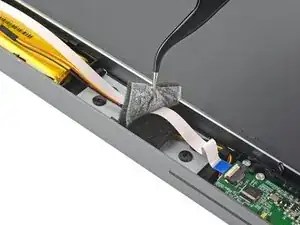
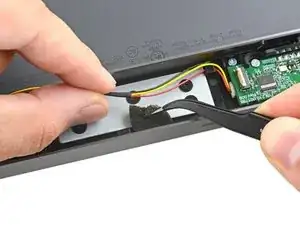
    • Various pieces of foam protect the battery wires and the interconnect ribbon cable. They'll need to be removed in order to access the battery.

    • Use a pair of tweezers to peel up and remove the first piece of foam covering the interconnect cable.

    • The foam pads are all secured with light adhesive.

    • Try your best to not rip these foam pads as you remove them, as ideally they're reused during reassembly.

  8. PhHPpy42qZvlckjg
    PhHPpy42qZvlckjg
    3KsDWVNFIWsJ2hrb
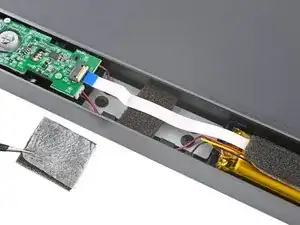
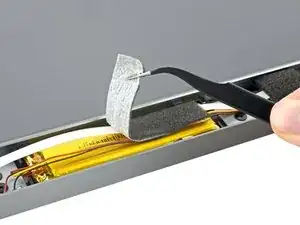
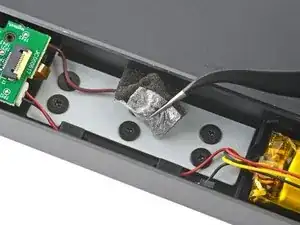
    • Remove the two remaining topmost pieces of foam from the keyboard.

  9. JqEfUprFmSJvIkmh
    JqEfUprFmSJvIkmh
    au6Wfu11VNVRGVeO
    6QWYMsbT11UeqBN2
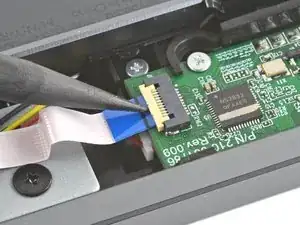
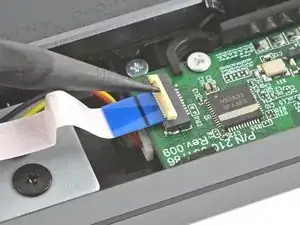
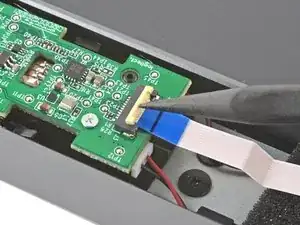
    • Use the pointed end of a spudger to lift up the small locking flap on the interconnect cable's ZIF connector.

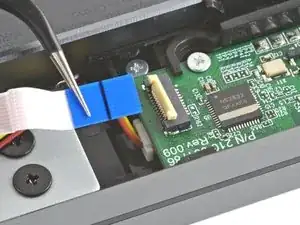
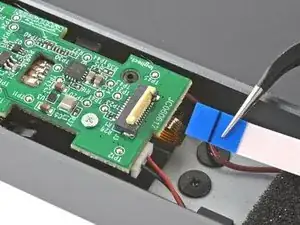
    • Use a pair of tweezers to slide the interconnect cable out of its connector.

    • Try to grip the cable by the blue plastic, not by the cable itself.

  10. UcnCnXkQ6mIKHA11
    UcnCnXkQ6mIKHA11
    JOfekxWHFtwWYiCw
    M4OriCjhkWYjImoQ
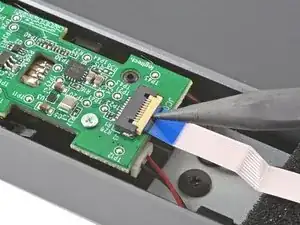
    • Use the pointed end of a spudger to lift up the small locking flap on the opposite end of the interconnect cable.

    • Use a pair of tweezers to slide the interconnect cable out of its connector.

    • Try to grip the cable by the blue plastic, not by the cable itself.

    • Remove the interconnect cable.

  11. sSeAbSaRpoeQwPXT
    sSeAbSaRpoeQwPXT
    EbALvIm1roZ4nXAN
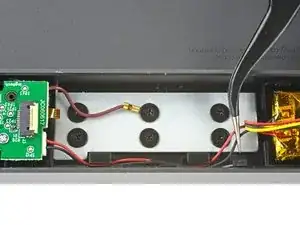
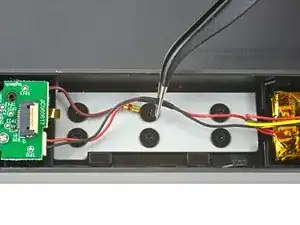
    • Use a pair of tweezers to remove the two remaining pieces of foam securing the battery wires.

  12. XA3oAaQQjhQDKxsP
    XA3oAaQQjhQDKxsP
    JrBPjLoUNUHlkNJT
    gYJI2pvRFvNNkv2M
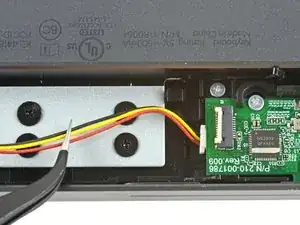
    • Use a pair of tweezers to slide the battery wires out from underneath their plastic cable routing clips, on either side of the battery.

  13. kbIwGwWLgW1VTukG
    kbIwGwWLgW1VTukG
    n3ctKXGZS4Ui5F6b
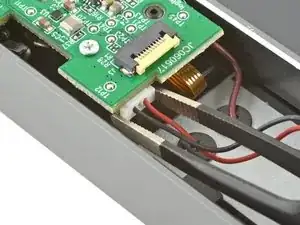
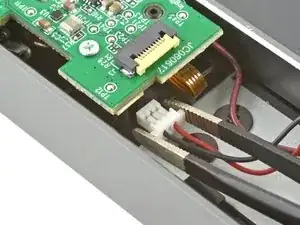
    • Use a pair of blunt tweezers to grip the edges of the left battery cable connector.

    • Pull the connector away from the left daughterboard to disconnect it.

    • Always pull cables by their connectors and not the wires themselves.

    • This may take some force. If you need to, use the tweezers to "walk" the connector side to side.

  14. vl1poSuydcURosCh
    vl1poSuydcURosCh
    JQDAHiDkAJOjU1Cb
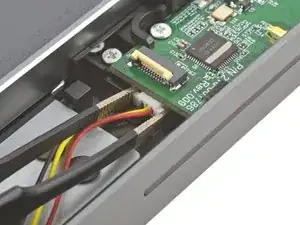
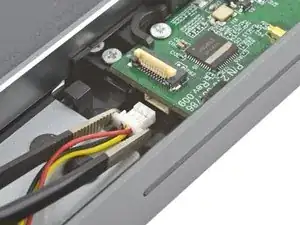
    • Use the pair of blunt tweezers to grip the edges of the right battery cable connector.

    • Pull the connector away from the right daughterboard to disconnect it.

    • Always pull cables by their connectors and not the wires themselves.

    • This may take some force. If you need to, use the tweezers to "walk" the connector out, alternating pulling from side to side.

    • During reassembly, note that the battery connector that goes into the right board has three battery wires, and the left has two.

  15. IkxpVRaoa1PQSsfJ
    IkxpVRaoa1PQSsfJ
    bhlK3IBBTYtyNuBE
    4PUn5XWqfKjoqLFD
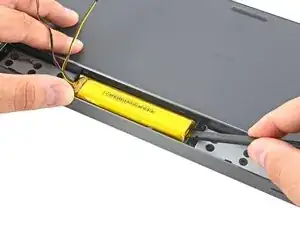
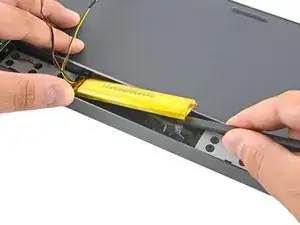
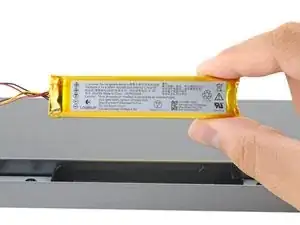
    • Insert the flat edge of a spudger underneath one short edge of the battery.

    • Push the spudger underneath the battery, separating it from the adhesive holding it to the keyboard.

    • Make sure you push underneath the battery and not into it. Don't bend or deform the battery.

    • Remove the battery.

    • To install a replacement battery:

    • Remove any leftover adhesive from the battery well.

    • Apply double sided tape or pre-cut adhesive to secure the new battery.

Conclusion

To reassemble your device, follow the above steps in reverse order.

Take your e-waste to an R2 or e-Stewards certified recycler.

Repair didn’t go as planned? Check out our Answers community for troubleshooting help.

Carsten Frauenheim

Member since: 10/03/20

110978 Reputation

One comment

fantastic instructions, where can I get a replacement battery?
Angel L Velazquez -