Introduction
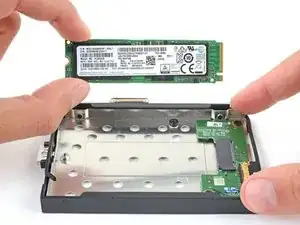
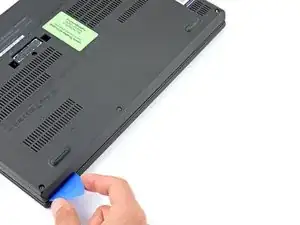
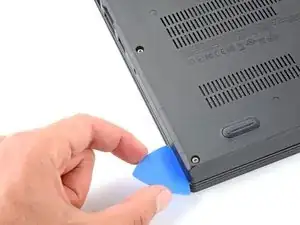
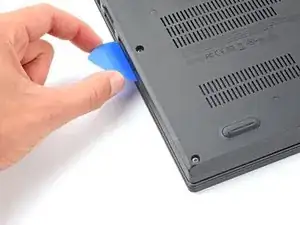
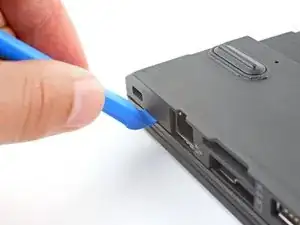
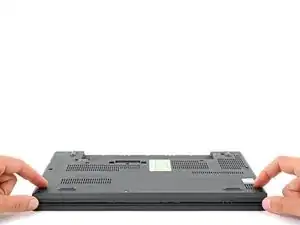
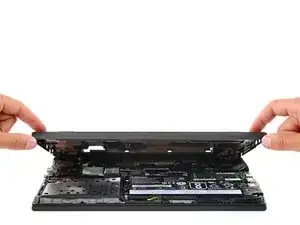
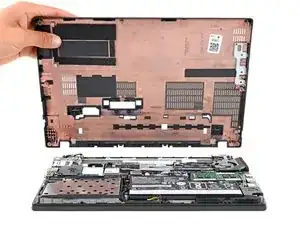
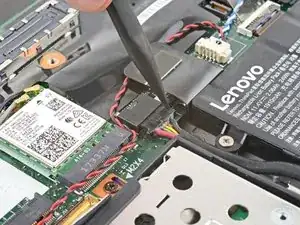
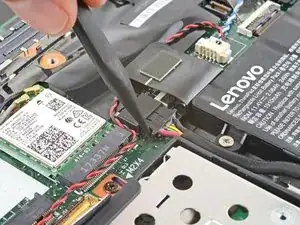
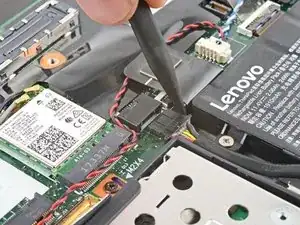
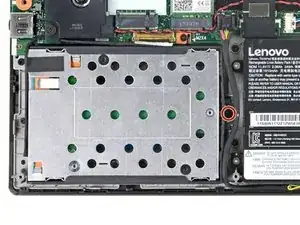
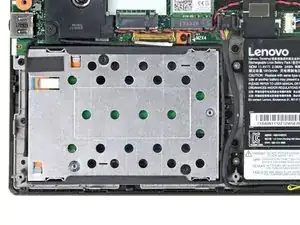
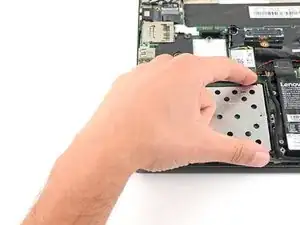
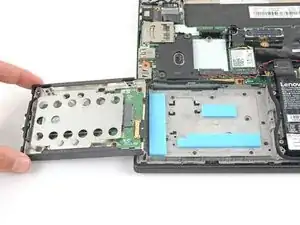
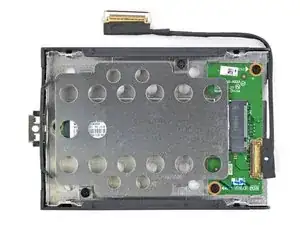
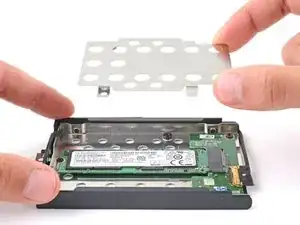
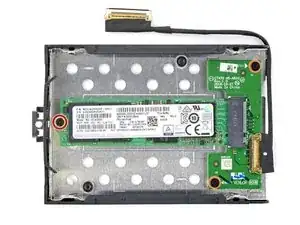
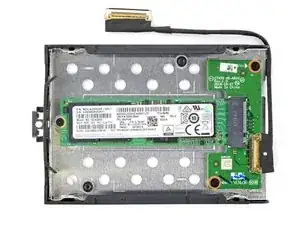
Use this guide to replace or upgrade an M.2 2280 SSD in your Lenovo ThinkPad X270 laptop.
This laptop is compatible with PCIe NVMe Gen 3 and 4 SSDs.
Before you perform this repair, back up your existing SSD if possible. If you're replacing the SSD where your operating system is installed, familiarize yourself with a disk cloning utility so you’ll be ready to migrate your data to the new SSD.
Tools
Parts
-
-
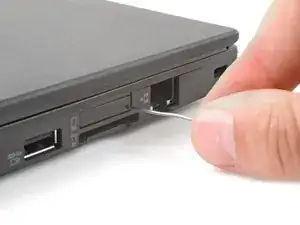
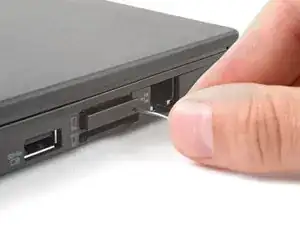
Insert a straightened paper clip into the micro SIM card tray hole on the right edge of the laptop.
-
Press the paper clip firmly into the hole to eject the tray.
-
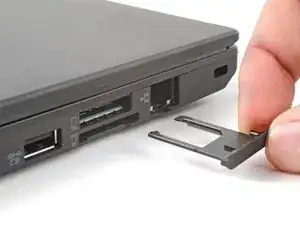
Remove the tray.
-
-
-
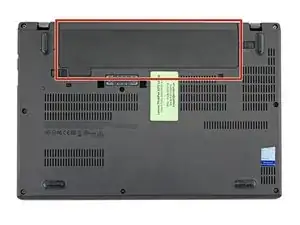
Lay your laptop upside down to access the external battery.
-
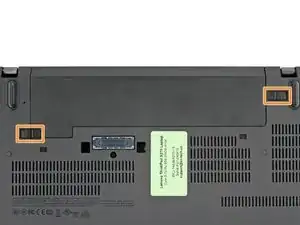
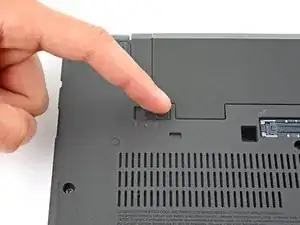
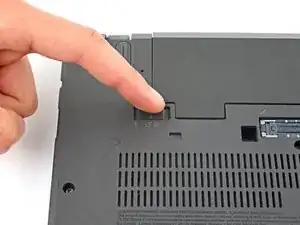
Two sliding tabs secure the battery.
-
-
-
Slide the left tab, labeled 1, to the unlocked position—it'll click into place and release the left side of the battery.
-
-
-
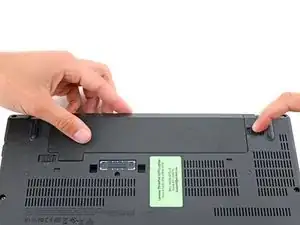
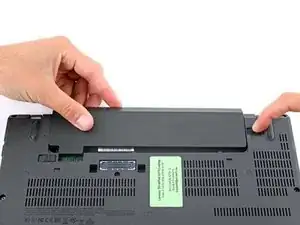
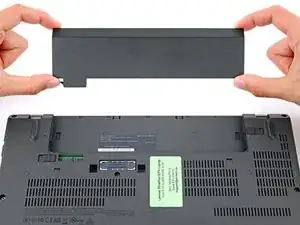
Hold the right tab, labeled 2, in the unlocked position and slide the battery out of its recess.
-
-
-
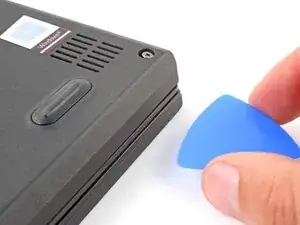
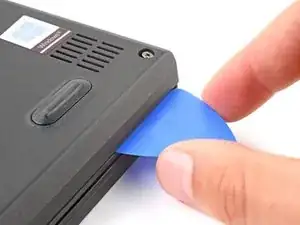
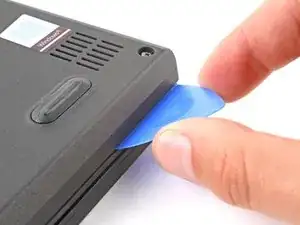
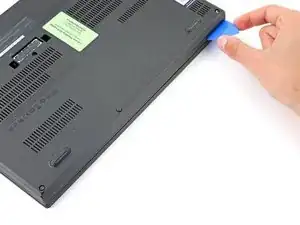
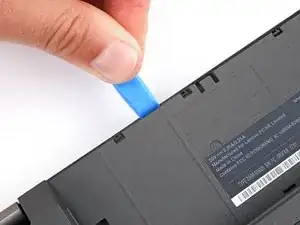
Insert the flat side of an opening pick between the bottom right edge of the back cover and frame.
-
Pry up the back cover to release the bottom right clips.
-
Leave the pick inserted in the bottom right corner.
-
-
-
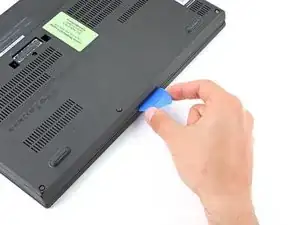
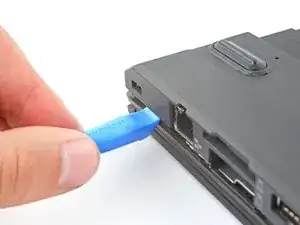
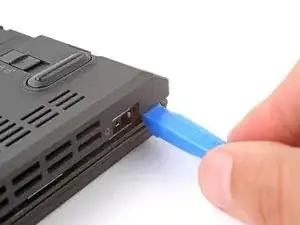
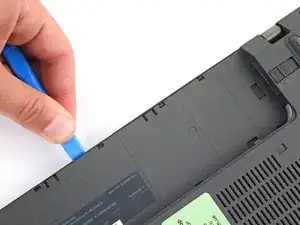
Insert your pick in the bottom left corner and slide the pick to the first USB port to release the left clips.
-
-
-
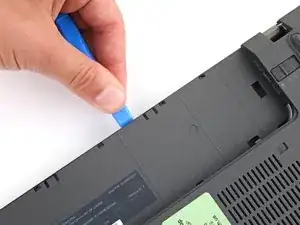
Insert an opening tool between the top left corner of the back cover and frame.
-
Pry the back cover up to release the clips securing its top left corner.
-
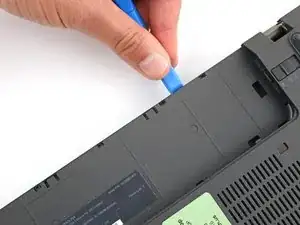
Repeat the process on the top right corner.
-
-
-
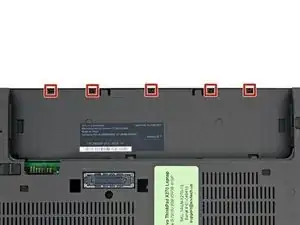
Five clips secure the top edge of the back cover.
-
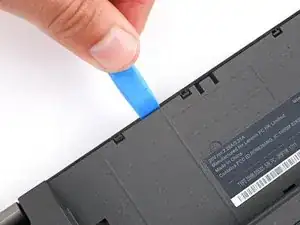
Insert an opening tool in the gap between the back cover and frame, next to one of the clips.
-
Push the opening tool into the gap until the clip releases.
-
-
-
Push the opening tool between the back cover and frame at different points along the top edge to release the remaining clips.
-
-
-
Push on alternating sides of the internal battery connector with a spudger to "walk" it out of its socket.
-
-
-
Use a Phillips screwdriver to remove the 3.7 mm‑long screw securing the SSD enclosure to the frame.
-
-
-
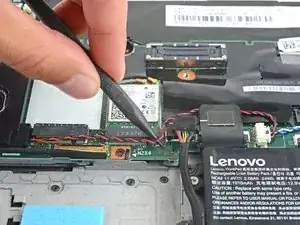
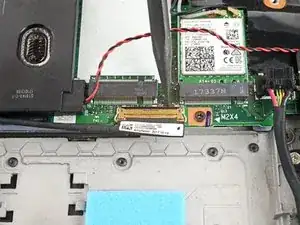
Use a spudger or your fingers to reposition the black and red speaker cable so you can access the SSD cable's socket on the motherboard.
-
-
-
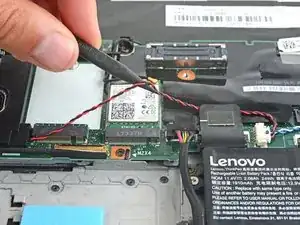
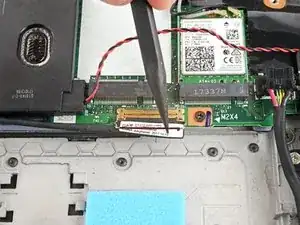
Insert the point of a spudger under the metal locking clip that snaps around the perimeter of the SSD cable’s socket.
-
Swing the clip up and over the socket.
-
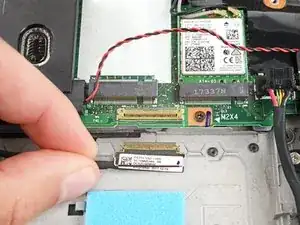
Gently pull the SSD cable straight out of its socket.
-
-
-
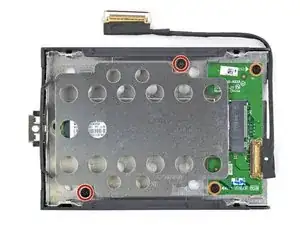
Lay the SSD enclosure upside down on your work surface.
-
Use a Phillips screwdriver to remove the two 3.7 mm‑long screws securing the SSD cover.
-
-
-
Use a Phillips screwdriver to remove the 3.1 mm‑long screw securing the SSD to its enclosure.
-
-
-
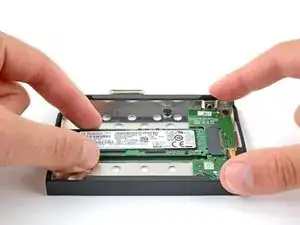
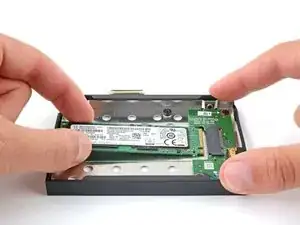
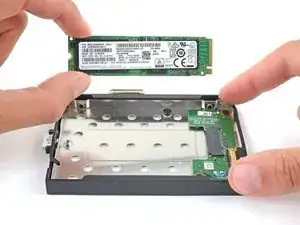
Hold the SSD enclosure down firmly against your workspace with one hand and pull the SSD straight out of its socket with your other hand.
-
To reassemble your device, follow these instructions in reverse order.
Check your repair by running hardware tests with Lenovo Diagnostics.
Take your e-waste to an R2 or e-Stewards certified recycler.
Repair didn’t go as planned? Try some basic troubleshooting, or ask our Answers community for help.
