Introduction

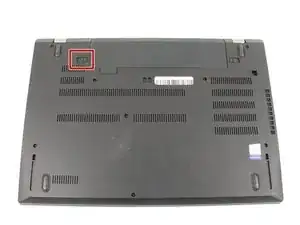
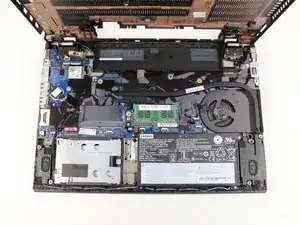
Welcome to the cooling fan replacement guide for the Lenovo Thinkpad T580.

This guide will detail the steps necessary to replace the cooling fan.

The most common reasons why this component would need to be replaced is because:

  • The computer overheats quickly
  • The computer shuts off due to temperature overload
  • The cooling fan makes no noise when the computer is on or getting hot

If you are not experiencing these problems with this component consider examining the troubleshooting page for this device.

There are no specialized skills required for replacing the cooling fan.

  1. bH5UrwETXLpnfOIV
    bH5UrwETXLpnfOIV
    CoMXxGHbyf2Ttpcc
    FjKZFIgZXfpHLaot
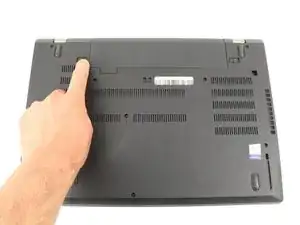
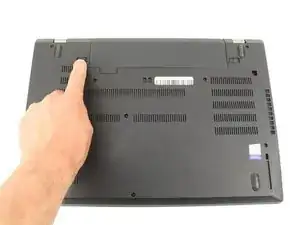
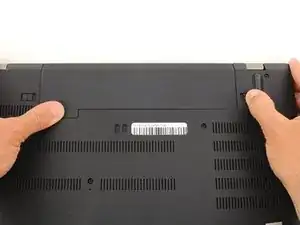
    • Slide the switch on the left side of the battery to the left.

  2. Zir3L3Gmfu24eoGQ
    Zir3L3Gmfu24eoGQ
    qhKY2GFRKyfpptT5
    rAMGcG6TJgfGOfkX
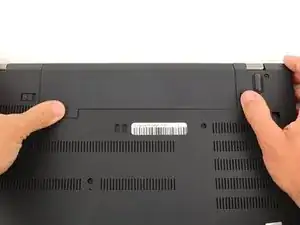
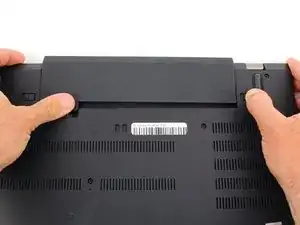
    • Slide the switch on the right side of the battery to the right while applying upward pressure on the battery.

  3. AOkeN5pdOWGGMpqX
    AOkeN5pdOWGGMpqX
    P3OOwXwW66ymiRgb
    MISSJJ6NVNvvLPv4
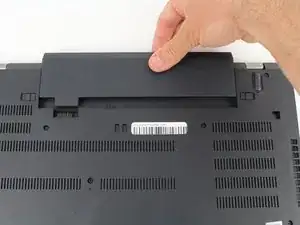
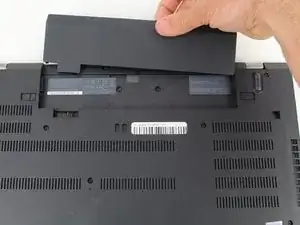
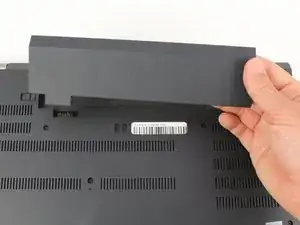
    • Pull the battery directly out of the socket

  4. GCsoyvaqyC2PN2GU
    GCsoyvaqyC2PN2GU
    eaD3ZrcZFDa1C1iS
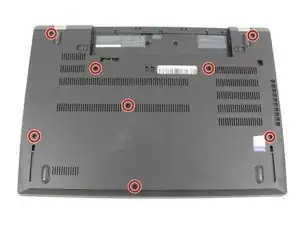
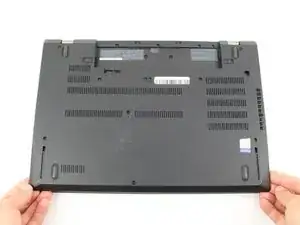
    • Using a Phillips #00 screwdriver, unscrew the eight 3.3 mm captive screws on the bottom of the laptop.

    • The "captive" screws will not come out of the case.

  5. sjOTZxvlwbAAF45C
    sjOTZxvlwbAAF45C
    XsKRybZDpGufCN3u
    bHaxTxZQBIIfLwuL
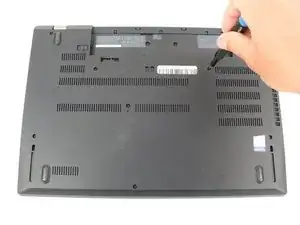
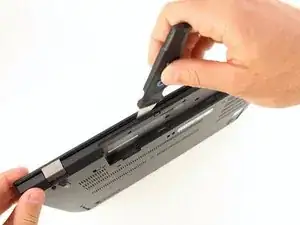
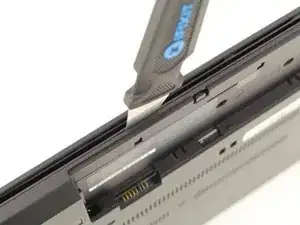
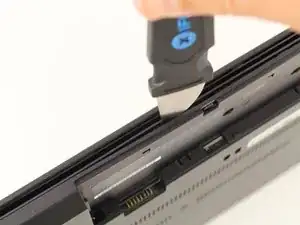
    • Run a Jimmy along the crease of the computer all the way around, twisting it periodically to disengage the clips.

  6. K1Px6bcaJXYYvWUK
    K1Px6bcaJXYYvWUK
    vIK55aCeZ5LlppDy
    hhvR1RX5GEbvbmYI
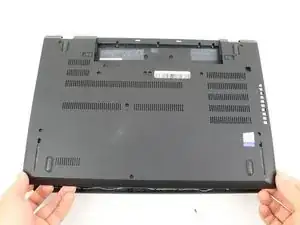
    • Once all the clips are released, remove the bottom cover.

    • You may need to jiggle the case slightly to release the clips around the external battery bay.

  7. PSAXeHNE63Y4QeeF
    PSAXeHNE63Y4QeeF
    RHMTnCCdIYNmtMtL
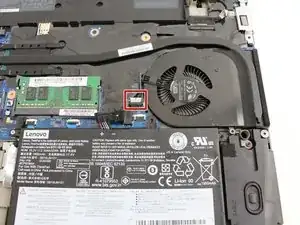
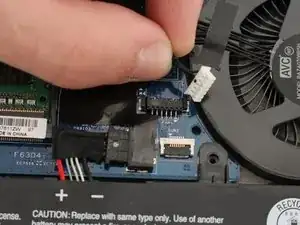
    • Unplug the cooling fan's cable from the the motherboard.

    which direction to pull the cable ?

    John Smith -

    Hard to pull the cable...

    Lucian Cumpata -

  8. gWMOSFKLqXiCBLEb
    gWMOSFKLqXiCBLEb
    uuTUNlISKUPUoiaD
    2AsYOpVL2scdreCD
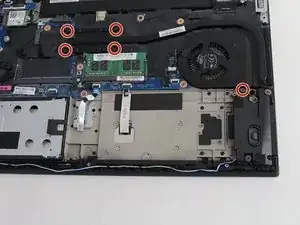
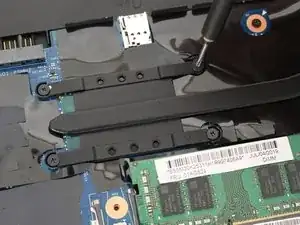
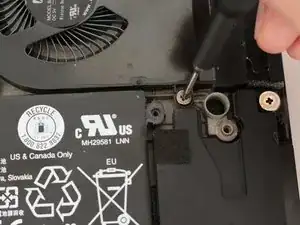
    • Using a Phillips #00 screwdriver, unscrew five 4.6 mm screws fastening the fan and cooling pipe.

    • The screws are set in the plastic and are not able to be removed from the fan parts.

  9. NlEaQMeVsOhQJBqH
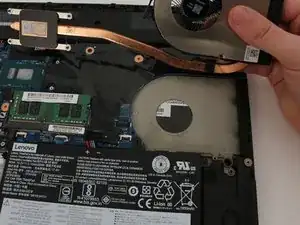
    • Remove the cooling fan directly upwards from the core.

    • Be sure to clean and replace any thermal paste on the heatsink and CPU before reassembling. You can use our How to Apply Thermal Paste guide if you need any help!

Conclusion

To reassemble your device, follow these instructions in reverse order.
Ben Elkayam

Member since: 23/01/20

942 Reputation

0 comments