Introduction
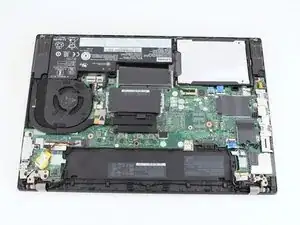
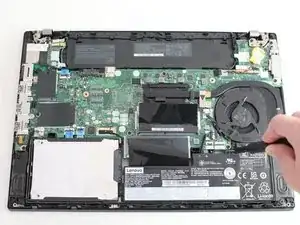
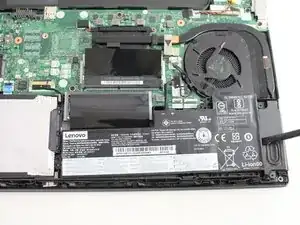
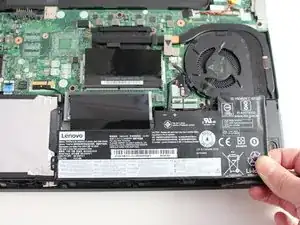
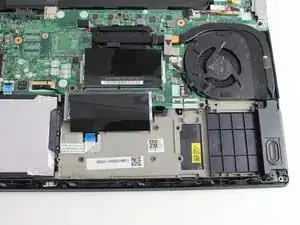
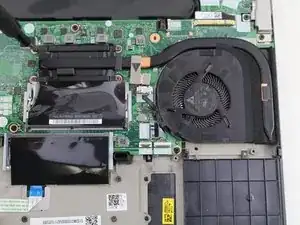
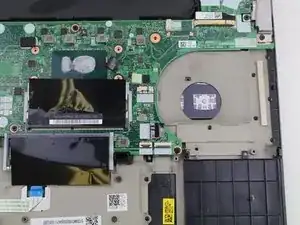
The fan assembly and heatsink’s job is to keep the CPU cool and prevent it from overheating. If your laptop is starting to run hot, your fan may be failing and might need to be replaced.
A common sign that this is happening is the fan is loud and constantly running. It could be that it just needs a good cleaning and you can access the heatsink and fan assembly to clean the fan as well.
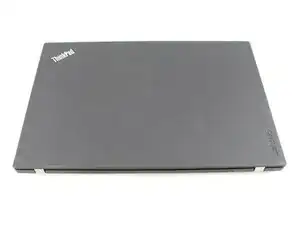
If you need to access the fan or heatsink of your Lenovo ThinkPad T480, follow this step by step guide. Be sure to disable the internal battery, turn off the computer prior to starting the repair, and unplug the laptop from the power adapter.
Another note, when replacing your fan assembly/heat sink, it is important to reapply thermal paste first. This will keep your CPU cool by dissipating heat more efficiently.
Tools
Parts
-
-
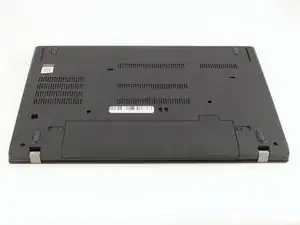
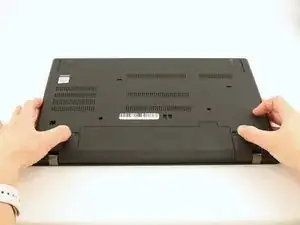
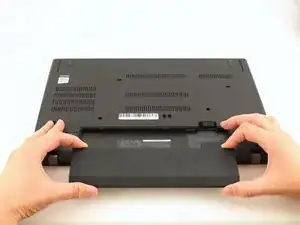
Using your fingers, slide the lock on each side of the battery to the unlocked position.
-
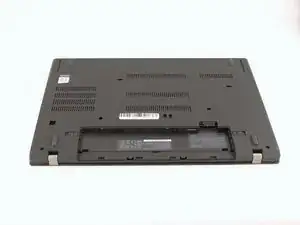
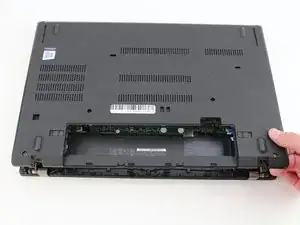
Remove the battery from the slot.
-
-
-
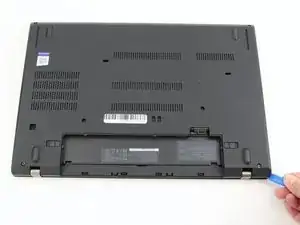
Insert the blue plastic opening tool into the space between the lower case and the chassis.
-
Slide the opening tool around the perimeter of the case to release the clips holding the case and the chassis together.
-
Remove the back case.
-
-
-
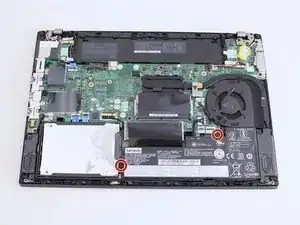
Using the Phillips #1 screwdriver, remove the two 4.6 mm screws securing the internal battery to the frame.
-
-
-
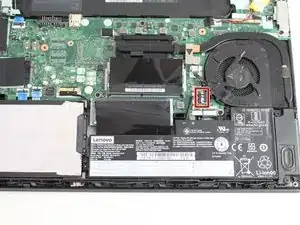
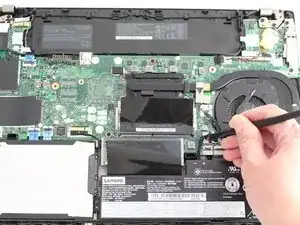
Use the spudger to slide the battery socket connector parallel to the motherboard and out of its socket on the motherboard.
-
-
-
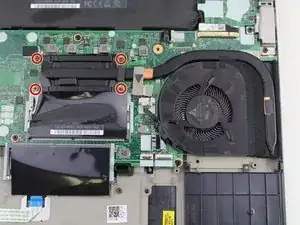
Using the Phillips #1 screwdriver, loosen the four captive screws in the arm of the heatsink.
-
-
-
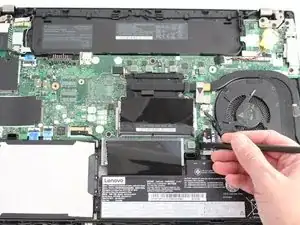
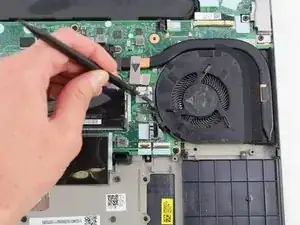
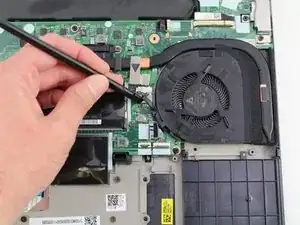
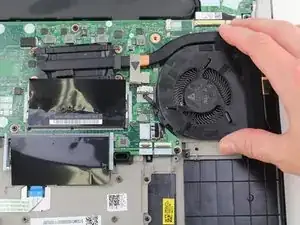
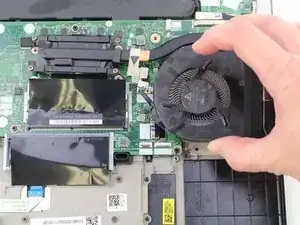
Use the black nylon spudger to slide the fan connector parallel to the motherboard and out of its socket on the motherboard.
-
To reassemble your device, follow the above steps in reverse order.
Take your e-waste to an R2 or e-Stewards certified recycler.
Repair didn’t go as planned? Try some basic troubleshooting, or ask our Answers community for help.
