Introduction

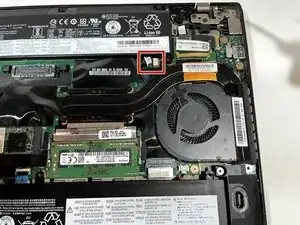
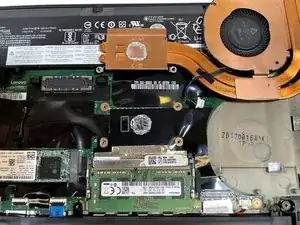
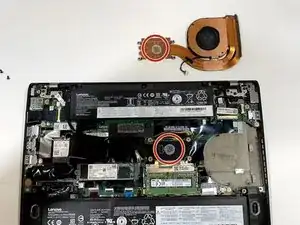
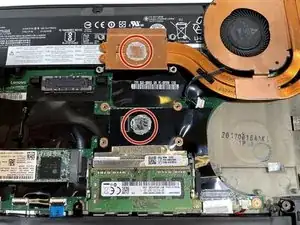
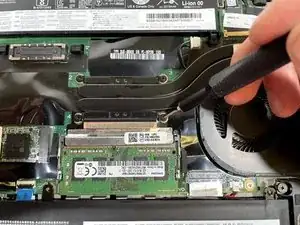
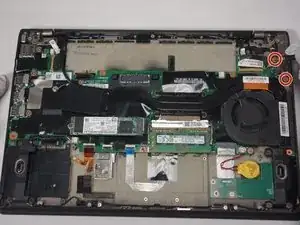
This guide will walk you through the steps for replacing the motherboard in your Lenovo ThinkPad T470s.

The motherboard works as a nervous system for the computer; it allows components, such as the Wi-Fi card and RAM, to "communicate," running the operating system and your computer.

Motherboards can be damaged by rough handling, drops, water damage, or power surges.

Some possible indications of a failing motherboard are: your external USB devices are no longer being read by the laptop correctly, if at all; the laptop is operating much slower than usual; the computer boots with the blue screen of death, and/or any burning smell coming from the laptop while operating.

Power off and unplug your device before beginning.

  1. XrlNPGyNEXvDuwQ4
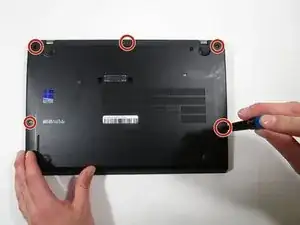
    • Use a Phillips #000 screwdriver to remove the five 7 mm screws from the bottom of the laptop.

    • Lift the bottom panel up and off the laptop.

  2. JwMRdIvGAEeRfYWk
    JwMRdIvGAEeRfYWk
    jRSqAIToEaCRQlCP
    2NbTYoQhHHXHcMxl
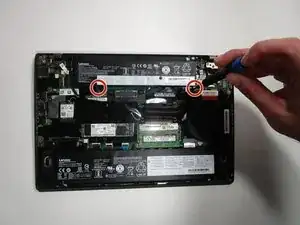
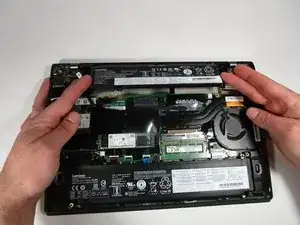
    • Remove two screws on the bottom of the upper battery using a Phillips #000 screwdriver.

    • Remove three screws on the top of the lower battery using a Phillips #000 screwdriver.

    • Peel back connecting supporting tape on each of the batteries.

  3. MHHhcvJqwkvlSXlw
    MHHhcvJqwkvlSXlw
    4FWU1oLO5gvX4ZTM
    Omqdft6eIIAhdLXX
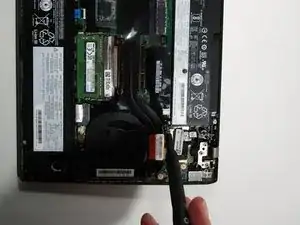
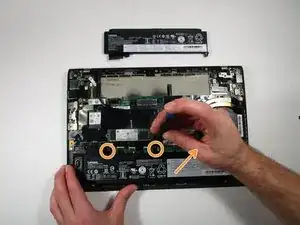
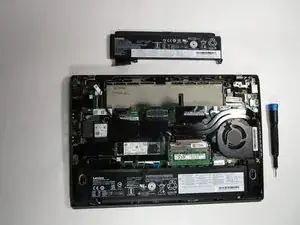
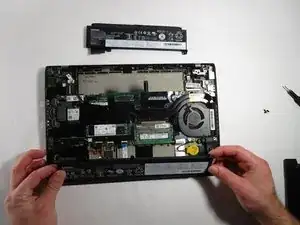
    • Slide the upper battery out of the device, away from the laptop.

    • Slide the lower battery out of the device, away from the laptop.

    My laptop says Battery 1 is at 0% and does not hold a charge and Battery 2 is at 88% and I have 4h 22min of estimates time remaining. Which battery do I need to replace? Upper or lower?

    Sohel Ameer -

    You would think Lenovo would make this information readily available. Im in their manual right now. Not seeing anything. Extremely annoying. Will just use a trial and error method removing one and see if thats the defective one.

    Sean Love -

    Looks like battery 1 is the larger battery.

    Sean Love -

    If I remove battery 1 or 2 will there be any problem running my laptop?

    Saiful Islam -

  4. 2Q1KKH6JaDlPusQN
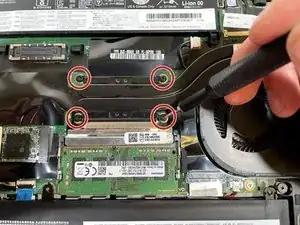
    • Loosen the four screws from the heatsink with a Phillips #000 screwdriver.

  5. VKupbAqqA1JIXZTj
    • Unplug the fan from the motherboard.

  6. QqSntxXgSSLOHMlf
    • Remove the heatsink and fan from the laptop.

  7. QipYPin5lONffDMr
    • Wipe off the old thermal paste with either 99% isopropyl alcohol or kimwipes.

  8. RnZKapctH5tkGcKJ
    RnZKapctH5tkGcKJ
    yHfRVwiSvlNEiANG
  9. RByeWkvEDonAgRaH
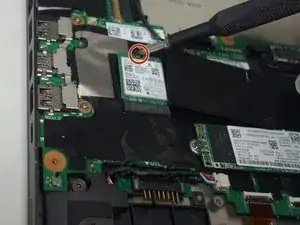
    • Use a Phillips #0 screwdriver to remove the single 2.9 mm screw securing the Wi-Fi card.

    • The Wi-Fi card will lift to a slight angle after the screw is removed.

  10. VtUbsZgk1p1FZHEb
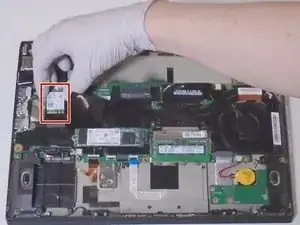
    • Grip the Wi-Fi card on both sides, then pull it directly out of its port.

  11. QFarbf5MTDDGsqUo
    QFarbf5MTDDGsqUo
    RlaM2HNTqZn1pWeW
    • Use a Phillips #0 screwdriver to remove the two 3.3 mm screws.

  12. UCafiUeStpldMIZR
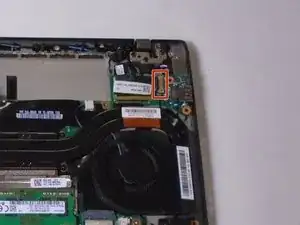
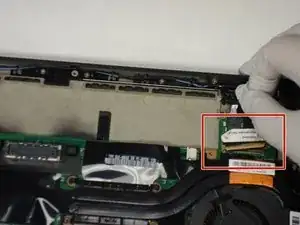
    • Use your fingernail to flip up the gate, then pull the connector directly out of the port.

  13. BMn22msfaGkOvVVX
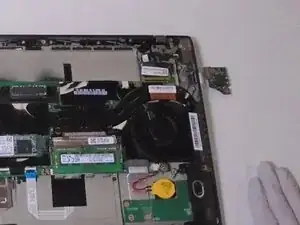
    • Lift the USB board up and out of the chassis.

  14. O44iyVAYBTTNE6OO
    O44iyVAYBTTNE6OO
    XiZIaB61U1KWRy1Z
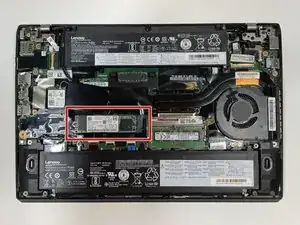
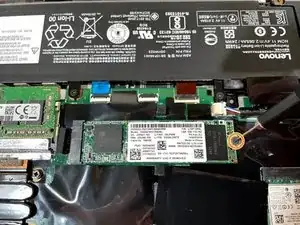
    • Locate the SSD slot between the large battery and fan.

    • Remove the screw securing the SSD using a Phillips #000 screwdriver.

  15. RVZnV4XF1olgbcAF
    RVZnV4XF1olgbcAF
    RpfIRlXBRGlEuHRH
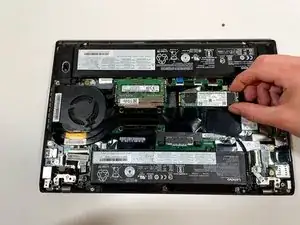
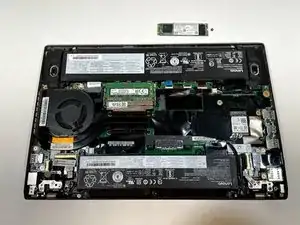
    • Slide the SSD out of the motherboard.

  16. SCxaFs3hZRUFGZFD
    SCxaFs3hZRUFGZFD
    FDyvP2hKHqhS3kHq
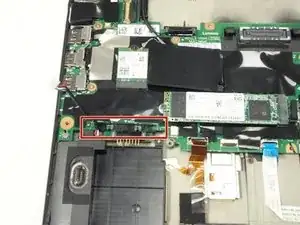
    • Flip up the locking gate, then pull the cable directly out of its port.

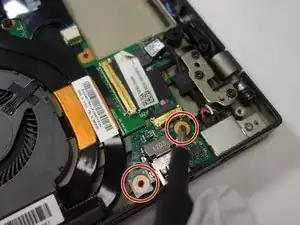
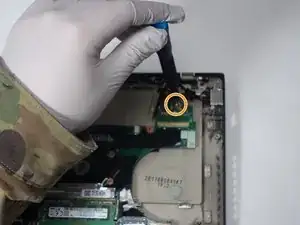
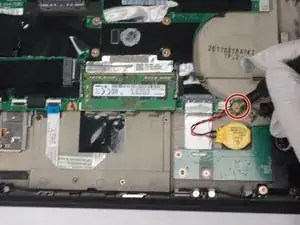
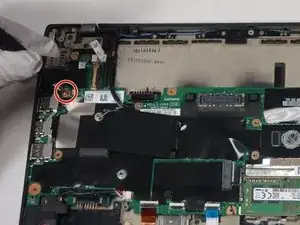
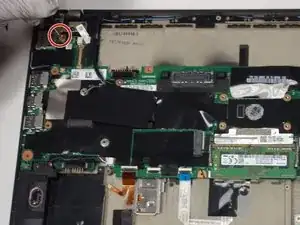
    • Use a Phillips #0 screwdriver to remove the single 3.3 mm screw on the top right corner of the motherboard.

  17. RFxLL3YvmLjWYG4v
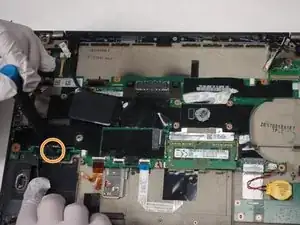
    • Remove the single 3.3 mm screw with a Phillips #0 screwdriver.

  18. RqAmHwoCTfVjbWLX
    • Remove the single 3.3 mm screw with a Phillips #0 screwdriver.

  19. 4NCtfjZcohEBaApc
    • Use a Phillips #0 screwdriver to remove the single 2.9 mm screw.

  20. RHIcwLrcsQFV4Dur
    RHIcwLrcsQFV4Dur
    iIuyswf3ii1aiQ2X
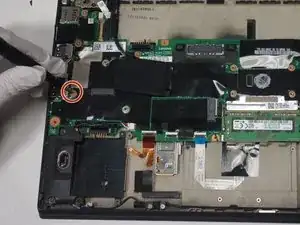
    • Disconnect the speaker connection covering the screw.

    • Use a Phillips #0 screwdriver to remove the single 5 mm screw securing the motherboard.

  21. GB1IZcBK4Aw35U3Y
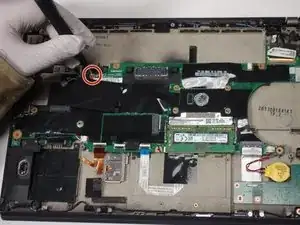
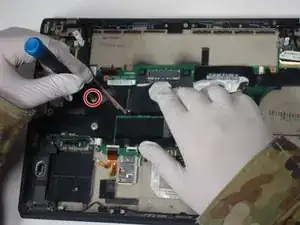
    • Remove the 3.3 mm screw using a Phillips #0 screwdriver.

  22. r2eiEyoRjZWjDgcJ
    • Use a Phillips #0 screwdriver to remove the 3.3 mm screw.

  23. dqJHrujxnvZStAql
    • Remove the single 3.3 mm screw with a Phillips #0 screwdriver.

  24. lBIurqeSg2HIiaog
    lBIurqeSg2HIiaog
    TFBLNt6xfRclfuMe
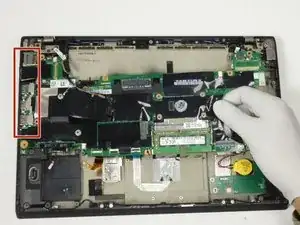
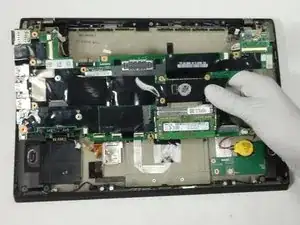
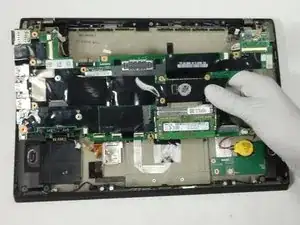
    • Gently grip the motherboard and slide it to the right to remove the USB ports from the chassis.

    • You will hear an audible clicking sound.

    • Lift the motherboard up and out of the chassis.

Conclusion

To reassemble your device, follow these instructions in reverse order.
Adam Soumayah

Member since: 15/02/22

217 Reputation

0 comments