Introduction

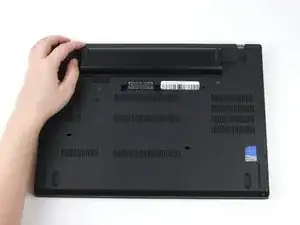
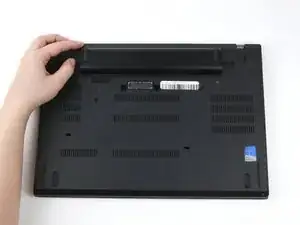
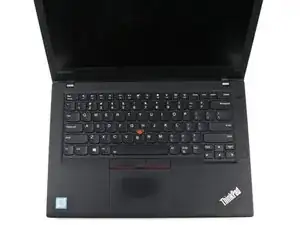
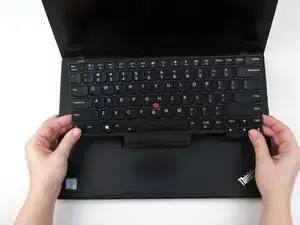
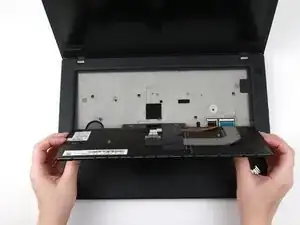
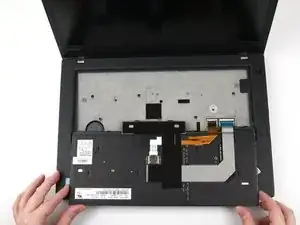
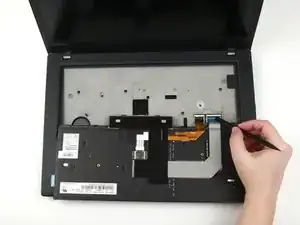
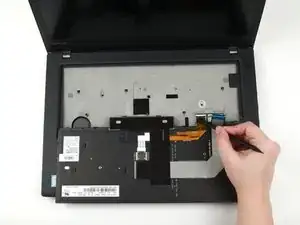
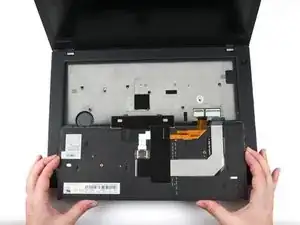
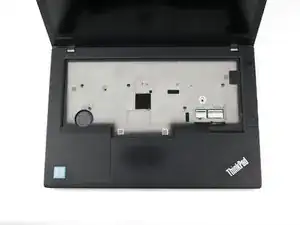
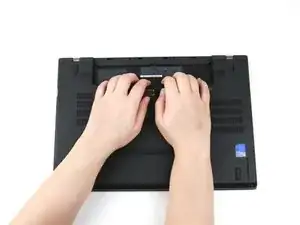
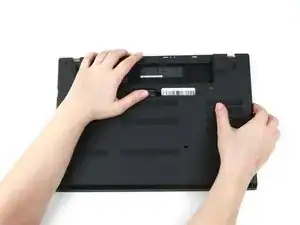
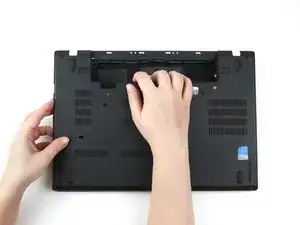
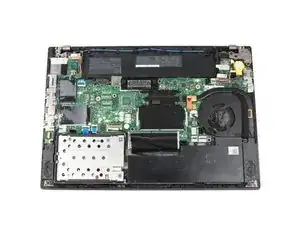
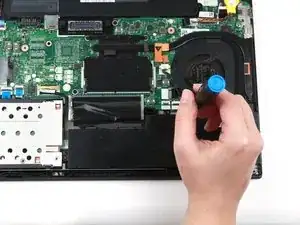
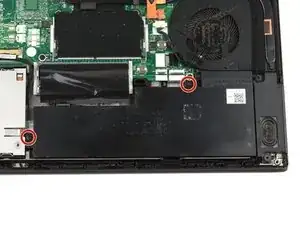
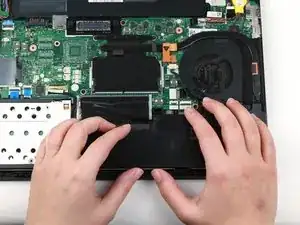
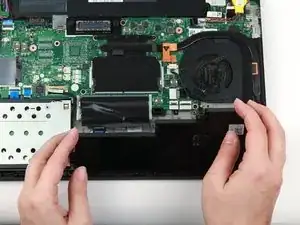
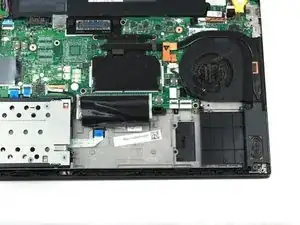
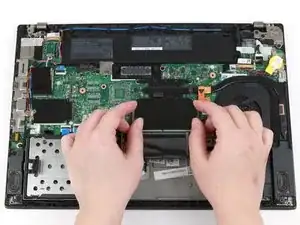
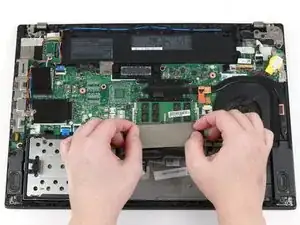
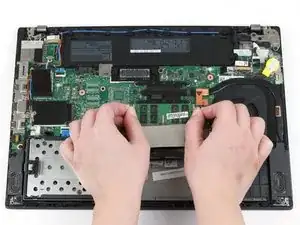
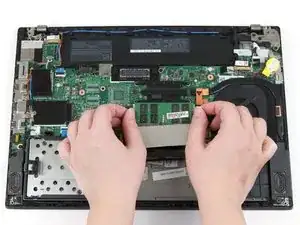
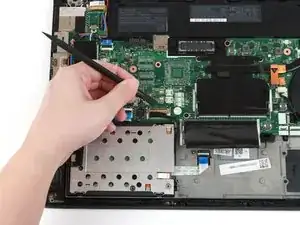
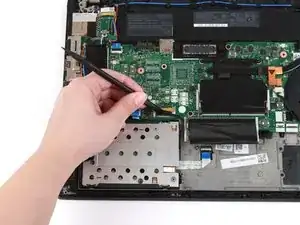
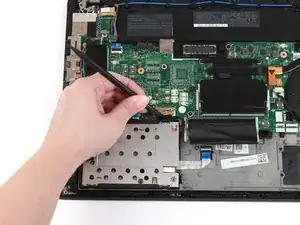
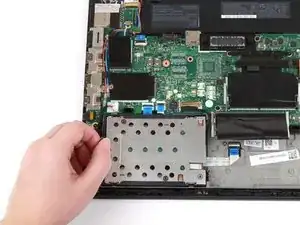
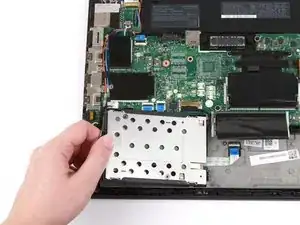
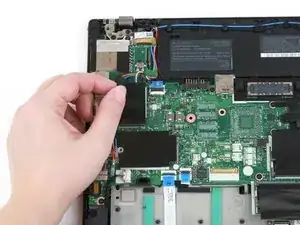
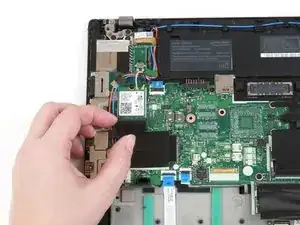
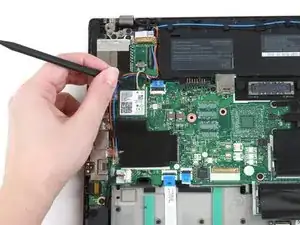
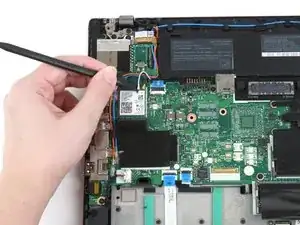
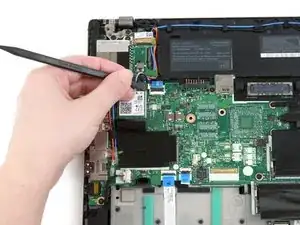
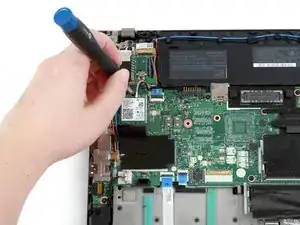
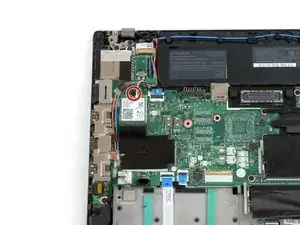
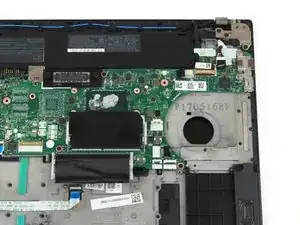
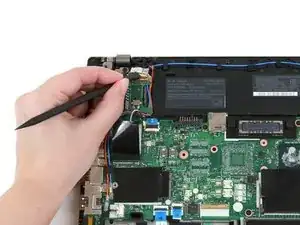
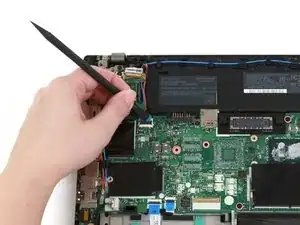
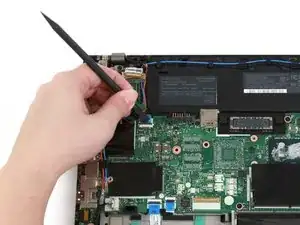
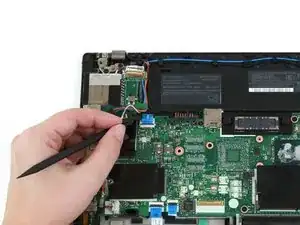
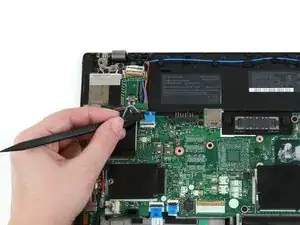
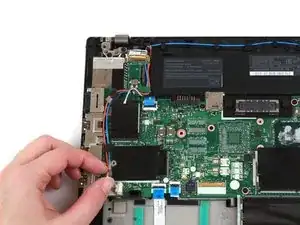
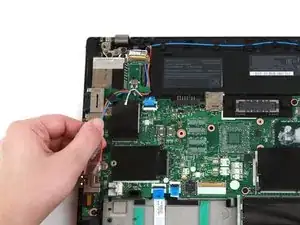
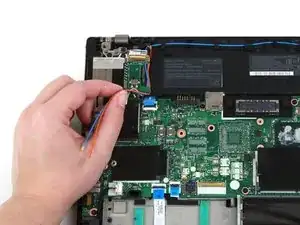
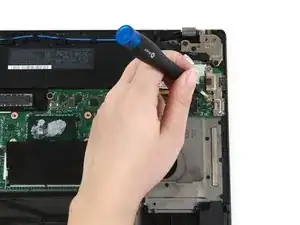
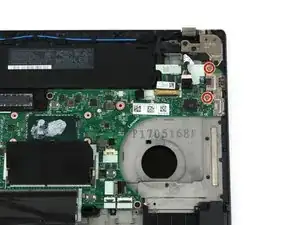
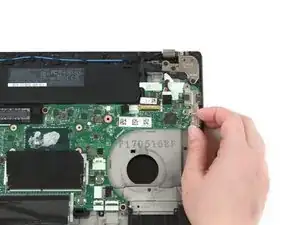
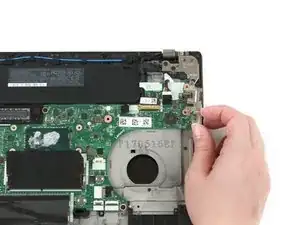
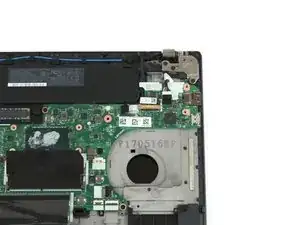
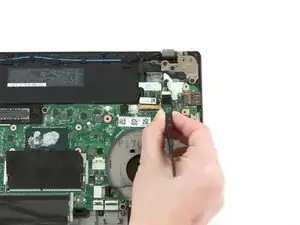
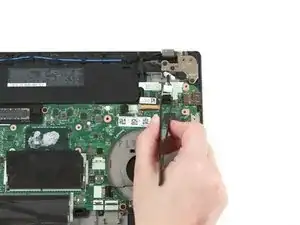
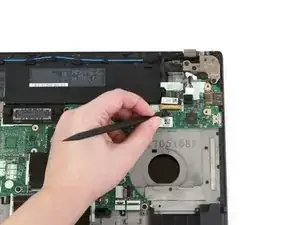
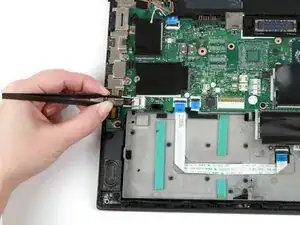
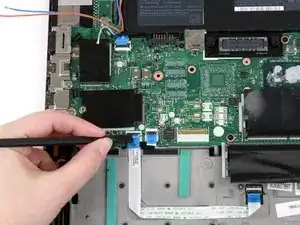
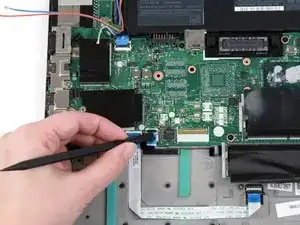
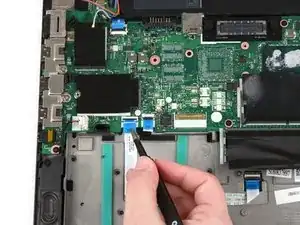
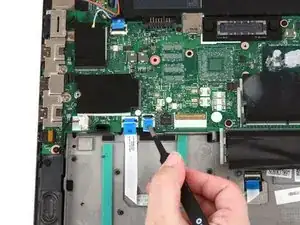
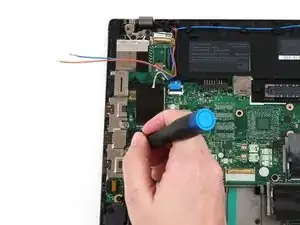
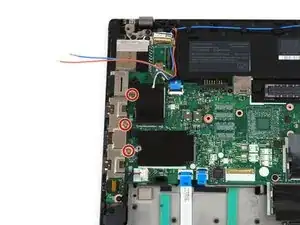
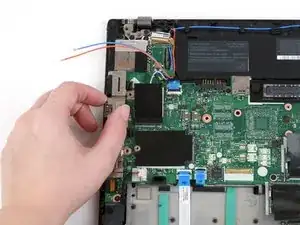
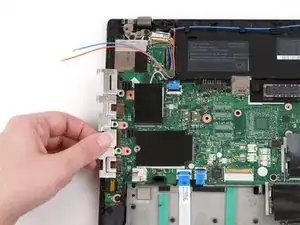
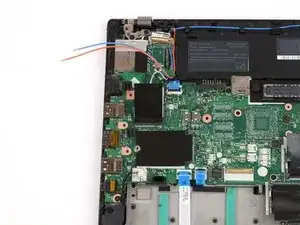
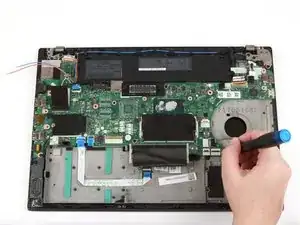
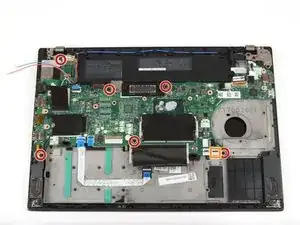
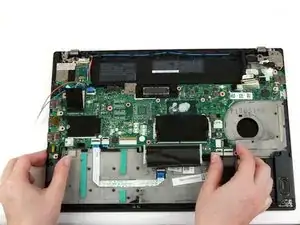
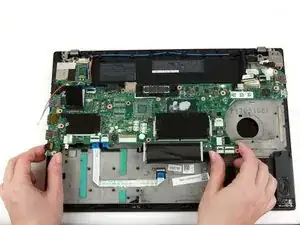
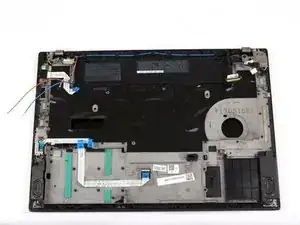
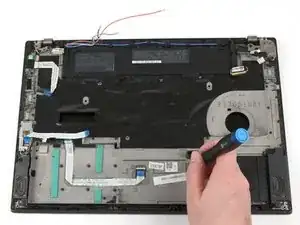
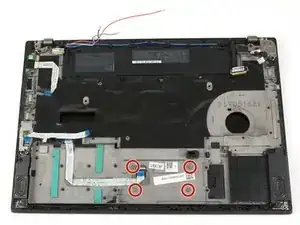
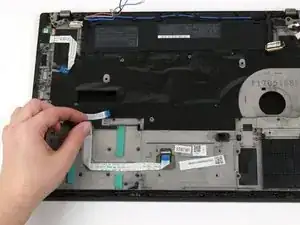
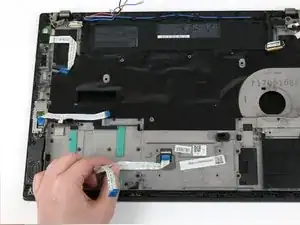
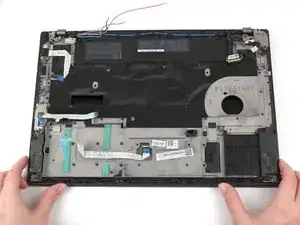
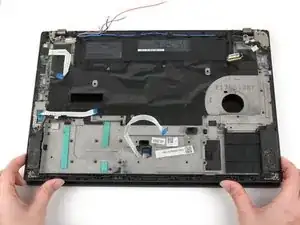
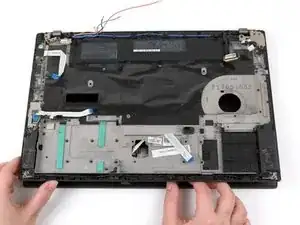
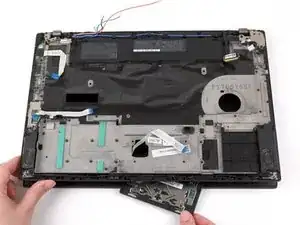
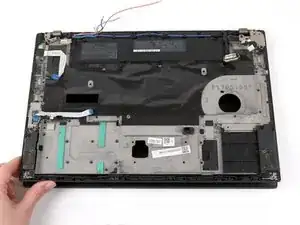
Use this guide to replace the TrackPad in your Lenovo ThinkPad T470.

The TrackPad (also known as a touchpad) translates finger gestures, such as swiping and clicking, to computer actions like dragging and scrolling, similar to how a mouse functions. If the TrackPad is not responding to any gestures or if your gestures are behaving erratically, your TrackPad may be faulty. Before attempting to replace the TrackPad, visit Lenovo’s troubleshooting manual for diagnosing TrackPad-related issues.

If you need to perform a replacement, make sure to disable the internal battery, power down your device, and disconnect from any external power sources before you begin.

  1. ckD4hlhmUnmKSNxm
    ckD4hlhmUnmKSNxm
    4tDyZWvui5LNVpRd
    PsRGa3leqYQsXNd2
    • Before you begin this guide, make sure to disable the internal battery, power down your device, and disconnect from any external power sources.

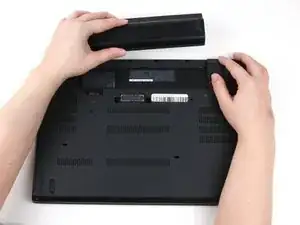
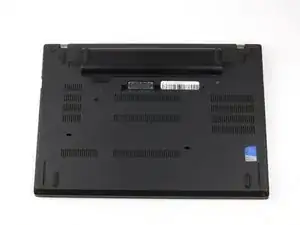
    • Place the laptop so that the bottom is facing upwards.

    • Slide the latch on the left side of the battery to the left until it clicks in place.

  2. ubILtEnaxUXSvQlT
    ubILtEnaxUXSvQlT
    rGEYTyc3CtYNLMWC
    rouQwBIBUSLcuIYw
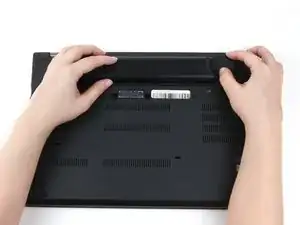
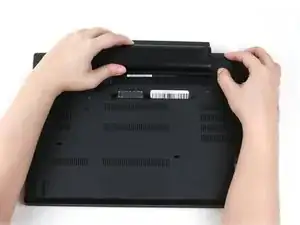
    • Slide the latch on the right side of the battery to the right and hold it in place with your thumb.

    • Use your other hand to slide the battery towards the back of the laptop.

    • Lift the battery up and away from the laptop.

  3. sUJqVdj3VDEM2PKE
    sUJqVdj3VDEM2PKE
    l1khsONGBiQoGnOi
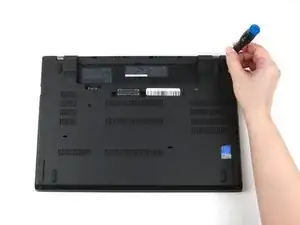
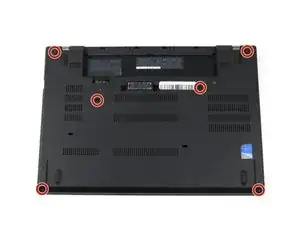
    • Use a Phillips #1 screwdriver to loosen the six captive screws on the bottom cover of the laptop.

  4. riqJ6rJDpf3JWyf2
    riqJ6rJDpf3JWyf2
    hOqcZdmNLRHr6xpq
    • Place the laptop so that the top is facing upwards.

    • Open the lid of the laptop.

  5. FVyhVAXuspLJdACf
    FVyhVAXuspLJdACf
    BlGseeb6MiE4Eidi
    • Place your fingers on the bottom edge of the keyboard.

    • Use a small amount of pressure to push the keyboard towards the screen.

  6. XMtlRORcRxZNlnr6
    XMtlRORcRxZNlnr6
    eEpjVDwqZFpbCQOa
    B5OJyhW32gVcpWFA
    • Grab the bottom edge of the keyboard with your hands, and flip the keyboard upside-down, so it rests on the bottom of the laptop.

    • Potential for device damage: The keyboard is still attached to the rest of the laptop, so be gentle when flipping it over.

  7. WYUTKeCX3GEQqu5O
    WYUTKeCX3GEQqu5O
    4WXQDEHChvboCWIR
    • Use the flat end of a spudger to flip up the locking flaps securing each of the two ribbon cables.

  8. 3FuvZ1FcyRhAsQxN
    3FuvZ1FcyRhAsQxN
    BDKUbnGGGVbkbpSc
    • Use your hands to lift the keyboard up and away from the laptop.

  9. gvuuHqYo6MMOMqgL
    • Close the laptop's lid and flip the laptop over so that the bottom is facing upwards.

  10. VZFKLhJJZceH2yio
    VZFKLhJJZceH2yio
    GywdTTUcSW154Lnm
    PCqYQGhFrdPjStuG
    • Use your hands to pull up on the back cover and release the plastic clips starting on the bottom side of the battery compartment.

    • Potential for device damage: Be sure to detach the plastic clips in this area first. You risk cracking the bottom cover if you attempt to detach it from around the edges of the laptop first.

    • Use your hands to pull up on the right side of the bottom cover to release the plastic clips.

    • Use your hands to pull up on the left side of the bottom cover to release the plastic clips.

  11. UXpKCgoQprbHWRJ6
    • Remove the bottom cover from the laptop.

  12. l6dSEeg41w3jTkWF
    l6dSEeg41w3jTkWF
    hyPaCe1FM1uJRgWK
    • Use a Phillips #1 screwdriver to remove two 5 mm screws from the internal battery.

  13. hbTTnsrcyuKUOLT2
    hbTTnsrcyuKUOLT2
    Mnyenf6h3nIHl3QG
    ZlrbBZYMNaC2jR5S
    • Use your hands to lift the battery up and away from the laptop.

  14. jVDRrXRCvU5ChT5A
    jVDRrXRCvU5ChT5A
    Jg2ITIdCenQtuKM5
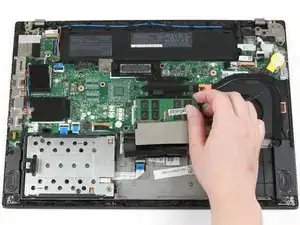
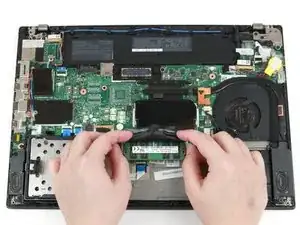
    • Use your fingers to flip the black flap covering the top stick of RAM down.

  15. ENeagmwFecOvy2uq
    ENeagmwFecOvy2uq
    E1sGFN2ob6cPVYQL
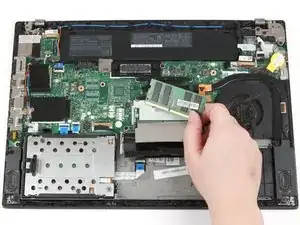
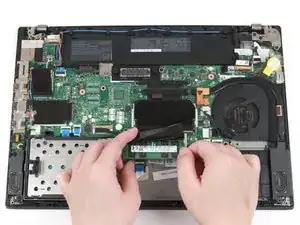
    • Use your thumbs to push the metal clips on either end of the RAM outwards.

    • The RAM will pop up by a few millimeters.

  16. iE1l1JmNUmA2ZpNK
    iE1l1JmNUmA2ZpNK
    ofSP3iEIN66yDxIT
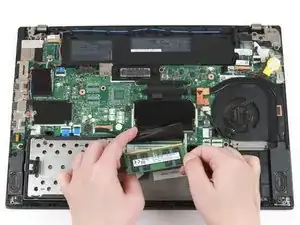
    • Use your fingers to lift the RAM out of its socket and away from the laptop to remove it.

  17. ArKiANjAVSB5ELjF
    ArKiANjAVSB5ELjF
    3CRLWqKbBhgfFKrx
    dEYKe63RRLB14vEP
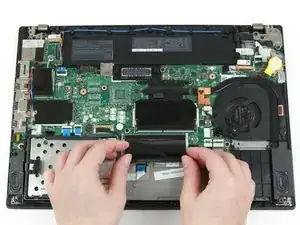
    • Use your fingers to flip the black flap covering the bottom stick of RAM up.

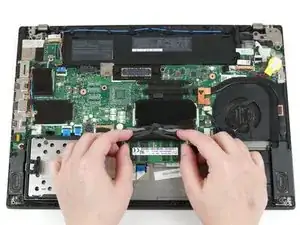
    • Use your thumbs to push the metal clips on either end of the RAM outwards.

    • The RAM will pop up by a few millimeters.

  18. gGEuKDYxbXtHLGG3
    gGEuKDYxbXtHLGG3
    jXMo3oc3ZSe5wPaN
    • Use your fingers to lift the RAM out of its socket and away from the laptop to remove it.

  19. OLPWCO2bjoXFYrqJ
    OLPWCO2bjoXFYrqJ
    VG2om6InJ2ZljJxL
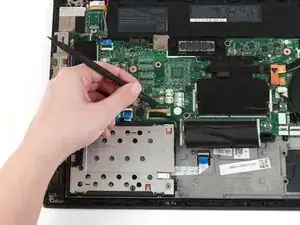
    • Use the flat end of a spudger to flip up the metal clip securing the SSD connector to the motherboard.

  20. WTZKjPkQEqsOMqvq
    WTZKjPkQEqsOMqvq
    CehiLFsT2eOddLJU
    • Use the flat end of a spudger to separate the connector from its socket.

  21. WGsHphrtWWQZKrL1
    WGsHphrtWWQZKrL1
    PTSWbdbJjhkfBVaH
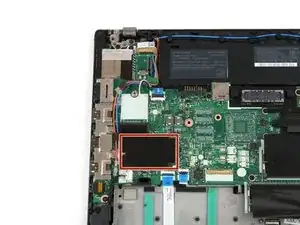
    • Grab the tab on the left side of the hard drive, and pull up to remove it from the laptop.

  22. ug4o2DOhZLPoaVNT
    ug4o2DOhZLPoaVNT
    53JeFCeDtKM22SCS
    • Use a finger to press the black flap covering the Wi-Fi card down.

  23. OqNnaXNNm5EDRFar
    OqNnaXNNm5EDRFar
    v1gmnI6PnFEFreJI
    PZ2noykTjW51sRIE
    • Use the flat end of a spudger to disconnect the two coaxial wires from the Wi-Fi card.

    • When reassembling, reattach the gray wire on the left and the black wire on the right.

    The connectors on the wifi card snap off pretty easily and can get stuck inside of the coaxial cables.

    Allen -

  24. wrLHQOHVNJFrretP
    wrLHQOHVNJFrretP
    M1JWF43fdklMNVar
    • Use a Phillips #1 screwdriver to remove the single 4 mm screw from the Wi-Fi card.

  25. AkJp1DytrWyZqCdZ
    AkJp1DytrWyZqCdZ
    ZBHIPqWTJshA5OPQ
    FyputJaEZEIbHtJA
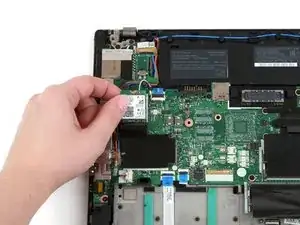
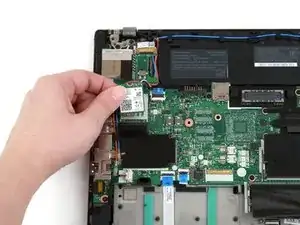
    • Use your fingers to lift the Wi-Fi card up and out of its slot.

    • This laptop does not include a WWAN card, but if yours does, follow the same procedure as Steps 9-12 to remove it.

  26. 5VCHhwIdujEQpqvJ
    5VCHhwIdujEQpqvJ
    NCHGsMWwYvK5vTL1
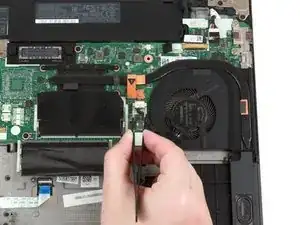
    • Use a pair of blunt nose tweezers to pull the white connector out of its socket.

  27. q4thOPCBIxaPK4mt
    q4thOPCBIxaPK4mt
    GdATDrGYJt1MhVcQ
    BYNiqRGslktowGG5
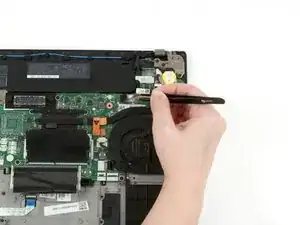
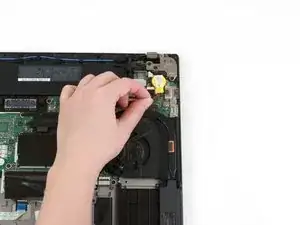
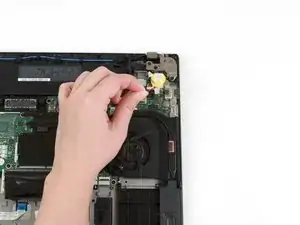
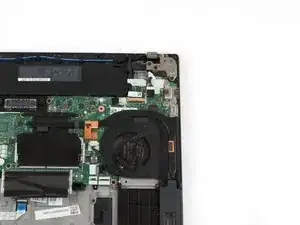
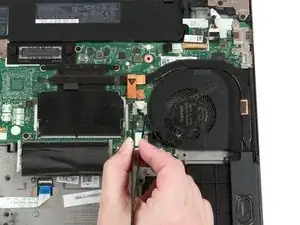
    • Grab the wire attached to the coin cell battery, and lift it up and out of the laptop.

  28. LjPwqfdEvgLJ4bCd
    LjPwqfdEvgLJ4bCd
    L3dsf453nXduywEb
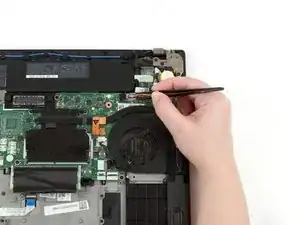
    • Use a pair of blunt nose tweezers to pull the white fan connector out of its socket on the motherboard.

  29. CCoxhTbwuLwXrlxd
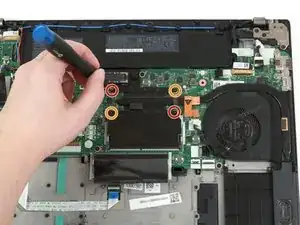
    • Use a Phillips #1 screwdriver to loosen the first pair of captive screws on the fan and heat sink assembly in a crosswise pattern.

    • Use a Phillips #1 screwdriver to loosen the second pair of captive screws on the fan and heat sink assembly in a crosswise pattern.

  30. SHognB4PwvJLD65l
    SHognB4PwvJLD65l
    lDLvoF3UrvBMvVBc
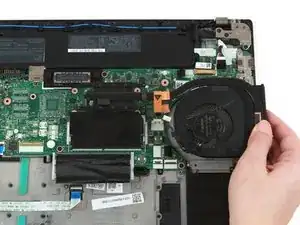
    • Use your hand to pull the fan and heat sink assembly up and away from the laptop.

    • Clean the thermal paste from the heatsink and CPU and reapply fresh paste before reassembling.

  31. kkMN62HKgWlvCgfu
    kkMN62HKgWlvCgfu
    3XlByhJ1eHYRllJX
    • Use the flat end of a spudger to flip up the metal clip securing the LCD cable to the motherboard.

  32. rSef6dbJIdofJNjR
    rSef6dbJIdofJNjR
    53UQuctoT2rKfViS
    • Use the flat end of a spudger to disconnect the LCD cable from its socket on the motherboard.

  33. oM4p2xoIGvnqcYbs
    oM4p2xoIGvnqcYbs
    ohu26LYxrK4AwSBl
    • Use the flat end of a spudger to flip the power button cable's black tab up.

  34. kb4gCSHLGAMqM4me
    kb4gCSHLGAMqM4me
    jKxxB3aSB51CuBPZ
    • Use the flat end of a spudger to slide the power button cable out of its connector on the motherboard.

  35. fsNyGJJMM6MRMp4J
    fsNyGJJMM6MRMp4J
    ildrQWrXgkHbvENo
    LwbRAKVkRBlATxqE
    • Use your fingers to detach the red and blue antenna cables from their slots.

  36. DVj3HiLpVYrqM6X6
    DVj3HiLpVYrqM6X6
    jTZh2KfkGOK1yhhG
    • Use a Phillips #1 screwdriver to remove the two 4 mm screws from the USB bracket.

  37. rpnXKiUUN56gSsOG
    rpnXKiUUN56gSsOG
    aZ5FKV2avs2BflXo
    MkMYZF2PZKGXDKNa
    • Use your fingers to lift the USB bracket up and away from the laptop.

  38. BbyYuWSHYRonNTb3
    BbyYuWSHYRonNTb3
    F2ViaWGtVZRoMLNx
    • Use a pair of blunt nose tweezers to disconnect the DC-in cable from its socket on the motherboard.

  39. 3UORYfFVyeZLj4hW
    3UORYfFVyeZLj4hW
    UWcLQK1JbZiFE54q
    • Use the flat end of a spudger to flip up the metal bracket securing the camera cable to the motherboard.

  40. QKjpQVEiaXXRkkbZ
    QKjpQVEiaXXRkkbZ
    qb2VyCCdWYahv4lZ
    • Use the flat end of a spudger to disconnect the camera cable from its socket on the motherboard.

  41. jiuAR6X4s1coDm6R
    jiuAR6X4s1coDm6R
    TqDiGyFOlPfhgPJ2
    • Use a pair of blunt nose tweezers to disconnect the speaker cable from its socket on the motherboard.

  42. nXBfEdnInrB2XwMQ
    nXBfEdnInrB2XwMQ
    wXEtuxUMSCgpoAt1
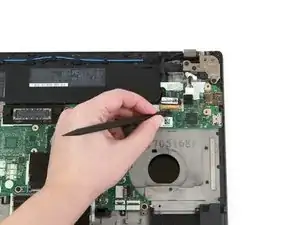
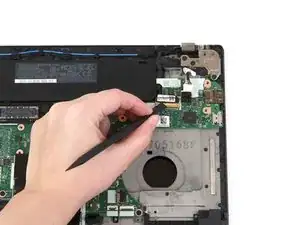
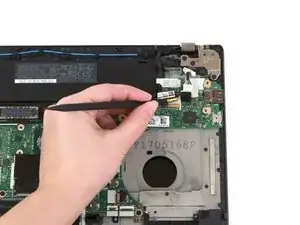
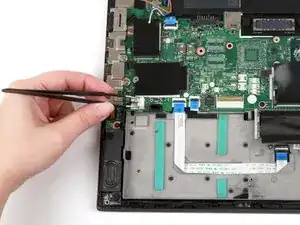
    • Use the flat end of a spudger to flip up the black tabs on the trackpad and fingerprint reader cables.

  43. oYAHHmXmAkhaDu32
    oYAHHmXmAkhaDu32
    lQOrbyuxdidmFBIt
    • Use a pair of blunt nose tweezers to slide the trackpad and fingerprint reader cables out of their connectors on the motherboard.

  44. NLlUEEfZICcRXrvf
    NLlUEEfZICcRXrvf
    sygB12PrVnZXWvIX
    • Use a Phillips #1 screwdriver to remove the three 4 mm screws from the I/O bracket.

  45. O2KGaMARjRt1VcwC
    O2KGaMARjRt1VcwC
    JKkJKPpJjrMOE2nH
    CPQ15PjIeFVKVdlR
    • Use your fingers to slide the I/O bracket to the left.

    • Lift the I/O bracket up and away from the laptop.

  46. yOaijSDhYB2wxQrl
    yOaijSDhYB2wxQrl
    IMQKns5rIi2mIjQg
    • Use a Phillips #1 screwdriver to remove the six 4 mm screws from the motherboard.

    • This laptop does not have an NFC cable, but if yours does, use the flat end of a spudger to flip up the tab and slide the cable out of its connector.

  47. XwFN1iFWgcp6qSQJ
    XwFN1iFWgcp6qSQJ
    upjlxVCSxdxL4CE6
    qXkbKVSNCuHZYjZP
    • Use both hands to lift the motherboard up and away from the laptop.

  48. raBnBJANgpmYoREp
    raBnBJANgpmYoREp
    R2waAGBDPUsKoKjG
    • Use a Phillips #1 screwdriver to remove the four 4 mm screws.

  49. w2LA6FU4HDFRQAZx
    w2LA6FU4HDFRQAZx
    xM1qslJfmNxYPso1
    • Peel up the white ribbon cable.

    • Potential for device damage: The cable may be attached to the laptop with strong adhesive, so be cautious not to tear it.

  50. pUnbyOcTapLOBtoQ
    pUnbyOcTapLOBtoQ
    AokyJy6t1QVSBNkE
    • Use both hands to lift up the bottom frame of the laptop a few centimeters.

  51. 3Feb2yEGYXF6WMfE
    3Feb2yEGYXF6WMfE
    VwtkhVGIgFUyTWHM
    XTmjSaaEF1NsGFss
    • Hold the frame up with one hand.

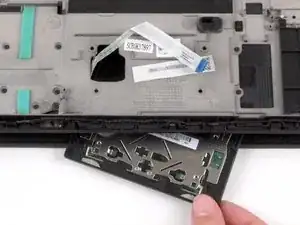
    • Use your other hand to slide the trackpad toward you and away from the laptop.

Conclusion

To reassemble your device, follow these instructions in reverse order.

Take your e-waste to an R2 or e-Stewards certified recycler.

Repair didn’t go as planned? Try some basic troubleshooting, or ask our Answers community for help.
Kristen Gismondi

Member since: 12/11/14

81237 Reputation

0 comments