Introduction
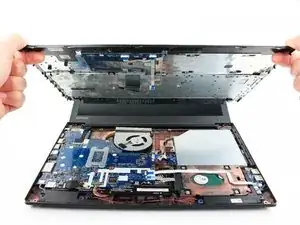
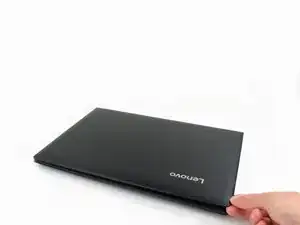
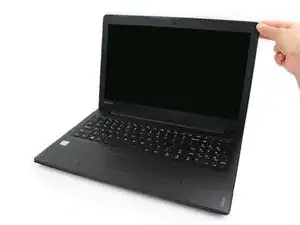
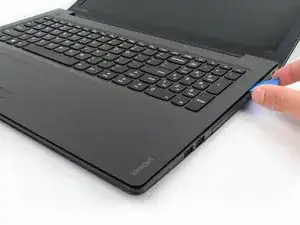
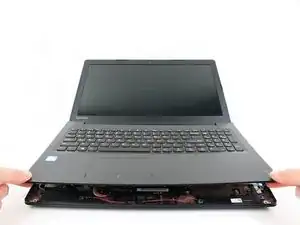
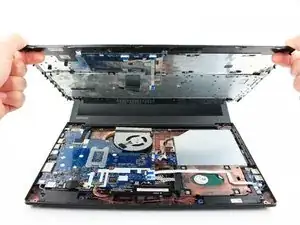
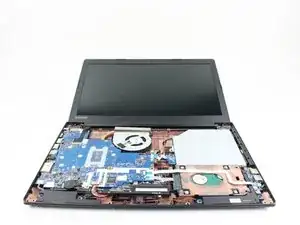
Use this guide to access the internal components of a Lenovo IdeaPad 310-15IKB.
For your safety, discharge the battery below 25% before disassembling your device. This reduces the risk of fire if the battery is accidentally damaged during the repair. If your battery is swollen, take appropriate precautions.
Tools
-
-
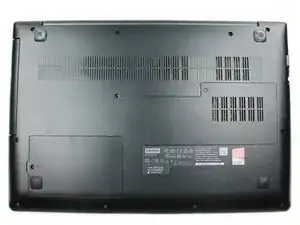
Flip the laptop over with the hinge facing away from you.
-
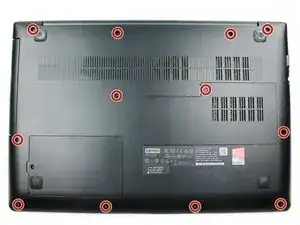
Use a Phillips screwdriver to remove the twelve 6.5 mm screws that secure the lower case and the right panel.
-
-
-
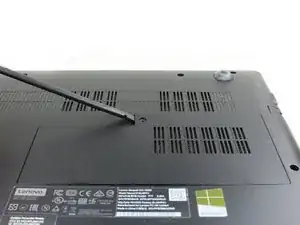
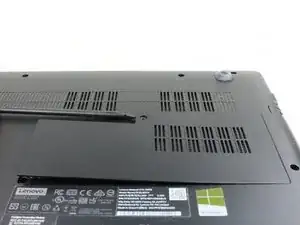
Insert the flat end of a spudger into the notch on the upper left corner of the right panel.
-
Pry the panel up to release the retaining clips that secure the panel.
-
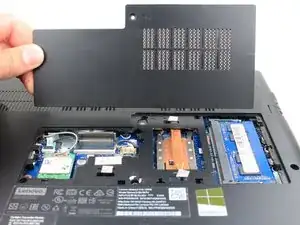
Remove the panel.
-
-
-
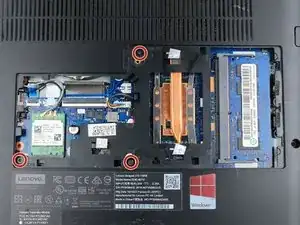
Use a Phillips screwdriver to remove the three 6.6 mm screws that secure the motherboard to the lower case.
-
-
-
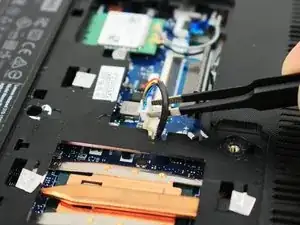
Use tweezers or your fingernails to lift the fan cable connector directly up and out of its motherboard socket.
-
-
-
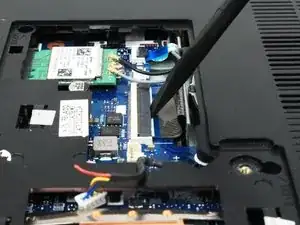
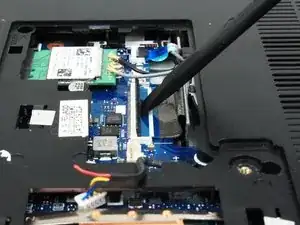
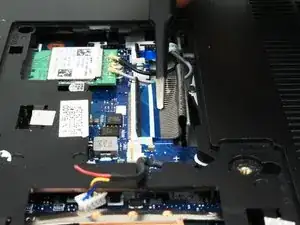
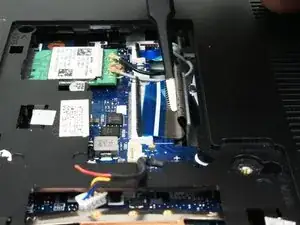
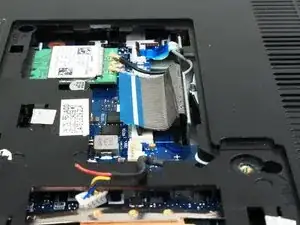
Use the flat end of a spudger or a fingernail to flip up the ZIF locking flaps on the keyboard and trackpad connectors.
-
-
-
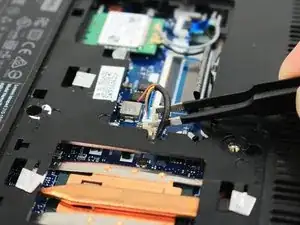
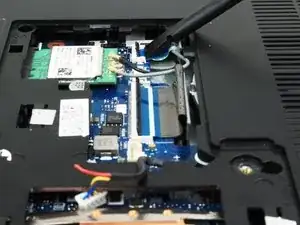
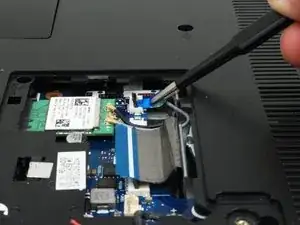
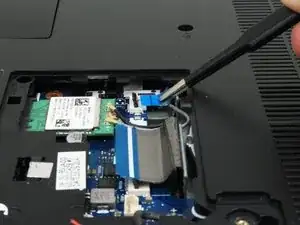
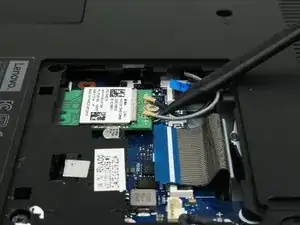
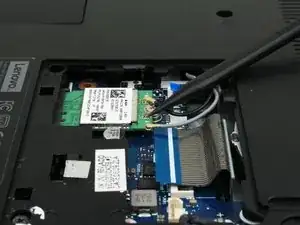
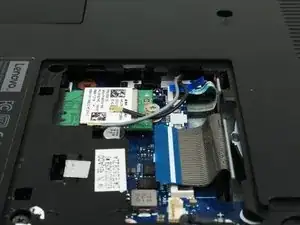
Use the pointed tip of a spudger to gently pry up and disconnect the two antenna cables from the wireless card.
-
-
-
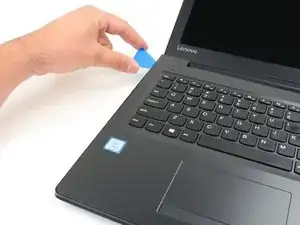
Insert the tip of an opening pick into the seam between the top left corner of the lower case and keyboard assembly.
-
Slide the opening pick down to the bottom left corner to release the clips.
-
-
-
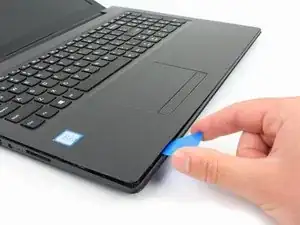
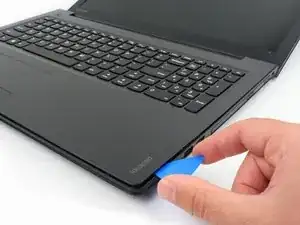
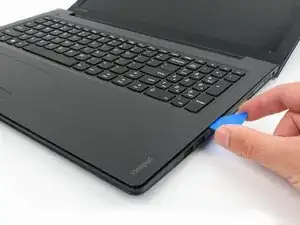
Insert the tip of an opening pick into the seam between the lower left side of the palm rest and the lower case.
-
Slide the opening pick to the right to release the clips that secure the front edge.
-
-
-
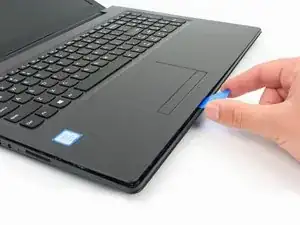
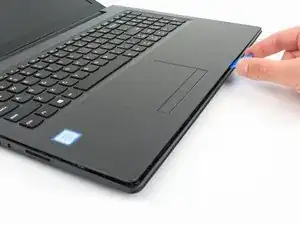
Insert the tip of an opening pick into the bottom right seam between the chassis and keyboard assembly.
-
Slide the pick toward the top right corner to release the remaining retaining clips.
-
To reassemble your device, follow these instructions in reverse order.
Take your e-waste to an R2 or e-Stewards certified recycler.
Repair didn’t go as planned? Try some basic troubleshooting, or ask our answers community for help.
