Introduction
If the laptop is not showing any signs of turning on, then the battery may be loose or faulty. This device guide will show you how to remove the battery and secure it in place.
Tools
Parts
-
-
Flip the IdeaPad bottom side up.
-
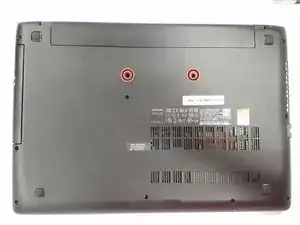
Using a Phillips #1 screwdriver, remove the two 6.0mm screws on the back panel, that hold the keyboard.
-
Flip the computer back to top facing.
-
-
-
Open the lid.
-
Use the plastic opening tool to pry the keyboard up and away from the bottom assembly.
-
-
-
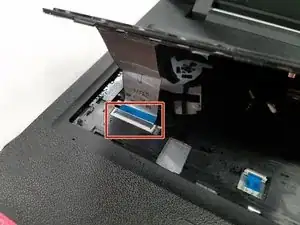
Next disconnect the keyboard cable by using the tip of the spudger or your finger to lightly push out the ribbon from the contact port.
-
Completely remove the keyboard from the bottom assembly.
-
-
-
Flip the laptop to its back and the optical drive is located at the top left corner.
-
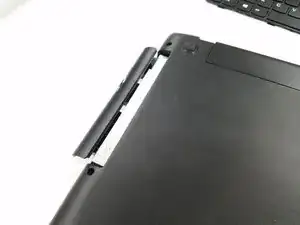
Remove the optical CD DVD drive by lightly pulling it out of the assembly.
-
-
-
Place the laptop bottom facing up.
-
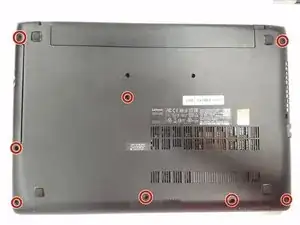
Using a Phillips #1 screwdriver, remove the remaining eight 6.0mm screws on the back panel.
-
Flip the computer back to top facing.
-
-
-
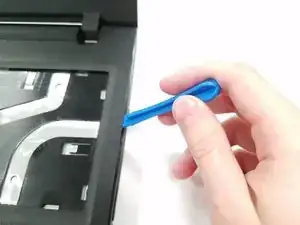
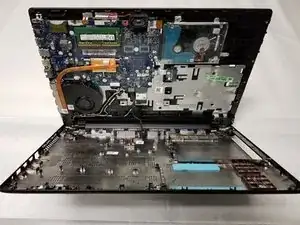
Separate the top case from the bottom using a plastic opening tool.
-
Continue prying the top and bottom case from each other all around the perimeter of the laptop.
-
-
-
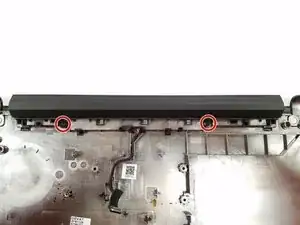
The battery is attached to the bottom case of the laptop.
-
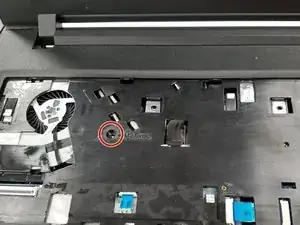
Remove the two 4.0mm screws.
-
Push the battery component away from you in order to completely remove the battery from the fixture.
-
To reassemble your device, follow these instructions in reverse order.
