Introduction

Follow this guide to replace the back panel adhesive on your Google Pixel 4.

This repair guide was authored by the iFixit staff and hasn’t been endorsed by Google. Learn more about our repair guides here.

  1. 1POuoQX3ecc1KthF
    1POuoQX3ecc1KthF
    oAjqe4scLvOt6mcC
    ytxuDeNxXQYjMNbK
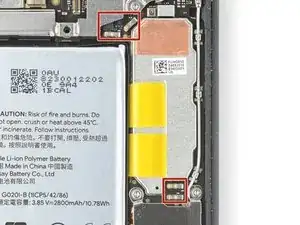
    • When scraping the frame and back panel, take care not to damage the spring contacts and graphite film.

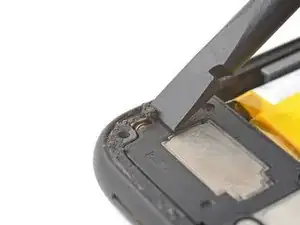
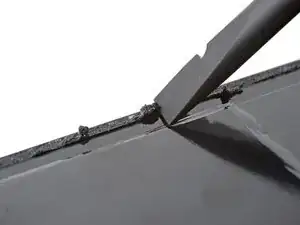
    • Use the flat end of a spudger or your fingernail to scrape off the old adhesive from the frame and back panel.

  2. GbJq4af3Qwp1xaWF
    GbJq4af3Qwp1xaWF
    1khHeCegJJppRtpO
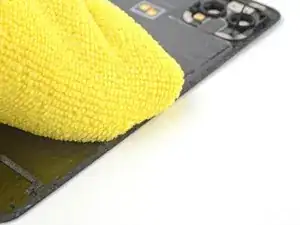
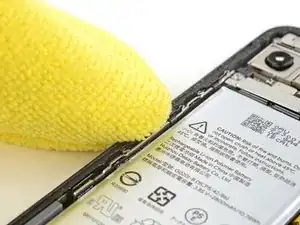
    • Apply a few drops of high-concentration (90% or higher) isopropyl alcohol to any remaining adhesive.

    • Use a microfiber cloth to remove the remaining adhesive.

    • If you're still having trouble removing the adhesive, apply a few drops of alcohol to the adhesive and scrape it with a spudger.

  3. s4jt4CkKfNkCTVWo
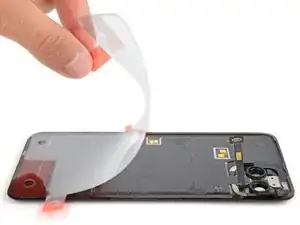
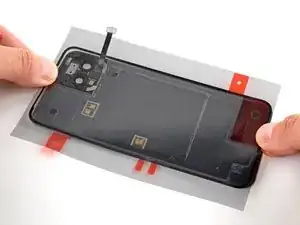
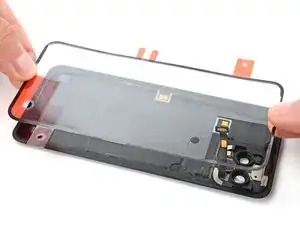
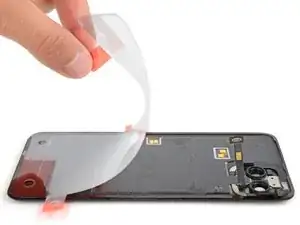
    • Before peeling off any liners, lay the new adhesive down on the back panel and use the camera cutout to find its proper orientation.

  4. oTe3dXFcwrn6gOqx
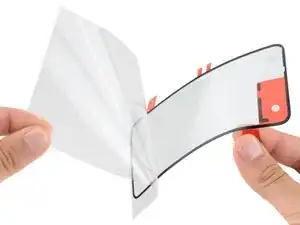
    • Peel and remove the large rectangular liner.

    • This should expose the adhesive that will stick to the back panel.

  5. 2yBDnWhmqgWQMaUI
    2yBDnWhmqgWQMaUI
    j2jodWbNhCen1AQL
    o1ExZbA3kYaGs2TQ
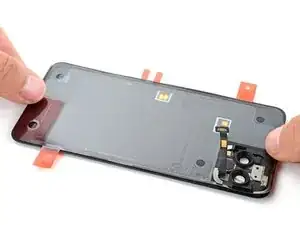
    • Be very careful during this step! The adhesive is very sticky, and once it touches the back panel you won't be able to reposition it. Misaligned adhesive can lead to an improper seal.

    • When laying down the adhesive, make sure the back panel connector cable is threaded through the camera cutout. If the adhesive sticks to the cable, you'll have to restart the repair with new adhesive.

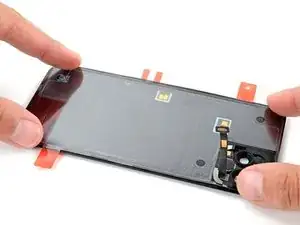
    • With the adhesive in its proper orientation, lay it sticky side down on the back panel.

    • Press down firmly around the perimeter of the back panel, ensuring all the adhesive is secured.

  6. mMAMMHVRScxl4Lev
    mMAMMHVRScxl4Lev
    bkCqNTUp1mUftPmX
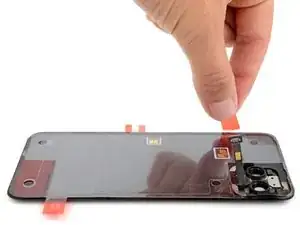
    • Use the pull tabs to remove all remaining liners from the adhesive.

  7. F1bfc5Gw3vXcAtX1
    • Return to your phone's repair guide and continue reassembly.

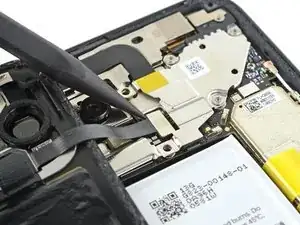
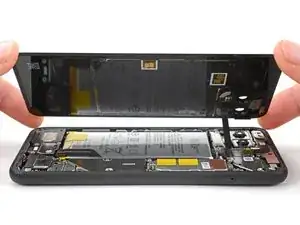
    • Be very careful when reassembling your device, as the adhesive is exposed and very sticky. Take special care to prevent the back panel cable from touching the adhesive.

    • Return to this guide before securing the back panel to the phone.

  8. D6FupxiNJcpUeXCY
    D6FupxiNJcpUeXCY
    nYyhUbwhmv2umLPu
    gcSHmvWPBJHd2xbq
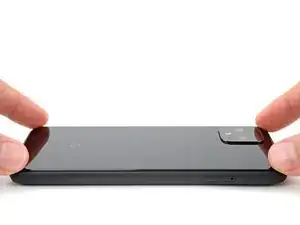
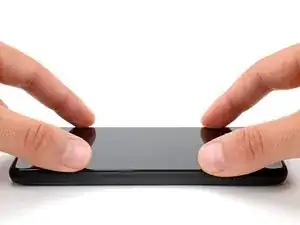
    • Align the back panel over the back of the phone and lay it down.

    • Secure the back panel by firmly pressing along its perimeter for one minute.

    As a first time user, I wish the instructions would be all in one place. The isntructions for reattaching the back glass are separate, and I didn't like just "reversing" the disassembly instructions. As a result, I have to remove all the screws and connections so I can put the adhesive on for final retest and assembly.🤔

    Nunu -

Spencer Day

Member since: 14/09/22

49372 Reputation

One comment

I used 70 % isopropyl alcohol instead of 90 %, I don't think it was as effective as it should have been though.

I did step 7 before step 6 as I was afraid that it wasn't going to stick as intended. When doing step 7, but the back panel connector did disconnect from the back panel and not from the phone's inside.

Luigi -