Introduction

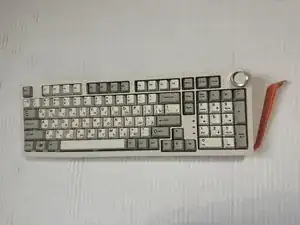
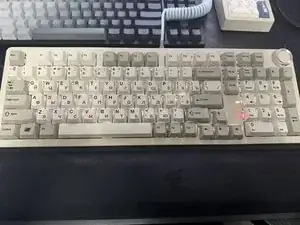
This is the guide of how to repair the Jamesdonkey RS2 and let it work as the new one

  1. eaqpNTtoqMoCEE4e
    eaqpNTtoqMoCEE4e
    MvLWH1TQbdjQHiSE
    • the first step is to disassemble all the pieces to make sure all the parts are separated

  2. peVgVamGMVMTLJ44
    peVgVamGMVMTLJ44
    ddHf4emLERmVkMFV
    • make sure all the cable is unplugged first to prevent the accident from happening

  3. DuQUfDPRjuqdnJDJ
    DuQUfDPRjuqdnJDJ
    qWWEkPLLDREqD4Rk
    gRQeJVLKTwiiYl5D
    • unplug all the cables before we remove any other parts of the keyboard

  4. oUDHQEiLQyOlSBJP
    oUDHQEiLQyOlSBJP
    kPPIB3owOckUIoFC
    iQWLgLuprGQdCQjC
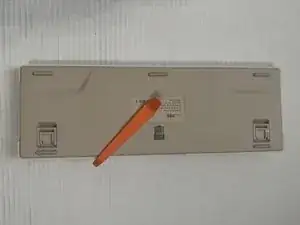
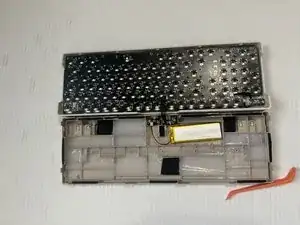
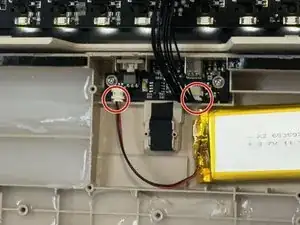
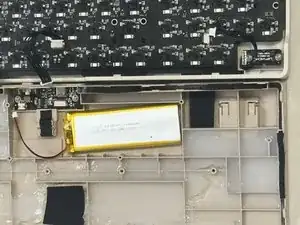
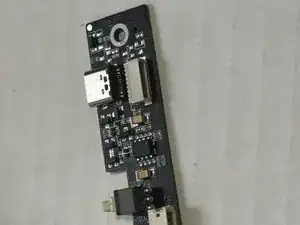
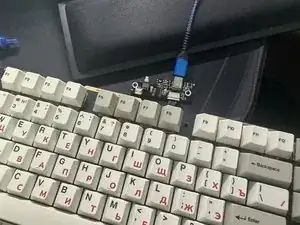
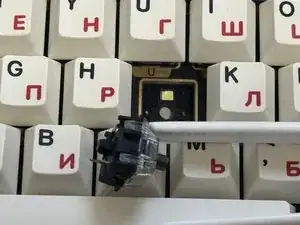
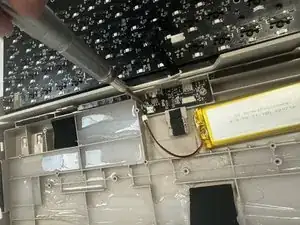
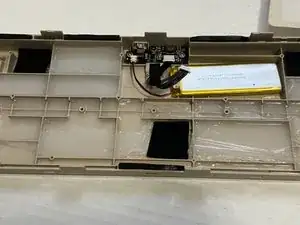
    • unscrew the small board (including 2 m2 4mm screws)to let it easier to figure out where the trouble is

  5. MhGZQ6EFQNEGtyaH
    MhGZQ6EFQNEGtyaH
    gLqbUVBGIwLleRou
    • Then plug it back into the PCB, what we get will be a small board connected to the big board

  6. CiFstGNvNfqmKUhB
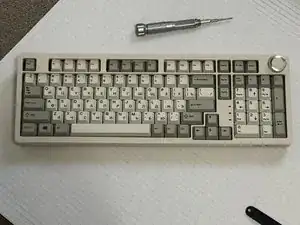
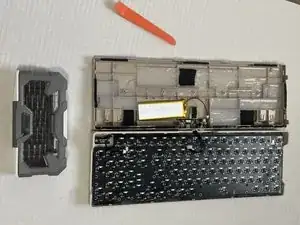
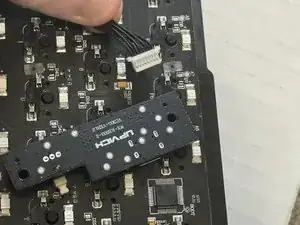
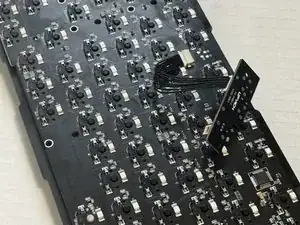
    • we need to connect the board to the computer, turn the circuit on then we will be able to test where the problem

  7. 5ljEuHROgrhCXali
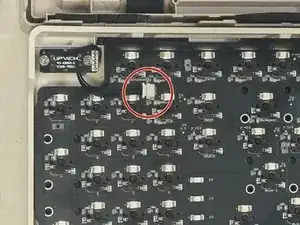
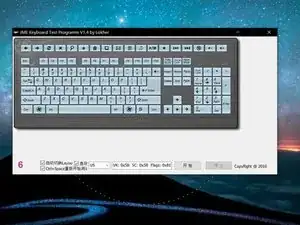
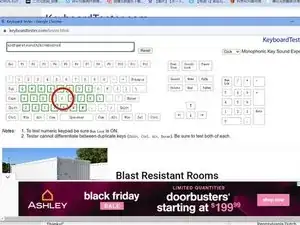
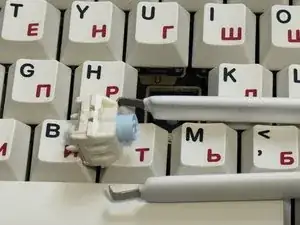
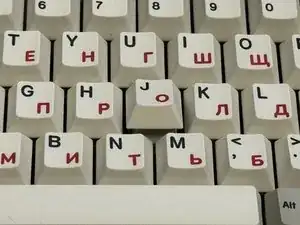
    • This is the way to figure out if is it connected or not, first open the key tester on a computer that been connected to the keyboard

  8. lbKoAJXjPaWEKcj6
    • Use the metal tweeze to connect the silver part under the PCB.

  9. KjbPmTxZCIsDbkgA
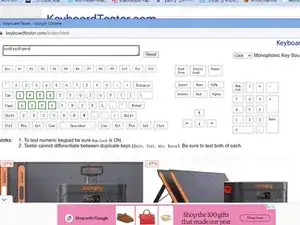
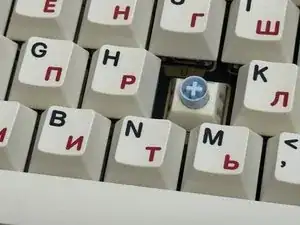
    • if everything works fine, it should just light in green, which means the key has been sensed.

  10. KlfoMtPreuVrvN6I
    • if there is just one single key that is unable to react then just switch it.

  11. ZsvRNPlPMNTQFV33
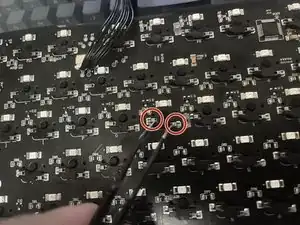
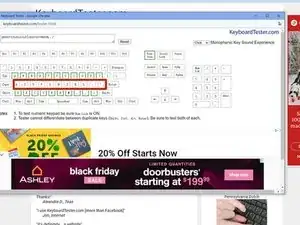
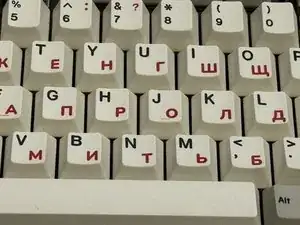
    • if there is a line that has no reaction, which means PCB is malfunctioning, better send it back for repair.

  12. bRbANx3VLGFmXCJQ
    bRbANx3VLGFmXCJQ
    AhQWFlNNqpHXqqia
    • Here is how to switch switches, first unplug the keycap

  13. 4wGHaMTpaZRcLG2I
    4wGHaMTpaZRcLG2I
    IpYKPusIeTQEN2ET
    • Then unplug the switch

  14. oPQIoxoVPEZYOVEL
    oPQIoxoVPEZYOVEL
    FDeHs4k6RB4CPE3W
    KGqFLNJgVjhCaleM
    • after that plug in a new switch

  15. ANyWUNWLXHkYIWqD
    ANyWUNWLXHkYIWqD
    wJj3g5cXwZOyNsSr
    • Finally put back the keycap, then it is done for changing switches

  16. uJbFYneBYnAVeciC
    uJbFYneBYnAVeciC
    NYiviDdXW1H5e1Nd
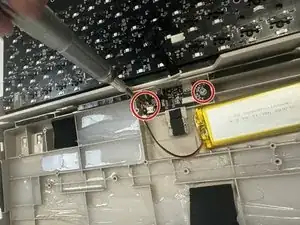
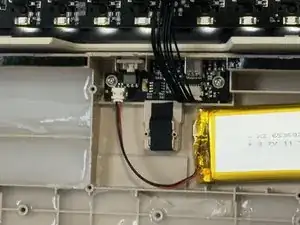
    • congratulations you are done for the replacement, now put the board back, screw it with 2 4mm M2 screws, and connect all the cables back

  17. vDaYr3113wbToYUU
    vDaYr3113wbToYUU
    G6RZ2DVV1FUDUPf2
    XJpSE5woooZtixRF
    • When everything is done, just put back the top layer, then it will work same as the new one

Conclusion

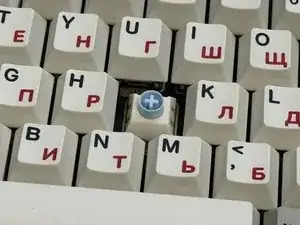
To reassemble your device, follow these instructions in reverse order.

Yichen Gu

Member since: 30/10/23

265 Reputation

0 comments