Introduction

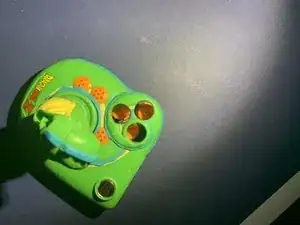
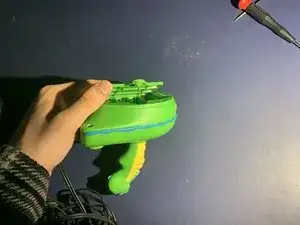
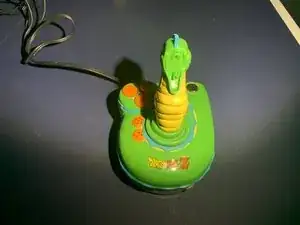
Jakks Pacific Plug and Plays are a rare find around this decade. They can be of high value to some video game collectors. If you own one, you should repair it and get it to work on your TV again, not just for the value, but for the actual fun game. Do note that you should wash your hands before and after handling any old batteries due to the dangers of exposed battery acid.

  1. OTLBNSxtCUDlpENH
    OTLBNSxtCUDlpENH
    dP41DAdIOg2Ayvsh
    OlTtmMPFD1qGlPNc
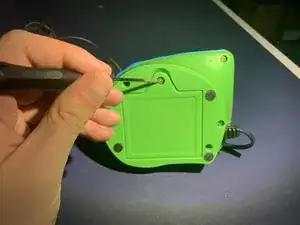
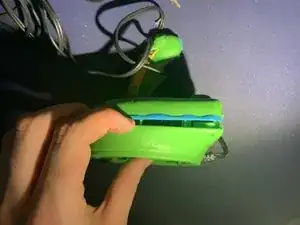
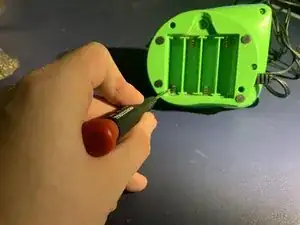
    • Remove the single screw from the battery panel using a Phillips head screwdriver.

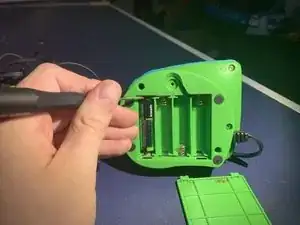
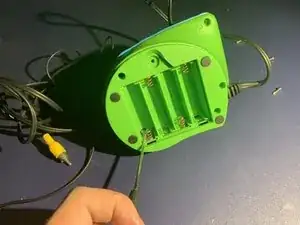
    • Remove the battery panel from the device.

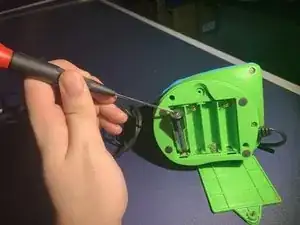
    • Remove the batteries using your fingers.

    • Caution: Battery acid on your skin can cause itching, pain, redness, and burning. Either wear gloves in the process or wash your hands after holding old batteries that have leaked acid.

  2. MYqXqQVIDSg2rifI
    MYqXqQVIDSg2rifI
    AWdVeJO1TUMZNvVf
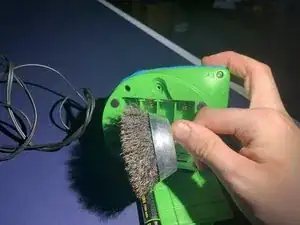
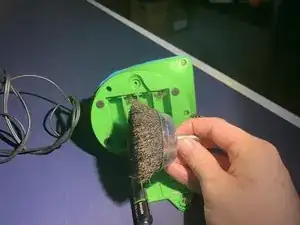
    • Scrub the metal battery connectors by twirling the steel brush to get a less dull color on the metal and have some luster to it.

    • Potential for device damage: Wash the steel brush after scrubbing the metal in the battery panel to avoid trapping any battery acid inside of the brush for future projects.

  3. DfjsgpiBLXPJDQRD
    DfjsgpiBLXPJDQRD
    wiXiGNJvDeDHIbXf
    AVB4CyB3AHGmBhMs
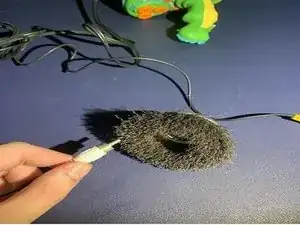
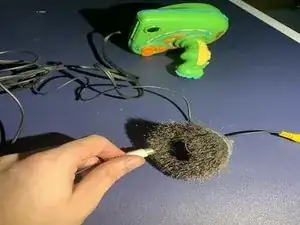
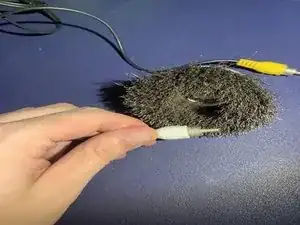
    • Scrub and twist the end connectors of the Plug and Play against the brush so the tarnished/exposed surface can shine again.

    • Be sure to stick the whole connector into the brush to get inside of it as well. This is crucial to make sure that the connectors still work with the television.

  4. UMBgkHkHH6BLwril
    UMBgkHkHH6BLwril
    pNmJlLXrHj4XNf4C
    EYmLmnl3X34VORtD
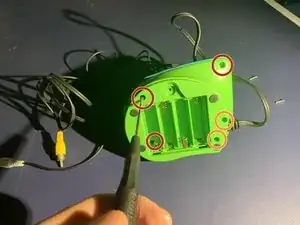
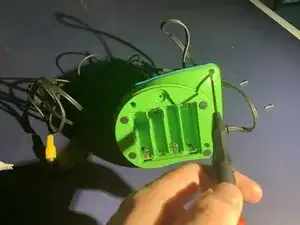
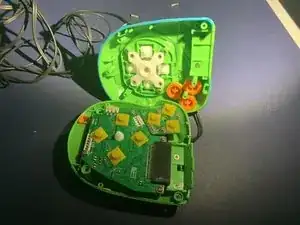
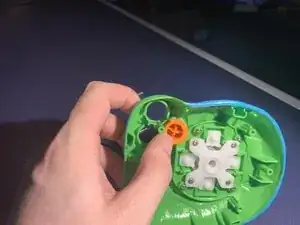
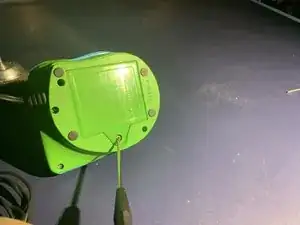
    • Remove three screws from the device using a flat head screwdriver.

    • Be sure to remove the hidden screw inside of the battery panel before separating to prevent any damage.

    • Remove two smaller screws from the device using a flat head screwdriver.

  5. FJ2NYSeIiPTCykKV
    FJ2NYSeIiPTCykKV
    knjEDweNY2LYUIGY
    eDRBbiJPtUT4bGBd
    • Run your fingers around the side of the battery panel and separate the device in two.

    • Be sure to keep the joystick sideways to avoid losing track of the buttons' places; they will fall out because they are loose.

  6. gD1IXroWce4IIavZ
    gD1IXroWce4IIavZ
    FwWBedZlQLEL6aMR
    VjLkAHI526KWTdeA
    • Remove the buttons from the device.

    • If the buttons are stuck, use the pointed end of a spudger to pry the upper lip of each button.

  7. Gn6sOr6slBLh6fmn
    Gn6sOr6slBLh6fmn
    NUvbiIhI2eEPYKtC
    Olid4NfYgIYqGPfm
    • Install the replacement buttons.

    • Each of the three buttons has its own unique cuts on them so they should have their very own places to be set inside of the Plug and Play.

    • Potential for device damage: Do not force the buttons in place or they will get jammed again from repeated use.

  8. uiCxXTh6PHPB6yB6
    • Press the yellow buttons on the board to make sure none of them were stuck down.

    • Pressing them will reset themselves from being out of place.

  9. JAtrFr1JywogOW2d
    JAtrFr1JywogOW2d
    BKhKCOwWObyMbRZV
    erXUVFKC31KUPRFp
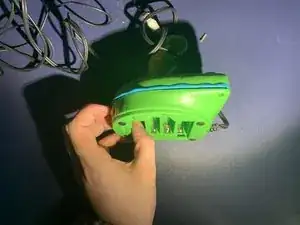
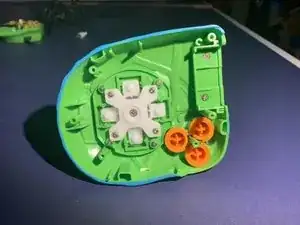
    • Put the two halves back together.

    • Reinsert the larger screws first to keep the game in alignment.

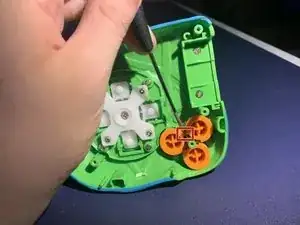
    • Place the battery panel cover into its respective slots and lever it flush with the bottom of the game.

    • Put back all of the smaller screws including the one in the battery panel.

    • There are six screws in total, one inside of the battery pack and five face up on the bottom of the game.

  10. COSRlDJh5ZShHILW
    • Stick the ends into their respective color ports in the back of the TV!

    • Switch the channel and hope you can see the display with the nostalgic music playing back.

    • Game on and don't button mash to get the buttons stuck!

Garret Magalhaes

Member since: 23/03/21

231 Reputation

0 comments