Introduction

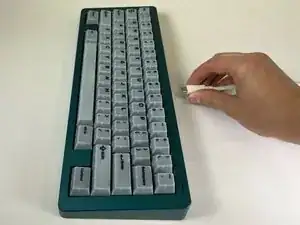
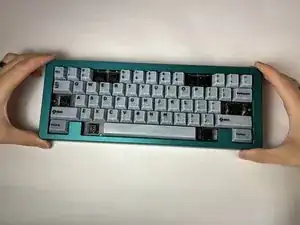
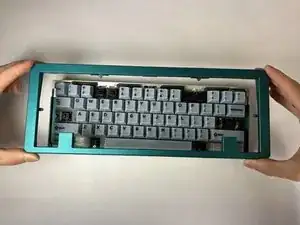
If your Percent Studio Trio-60 mechanical keyboard has a faulty switch, use this guide to repair it. This guide will show you how to easily disassemble and repair a key switch so that you are able to use your mechanical keyboard again.

Most of the materials needed for this guide are common household materials or can easily be acquired. The highest cost item is probably the desoldering tool. You can use a hand pump, but investing in an electric desoldering tool would make the process much easier.

Flux fumes are toxic so when doing this repair, make sure you're in a well-ventilated area.

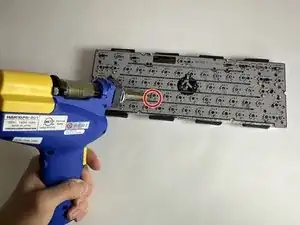
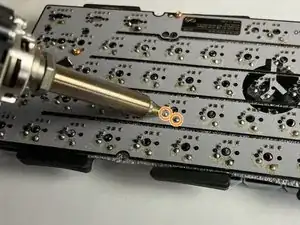
Steps 7 and 11 require you to desolder and solder connections on the keyboard. Use this guide to assist you in these steps:

  1. nHcAC6puIYBS31Ur
    nHcAC6puIYBS31Ur
    idxErFfW4R2Qjvd1
    • Unplug the keyboard

  2. j2VSbLWjQ4yLBW4N
    j2VSbLWjQ4yLBW4N
    WBJwnYj5w2JqspjP
    PDUbRiSiqW4woXBd
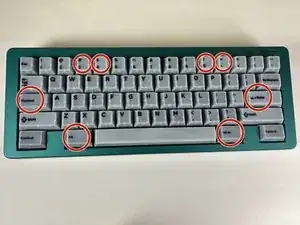
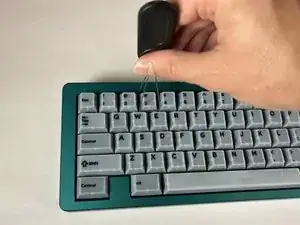
    • Use a keycap puller to remove the keycaps "3", "4", "0'", "-", "Caps Lock", "enter" and both "alt" keys to gain access to screws.

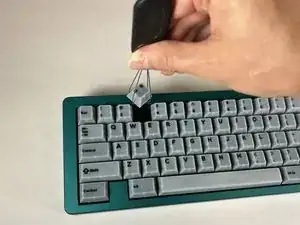
    • Place the keycap puller straight over the keycap, so that the wires are under the keycap and pull straight up.

    • It may require slight angling and pressure to remove the keycap.

  3. TOWpKUdWUhtkCIfl
    TOWpKUdWUhtkCIfl
    PsNkTfZGalSG6MCR
    eQofOVOjP5VaajR4
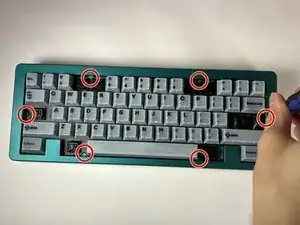
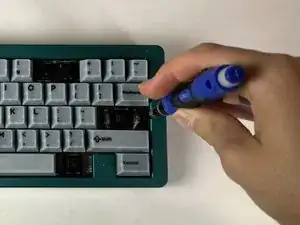
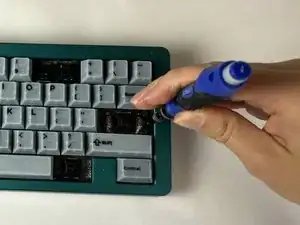
    • Remove six 4.0 mm screws with a Phillips #0 screwdriver.

    • Consider using a magnetized screwdriver or magnet to remove screws, or leave them in the chassis.

  4. IDYanEoEwsOCN5oo
    IDYanEoEwsOCN5oo
    cP2MxMjFU3pLVDg5
    • Remove the top chassis (metal cover) by lifting straight up and off of the keyboard.

  5. JQQHXqeFN2IQ3oLT
    JQQHXqeFN2IQ3oLT
    Z4oJ3UVehtxwkqsQ
    MLAYITm2AUrHRllG
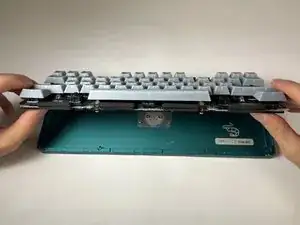
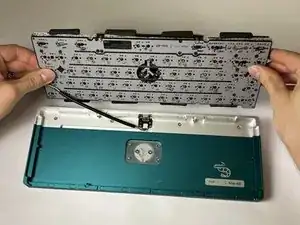
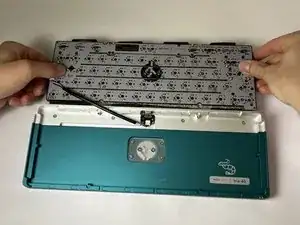
    • Gently flip the plate and PCB towards the back of the case, so that it lies upside down behind the case.

    • Ensure not to pull on or twist the keyboard as it's attached to a cable and could cause damage.

  6. GjFWoeoHJV3b6kXL
    GjFWoeoHJV3b6kXL
    YATVyJRqSbVGSxQL
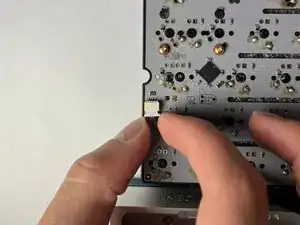
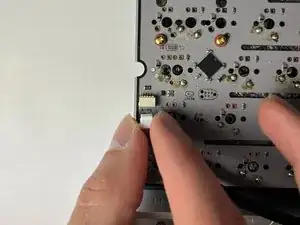
    • Use your fingers or a spudger to remove the JST cable on the end of the circuit board.

  7. 1gycfrEZhHtsX6rQ
    1gycfrEZhHtsX6rQ
    rJFTSuXlqjj6AVTJ
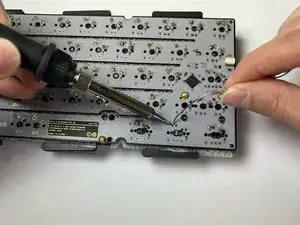
    • Make sure to desolder in a well-ventilated area, as the smoke released from the boiling flux is toxic. Placing a small fan near and facing away from your soldering area is recommended.

    • Heat the solder until it appears liquified.

    • Use your preferred sucking tool of choice to remove the solder (an electric desolder is recommended).

    • Desolder both points for each switch you are removing.

    • The location of desoldering may vary depending on which switches are faulty.

  8. SQCDsXQcLMHCTc24
    SQCDsXQcLMHCTc24
    ntRCRAKhnaY2l6jy
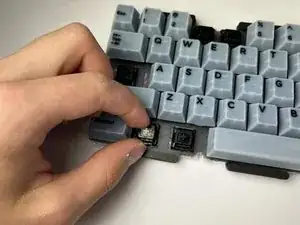
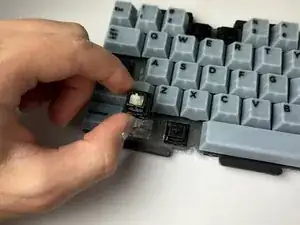
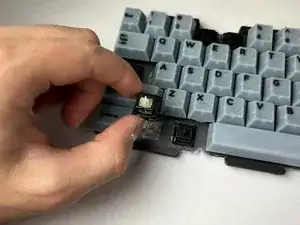
    • Use a switch puller or your fingers to remove the faulty switch.

  9. iLHXJ2itQUTwXIRs
    iLHXJ2itQUTwXIRs
    UUhQyOaw1Fcin1uW
    ghuTbtLJwCmJ5ABM
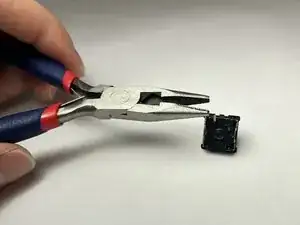
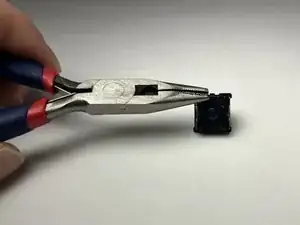
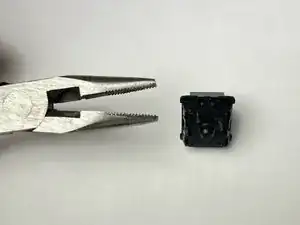
    • If a pin is bent, flatten it with pliers so that it is perpendicular to the switch.

    • If the pin is not bent, there may be electronic issues causing switch malfunction that will not be covered in this guide.

  10. 2eLbqDKuaHwycNvJ
    2eLbqDKuaHwycNvJ
    6RqMEVssEKNdtWCK
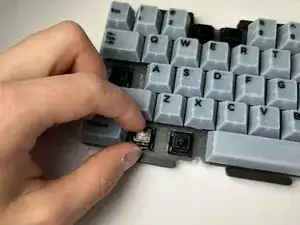
    • Place the new or repaired switch straight down until it is firmly locked into plate.

  11. hC4jVmSChoEK2XCX
    • Solder the switch and test the keyboard to ensure it functions correctly.

    • Make sure to solder in a well-ventilated area, as the smoke released from the boiling flux is toxic. Placing a small fan near and facing away from your soldering area is recommended.

  12. lZUOvSBRUl4ew1wt
    lZUOvSBRUl4ew1wt
    IgQT6y6ZVNpFInN5
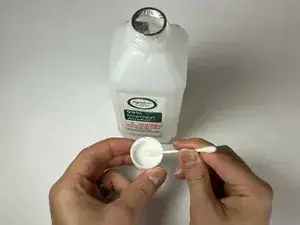
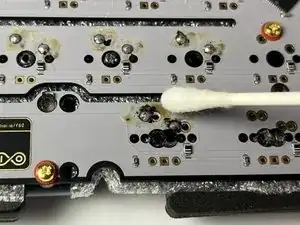
    • Optionally apply isopropyl alcohol to Q-tip and clean flux residue from solder joints.

Conclusion

To reassemble your device, follow these instructions in reverse order.
Chase Keighley

Member since: 19/04/23

205 Reputation

0 comments