Introduction
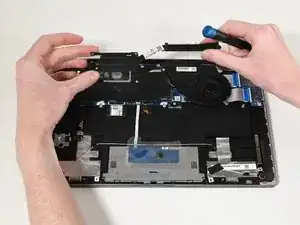
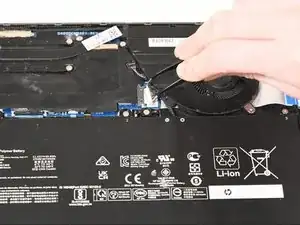
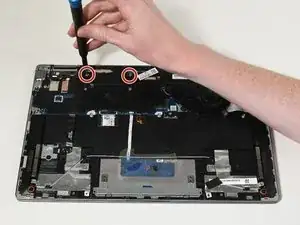
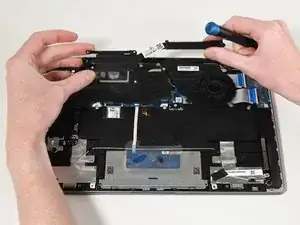
This guide outlines how to remove the heat sink of an HP Chromebook x360 14c-ca0053. The heat sink functions to conduct heat to the fans without overheating the device. A malfunctioning heat sink could lead to device failure and is indicated by frequent overheating, so it is important to replace it if it is not working properly. Before reassembly, the thermal paste must be reapplied for proper function.
Tools
-
-
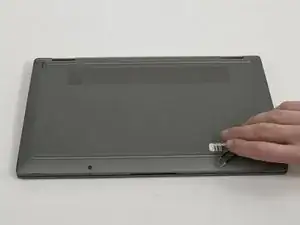
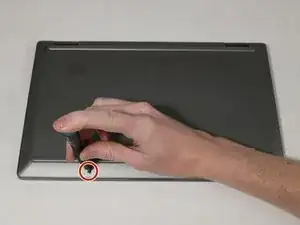
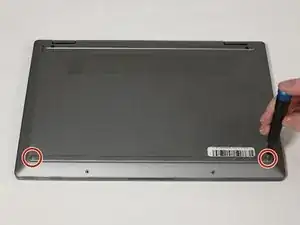
Use tweezers to apply light pressure on the outer sides of the 2 small screw covers located near the bottom of the device.
-
Rotate the covers until they pop up out of the screw socket enough to remove them with tweezers.
-
-
-
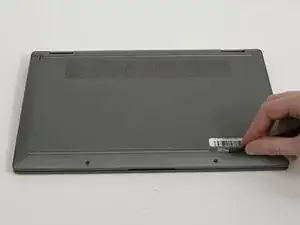
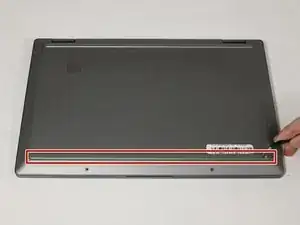
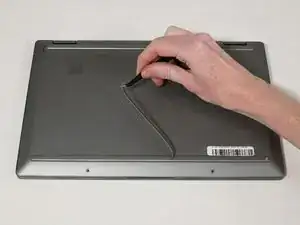
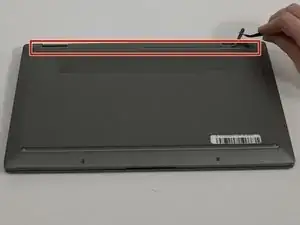
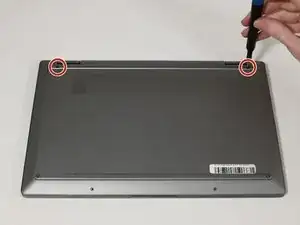
Use tweezers to peel back the feet on the top and bottom of the Chromebook to reveal four additional screws.
-
-
-
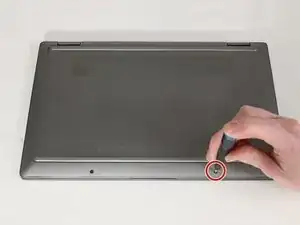
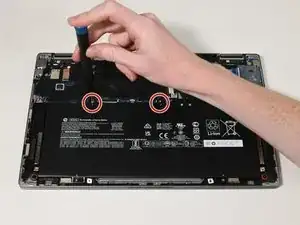
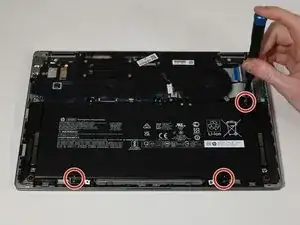
Use a Phillips #1 screwdriver to remove the 4 7 mm screws located at each corner of the device under the grips.
-
-
-
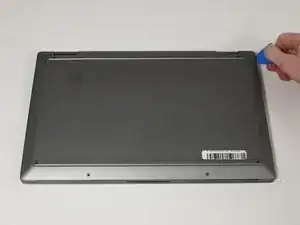
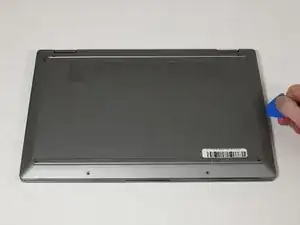
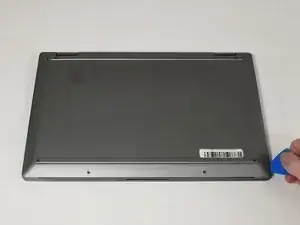
Insert an opening pick between lower case and chassis.
-
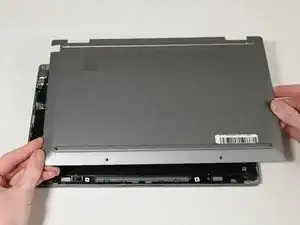
Separate the lower case from the frame by sliding the opening pick along the perimeter until the case releases.
-
-
-
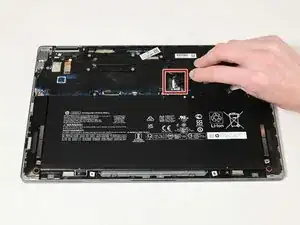
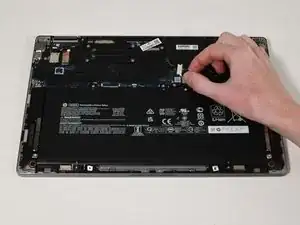
Open the tweezers wide enough to fit on each side of motherboard battery connection.
-
Pull the connector directly out of its socket.
-
To reassemble your device, follow these instructions in reverse order.
