Introduction

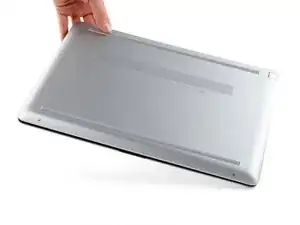
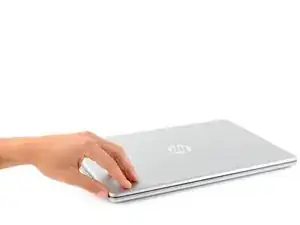
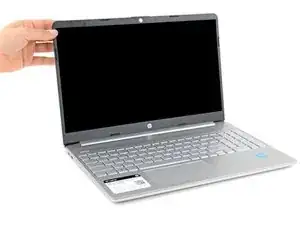
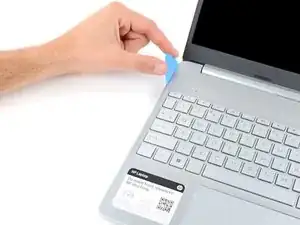
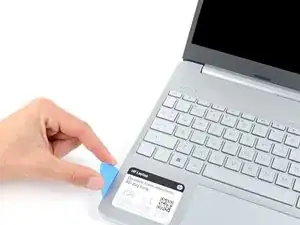
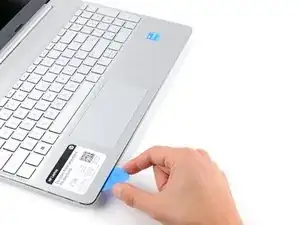
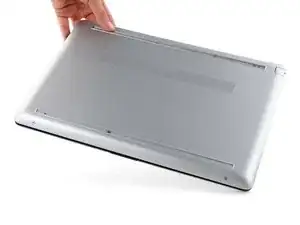
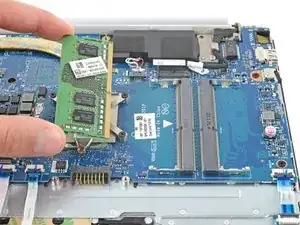
Use this guide to replace or upgrade the RAM in your HP 15s Laptop PC.

Note: This procedure was written using a model 15-dw3033dx HP 15s Laptop PC, but is fully compatible with any HP 15s Laptop PC whose model number starts with 15-dw.

This laptop has two RAM slots that support DDR4 SO-DIMM memory modules.

  1. HvDrIWDcoNCLmdIv
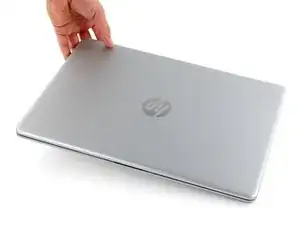
    • Fully shut down your laptop and unplug all cables.

  2. jtMVYrHcQFMgEZIF
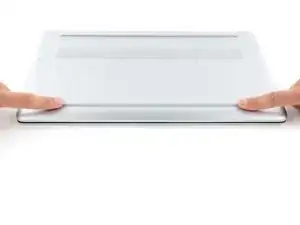
    • Flip your laptop over so the rubber feet are facing up.

  3. NcUlrvUPGYCpBAEZ
    NcUlrvUPGYCpBAEZ
    OpVxgdNtQJx2O32W
    351ynZFMHaUyUNHx
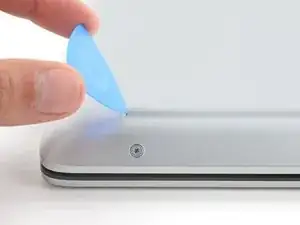
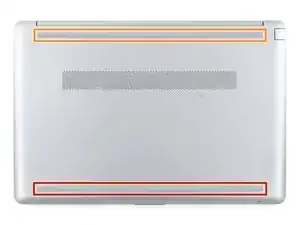
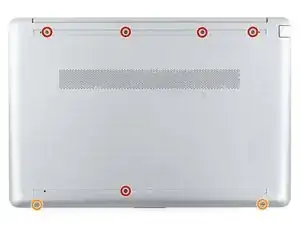
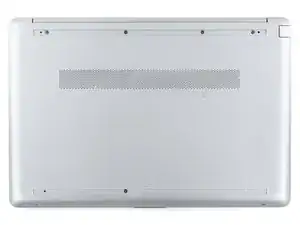
    • The rubber feet cover a total of five back cover screws.

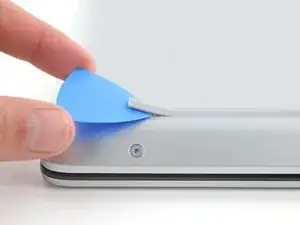
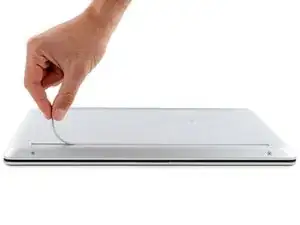
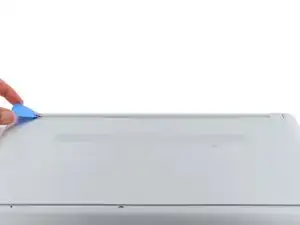
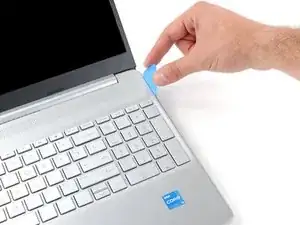
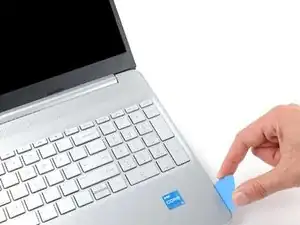
    • Use an opening pick to peel up an end of the front rubber foot until you can grip it with your fingers.

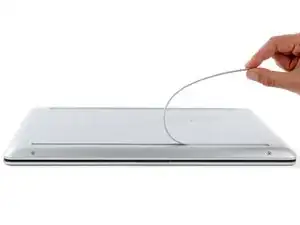
    • Make sure both the foot and its adhesive peel up together, as they need to be removed as one piece.

  4. 1MukTNCMTlXEfgOY
    1MukTNCMTlXEfgOY
    G6hgNj24wORNbbsB
    HmNsVNBySNUKlUMw
    • Peel the front foot away from the back cover and remove it.

  5. lFvQoDT2ZoUomCGr
    lFvQoDT2ZoUomCGr
    EvXkMELIm1614eC6
    NdWZmW23m5FF2IOF
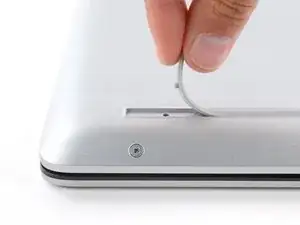
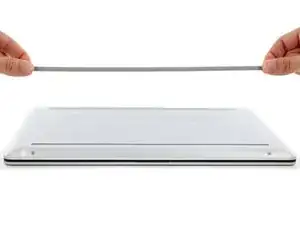
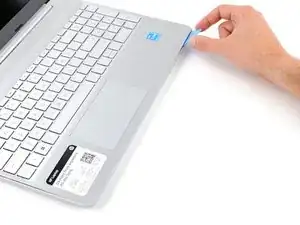
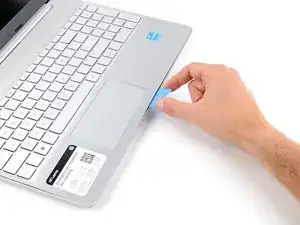
    • Use an opening pick to peel up an end of the rear rubber foot until you can grip it with your fingers.

    • Peel the rear foot away from the back cover and remove it.

  6. sNvNlgHtX2TeUgGp
    sNvNlgHtX2TeUgGp
    itclmhHvaV2Ul1Sv
    UQNhPXZKADYdjnga
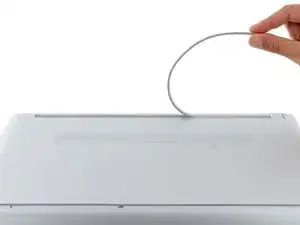
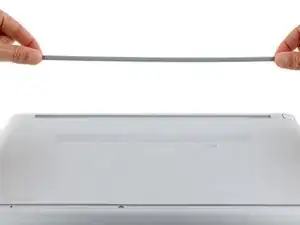
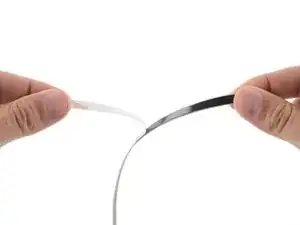
    • Note that the rubber feet are different:

    • The front foot is thicker, with a deeper recess.

    • The rear foot is thinner, with a shallower recess.

    • During reassembly:

    • If you're reusing the rubber feet, the leftover adhesive should be tacky enough to reuse.

    • If the leftover adhesive isn't sticky enough or your replacement feet didn't come with adhesive, you can use double-sided tape such as Tesa Tape to secure the feet.

    • Make sure the strips of tape aren't wider than 6 mm, otherwise they may not fit.

    • To install a foot, remove its adhesive liner, lay the foot into its matching recess, and press down firmly along the entire length of the foot to secure it.

  7. tMKUNwo6tM41UqND
    tMKUNwo6tM41UqND
    3wR4cFAbPvIUdVlp
    • Use a Phillips screwdriver to remove the seven screws securing the back cover:

    • Five 8.5 mm-long screws

    • Two 4.6 mm-long screws

    • Despite the standards, Phillips screwdrivers can vary in size and shape—two drivers labeled as the same size may fit differently in the same screw. Use the size that fits the most snug into the screw head to avoid stripping it.

  8. urxqflZIXySq2ouJ
    urxqflZIXySq2ouJ
    GIYcZdEQxhiWf3lr
    TGV3OV6tNonDT3sM
    • Flip your laptop over and open the screen.

  9. rTgELCmdgHlcdNV1
    rTgELCmdgHlcdNV1
    e5deGH34VnY15jNb
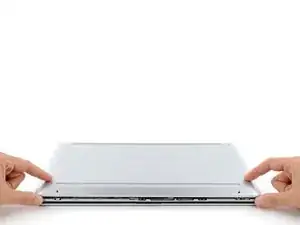
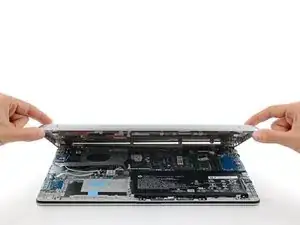
    • Plastic clips secure the back cover to the frame. You'll hear and feel the clips release as you work.

    • Insert the flat side of an opening pick into the seam between the top left edge of the back cover and the frame.

    • Slide the opening pick down to the bottom left corner to release the clips on the left edge.

  10. UUjfpoDXpRNDXNTJ
    UUjfpoDXpRNDXNTJ
    ILTnJKIwMWYy6StM
    • Insert the flat side of an opening pick into the seam between the top right edge of the back cover and the frame.

    • Slide the opening pick down to the bottom right corner to release the clips on the right edge.

  11. sqRtjrHluJviWAHc
    sqRtjrHluJviWAHc
    APgQ3SFvdhikxhbg
    nCqWxAfOH5wDoqLR
    • Insert the flat side of an opening pick between the bottom right corner of the back cover and frame.

    • Slide the opening pick to the bottom left corner to release the remaining clips.

  12. DcASIKVC1fOW5SI1
    DcASIKVC1fOW5SI1
    SBNhv2IniIWLYBQH
    GjHjjak4eB1J1rAL
    • Close the screen and flip your laptop back over.

  13. HIohVXkWfDBnh1gQ
    HIohVXkWfDBnh1gQ
    s4aZWjQTMtiNHpjK
    JZDVWEsTheYBeTMv
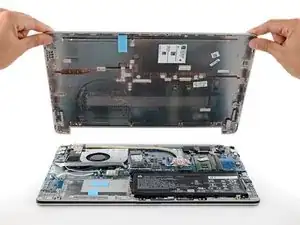
    • Remove the back cover.

    • To reinstall the back cover, lay it on the frame and firmly press down around the perimeter to engage all of the clips.

  14. VGuWJDJDOFS6I3NF
    VGuWJDJDOFS6I3NF
    HBCabpSnDgAxLUsg
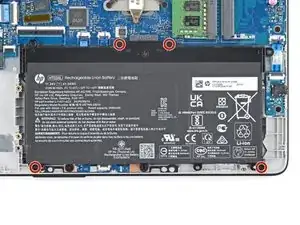
    • Given the design of the battery connector, the only way to disconnect the battery is to physically remove it.

    • Try not to bend, crease, deform, poke, or puncture the battery with your tool—a damaged battery is a potential fire hazard.

    • Use a Phillips screwdriver to remove the four 3.4 mm-long screws securing the battery.

  15. PmeVGaWtVIfU33VH
    PmeVGaWtVIfU33VH
    UoJ6qXOUGUR3hTAJ
    Y2evR3aYjyjJnXSM
    • Gently lift the upper edge of the battery to disconnect its socket from the motherboard.

    • Remove the battery.

    • During reassembly, use the alignment posts to position the battery and press down on the socket to secure it.

    • Never reuse a deformed or damaged battery—it's a fire hazard. Replace it with a new battery.

  16. IGgQ6q2kBvGnRnBt
    IGgQ6q2kBvGnRnBt
    GUEx1cUDJI4DaX1a
    GMxrHdNEILRnAMTv
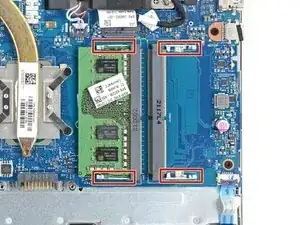
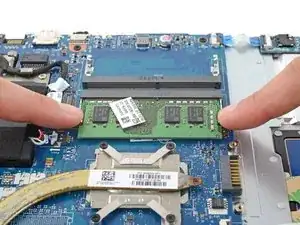
    • Your laptop has two memory slots, each with a pair of metal arms that secure a stick of RAM.

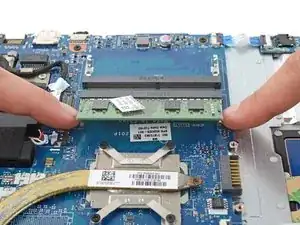
    • Simultaneously push out the metal arms on each side of a stick of RAM until they disengage and the stick pops up at a slight angle.

  17. AxNbtXqHMISGD1nt
    AxNbtXqHMISGD1nt
    OPRXS1KFWXk2XFp1
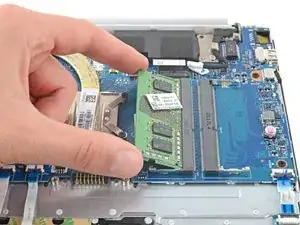
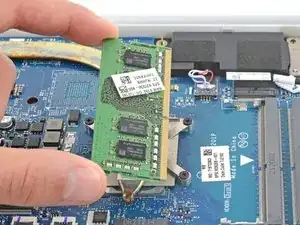
    • Pull the stick of RAM out of its socket to remove it.

    • Repeat for a second stick of RAM.

    • To install a memory module, insert it into its socket at a slight downward angle, then push down firmly until both metal arms lock the RAM in place.

Conclusion

To reassemble your device, follow these instructions in reverse order.

Take your e-waste to an R2 or e-Stewards certified recycler.

Repair didn’t go as planned? Try some basic troubleshooting, or ask our Answers community for help.
Spencer Day

Member since: 14/09/22

49372 Reputation

0 comments