Introduction
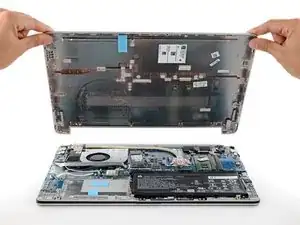
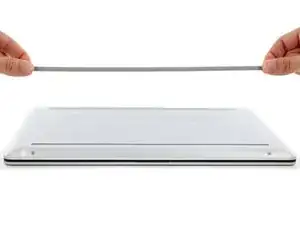
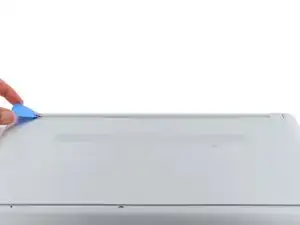
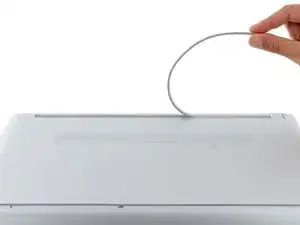
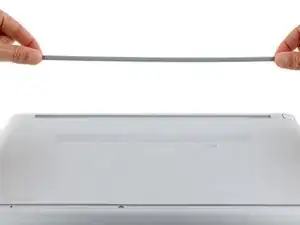
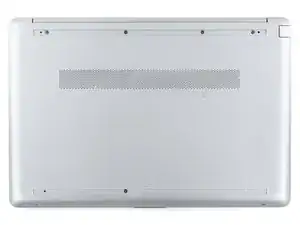
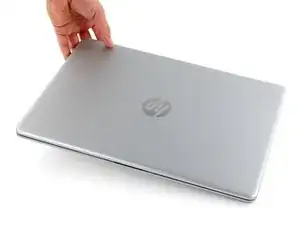
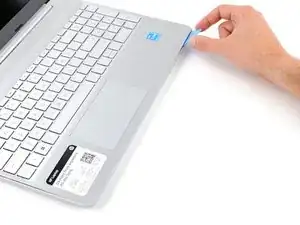
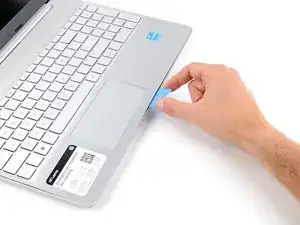
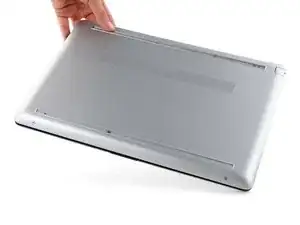
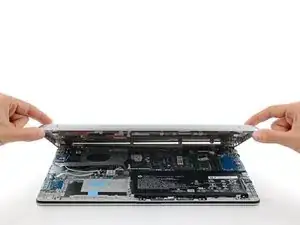
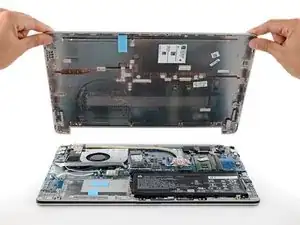
Use this guide to replace or remove the back cover on your HP 15s Laptop PC.
Note: This procedure was written using a model 15-dw3033dx HP 15s Laptop PC, but is fully compatible with any HP 15s Laptop PC whose model number starts with 15-dw.
Tools
-
-
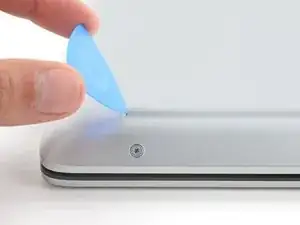
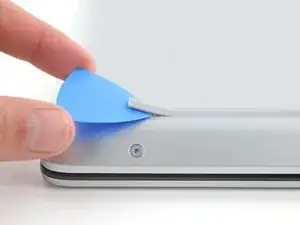
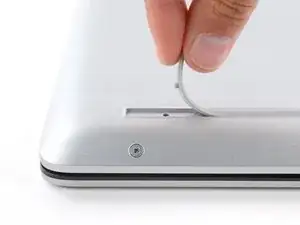
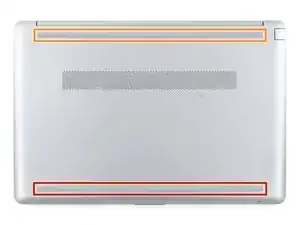
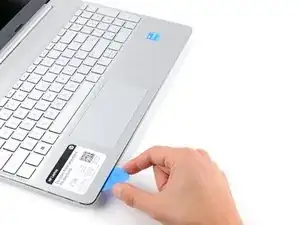
Use an opening pick to peel up an end of the front rubber foot until you can grip it with your fingers.
-
-
-
Use an opening pick to peel up an end of the rear rubber foot until you can grip it with your fingers.
-
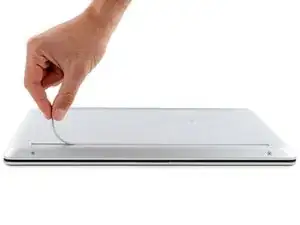
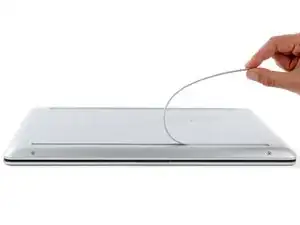
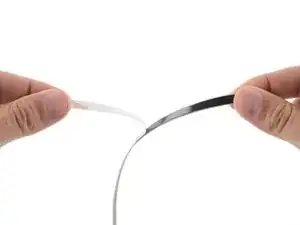
Peel the rear foot away from the back cover and remove it.
-
-
-
The front foot is thicker, with a deeper recess.
-
The rear foot is thinner, with a shallower recess.
-
If you're reusing the rubber feet, the leftover adhesive should be tacky enough to reuse.
-
If the leftover adhesive isn't sticky enough or your replacement feet didn't come with adhesive, you can use double-sided tape such as Tesa Tape to secure the feet.
-
To install a foot, remove its adhesive liner, lay the foot into its matching recess, and press down firmly along the entire length of the foot to secure it.
-
-
-
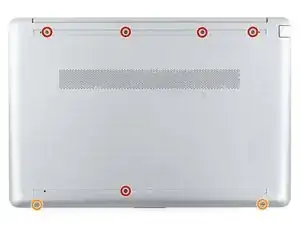
Use a Phillips screwdriver to remove the seven screws securing the back cover:
-
Five 8.5 mm-long screws
-
Two 4.6 mm-long screws
-
-
-
Insert the flat side of an opening pick into the seam between the top left edge of the back cover and the frame.
-
Slide the opening pick down to the bottom left corner to release the clips on the left edge.
-
-
-
Insert the flat side of an opening pick into the seam between the top right edge of the back cover and the frame.
-
Slide the opening pick down to the bottom right corner to release the clips on the right edge.
-
-
-
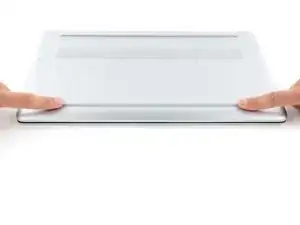
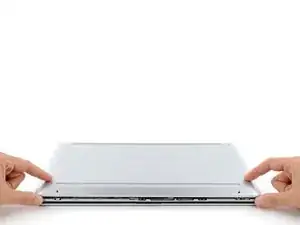
Insert the flat side of an opening pick between the bottom right corner of the back cover and frame.
-
Slide the opening pick to the bottom left corner to release the remaining clips.
-
To reassemble your device, follow these instructions in reverse order.
Repair didn’t go as planned? Try some basic troubleshooting, or ask our Answers community for help.
