Introduction

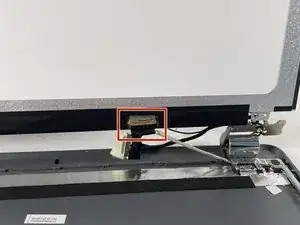
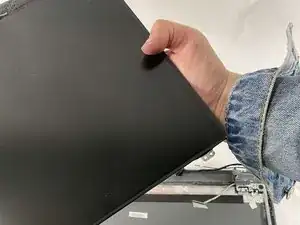
This is a guide for replacing the screen for the HP 15-bs051od. Possible reasons to replace the screen include the computer screen is unresponsive, and/or looks frozen.

Note: Our model does not include a battery. Before performing any repair ensure the battery has been removed and the computer is not connected to a power source. It is also important to ground yourself by touching metal to discharge excess electricity before beginning the repair.

  1. DlcSRyaAeGQsQseO
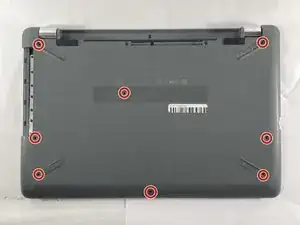
    • Start with the laptop face down.

    • Remove the eight 6 mm Phillips head screws securing the lower case.

  2. pWGxIM6ELPxqwZK3
    pWGxIM6ELPxqwZK3
    GI4FjNxPJvkPL2wi
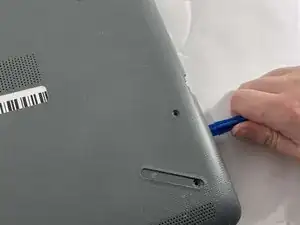
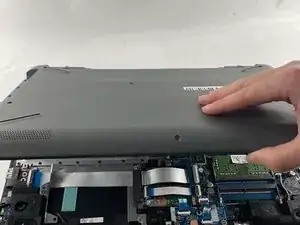
    • Use the opening tool to pry the lower case away from the body of the laptop.

    • Remove the lower case.

  3. HU6kcVPcI6uureeb
    HU6kcVPcI6uureeb
    SmOvMRTQW5l1OLpV
    AbnlPjRZkawI6eIS
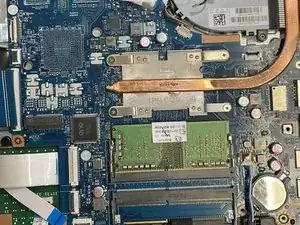
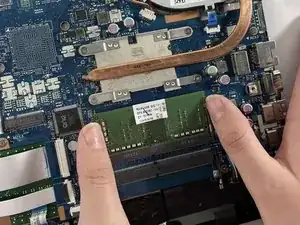
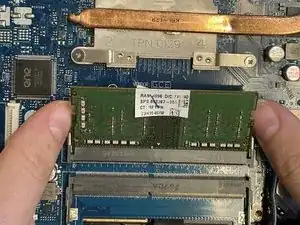
    • Pull the RAM-retaining arms away from the RAM chip.

    • The RAM chip should slightly "pop" up from it's socket.

  4. XgWbYYDhVncOvqfJ
    XgWbYYDhVncOvqfJ
    DTTMbrZhxNnMhBQm
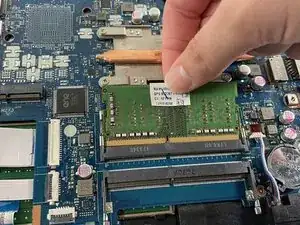
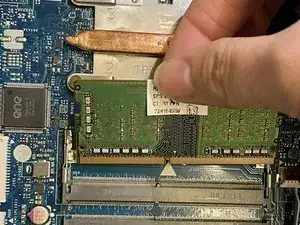
    • Pull the RAM chip out of its socket.

    • Our device does not specifically have a second RAM chip, but make sure to remove the second RAM chip below the first RAM chip.

    • Repeat this process for the second RAM chip.

  5. QabgCuG1VNedROaf
    QabgCuG1VNedROaf
    HqCCcYqHbcluUiKR
    kbBKEIENRGw2HkKE
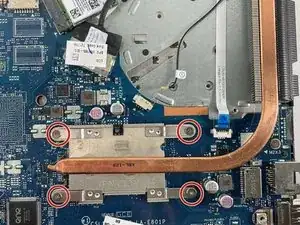
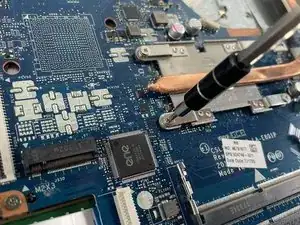
    • Remove the four (4 mm) Phillips screws on the heatsink.

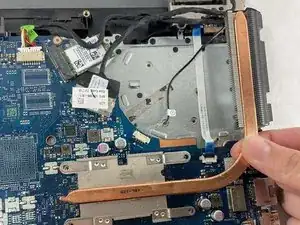
    • Remove the exhaust by carefully lifting it up.

  6. uFVXcyru1ThDWupR
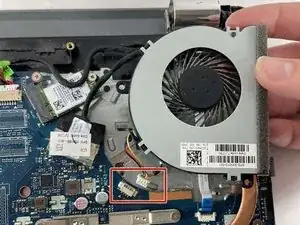
    • Disconnect the connecting cable of the fan and remove the fan.

  7. g5uteGloCGBjJViQ
    g5uteGloCGBjJViQ
    qOkGHMI4D1EYFElX
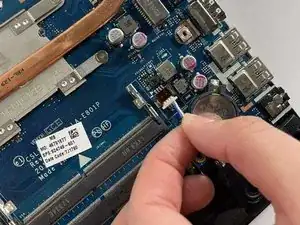
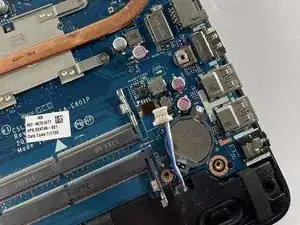
    • Pull the red, white, black, and blue cable directly out of its port.

  8. vAgqjXEeLMIhqdLd
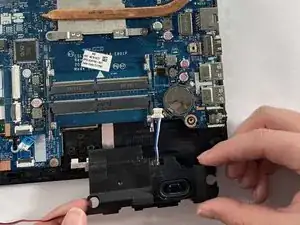
    • Slide the left speaker out.

  9. 6SvMCCO5RsG2IEu2
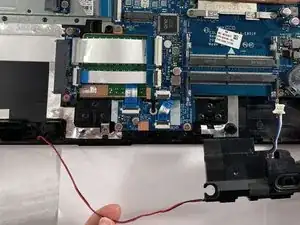
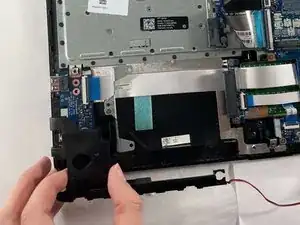
    • Pull the black and red cable connecting both speakers out of its secure fastening.

  10. VipMdYsEYTF3s2lm
    • Pull the right speaker out by sliding from left to right.

  11. 5fDDDqfAZxmfDgyE
    5fDDDqfAZxmfDgyE
    NpNQNalETPbAiFWh
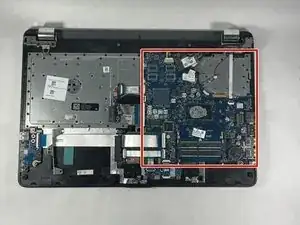
    • Locate the motherboard.

    • The motherboard is the biggest blue-colored surface located inside the computer.

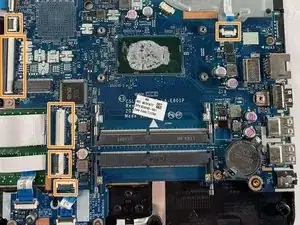
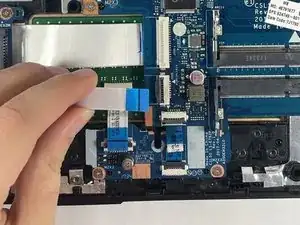
    • Locate the six ribbon cables.

  12. 3uKxMTvjVnF1ALPD
    3uKxMTvjVnF1ALPD
    L3uPWHTVUwSePFrl
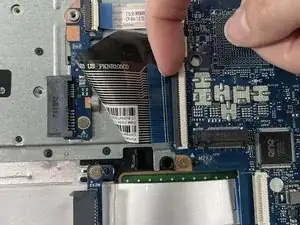
    • Flip up the ZIF lock bars that keep the six ribbon cables in place.

    • Slide the rest of the ribbon cables out of their fastenings.

  13. ehjEgh1rCF5EyXDN
    ehjEgh1rCF5EyXDN
    RgoVpiwcamwfNbjO
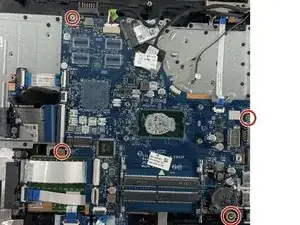
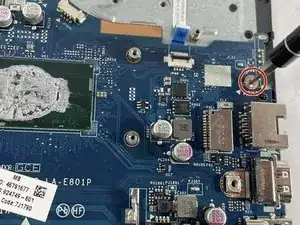
    • Remove the four (4 mm) Phillips screws securing the motherboard.

  14. wMEUtIcW3rdNHguN
    wMEUtIcW3rdNHguN
    2N5DYQVREZabUY2O
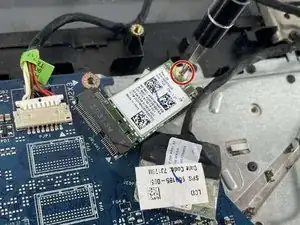
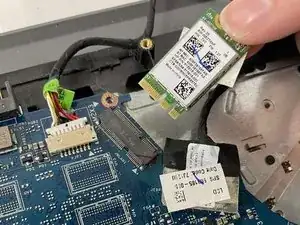
    • Remove the single (4 mm) Phillips screw on the Wi-Fi card.

    • Slide the Wi-Fi card out of its port.

  15. HwawM5m4Qs3a2yEl
    HwawM5m4Qs3a2yEl
    TUKPpCwfcpwaI1ee
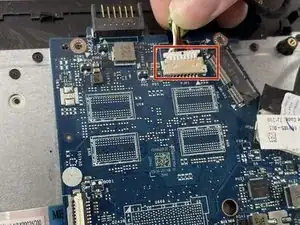
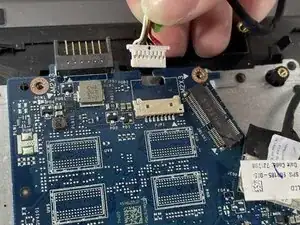
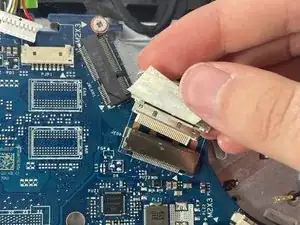
    • Unfasten the connecting cable.

  16. ImlwU3x41lI1AVTJ
    ImlwU3x41lI1AVTJ
    hLIJTolNfenqJWkH
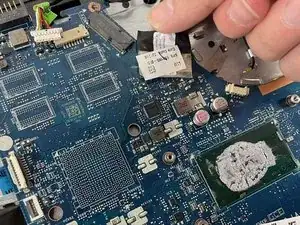
    • Remove the display cable.

  17. 1Qwlv6wAilcTTEKM
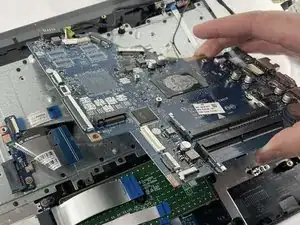
    • Lift up the motherboard.

  18. 3dfXJHdnMQCXwONw
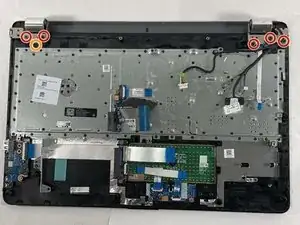
    • Remove the following Phillips screws:

    • Five 7 mm screws on the display hinge.

    • One 3 mm screw.

  19. Kol2NQ4nfPnGRZAS
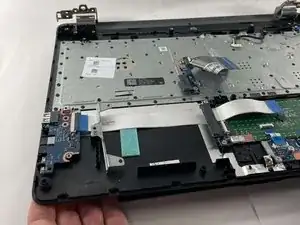
    • Partially open the laptop and remove the base.

  20. gfHGP2OVs6hsq4nB
    gfHGP2OVs6hsq4nB
    2YyAQ55iAYHnZqi1
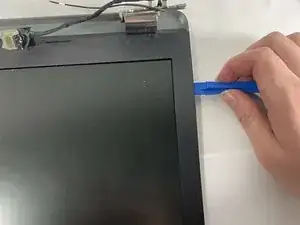
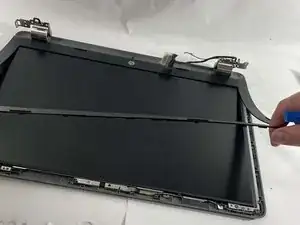
    • Use the opening tool to carefully separate the screen cover from the screen.

    • Use the opening tool to carefully remove the adhesive screen bezel from around the screen.

  21. HMrOX26koH6UKgFU
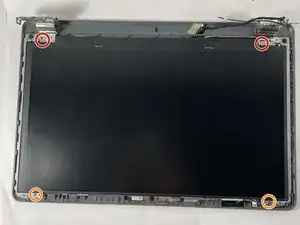
    • Remove the following Phillips screws:

    • Two 4 mm screws from the top of the screen.

    • Two 4 mm from the bottom of the screen.

  22. ZQsavG3DGOSTgqlg
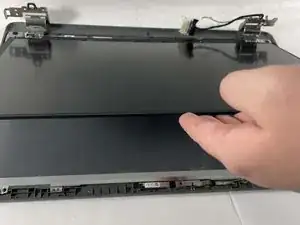
    • Carefully lift the screen from the display assembly without disconnecting the display cable.

  23. SHUXFCdyD6aR5EsP
    • Remove the display cable from the back of the screen.

  24. ik55gNS4NBsHi2QW
    • Remove the screen from the display assembly.

Conclusion

To reassemble your device, follow these instructions in reverse order.
Kaz Furtado

Member since: 20/03/23

148 Reputation

0 comments