Introduction

This guide will teach you how to safely remove the heat sink on a HP 15-ay014dx laptop for maintenance or replacement.

  1. R3SgXkMUGmgLQsMs
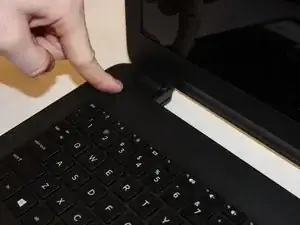
    • Disconnect device from power source and power down.

  2. eOIR2TuyyMk3r6cJ
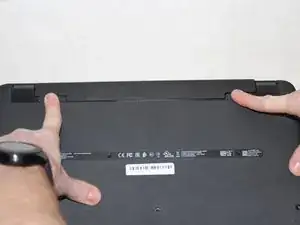
    • With the device turned upside down, use your index fingers to push the battery latches in towards each other.

  3. ROvkGcqkTOtjKF2w
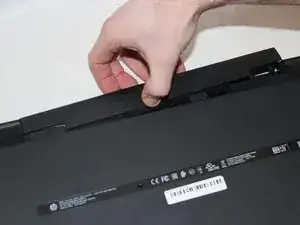
    • The latch on your left will stay at the inward position, while the latch on the right will slide back out.

    • Gently grasp the battery and pull it back away from the device and yourself.

  4. D4QfNYRRCAJCTUPg
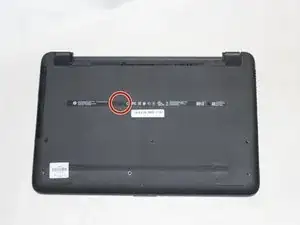
    • Close the laptop and lay it down with the bottom facing up.

    • Using a size #00 Phillips screw drive remove the screw holding in the optical drive.

  5. WPJ6n4kBaRInuJVl
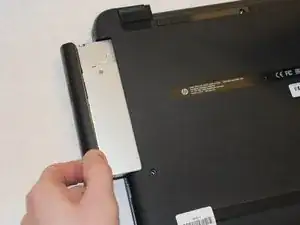
    • Grip the optical drive and gently pull it out.

  6. BdK2BrAyLIAASGdr
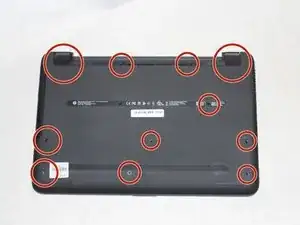
    • Remove the 11 screws holding the body of the laptop together with a size #00 Phillips screwdriver.

  7. UIwFRDLdMYayPRB1
    UIwFRDLdMYayPRB1
    hdnXWNYLQUrZniEH
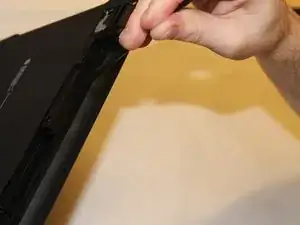
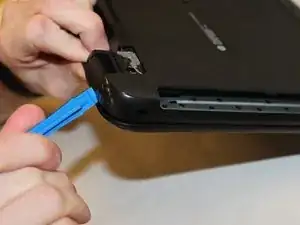
    • Using the spudger, push in the tabs in the back that hold the body together. Carefully pry the body apart by working the spudger around the body.

  8. WPrjYvuXTTriykmX
    WPrjYvuXTTriykmX
    vLuPJuU4IVlmh4qo
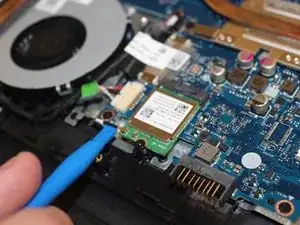
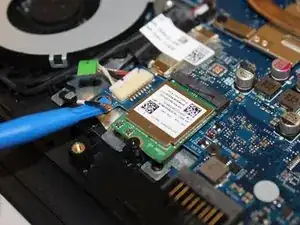
    • Using the spudger, carefully pry the wire connecting the wireless card to the motherboard off of it.

  9. HnuUHKuFBOwIXGhI
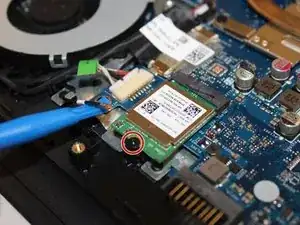
    • Using the size #00 Phillips screwdriver remove the single screw holding it in place.

  10. itoeQn3b22QYg2iR
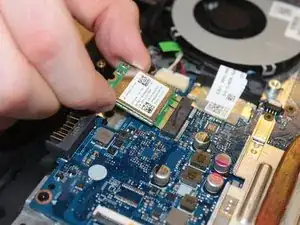
    • carefully pull the card of its slot.

  11. 2THKmpAg41GbAsNL
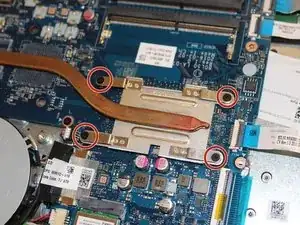
    • Remove the four screws holding the heatsink on.

  12. mvIXTiAYDJXFreD6
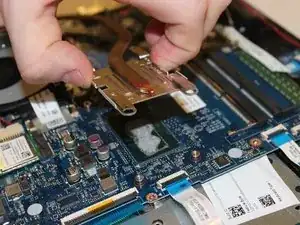
    • Carefully pry the heat sink up and out of position to un-stick it from the thermal paste.

    • When reassembling, follow these steps on How to Apply Thermal Paste underneath the heatsink.

Conclusion

To reassemble your device, follow these instructions in reverse order.
Drake Scoville

Member since: 21/09/17

533 Reputation

0 comments