Introduction
This repair guide was authored by the iFixit staff and hasn’t been endorsed by Google. Learn more about our repair guides here.
Follow this guide to replace the front facing camera module for the Google Pixel XL.
The Pixel XL’s unreinforced display panel is fragile and is attached to the frame with strong adhesive, making repairs difficult. There is a considerable chance of breaking the display, especially if it already has micro-fractures. Be sure to apply plenty of heat and be extremely careful during the prying stage.
Tools
Parts
-
-
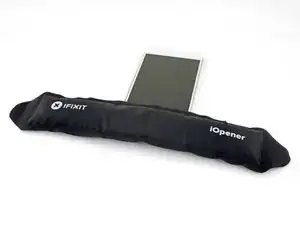
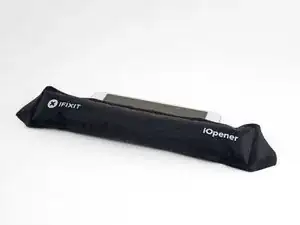
Heat an iOpener and apply it to the top edge of the display for two minutes.
-
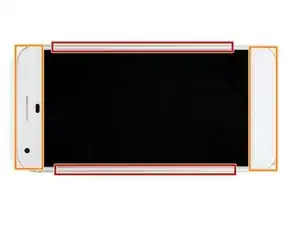
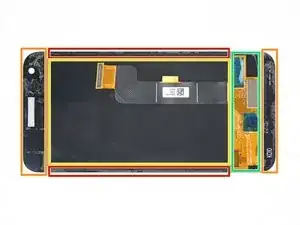
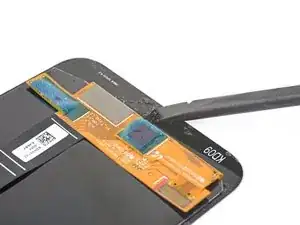
Take note of the following regions before you begin prying:
-
Thin adhesive lined against the display panel
-
Thick adhesive
-
The OLED display panel, which is very prone to damage
-
The display cable, which can be damaged during prying
-
-
-
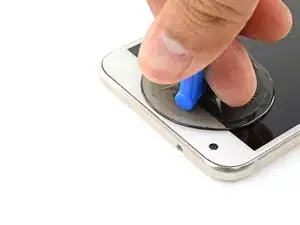
Once the edge is warm to the touch, apply a suction cup close to the edge.
-
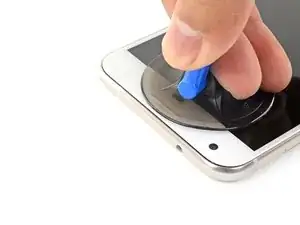
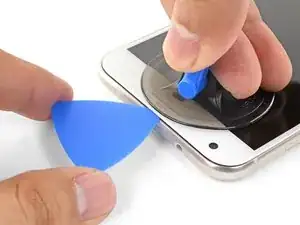
Lift on the suction cup, and insert an opening pick into the gap.
-
If you have trouble creating a gap, reheat the edge and try again.
-
-
-
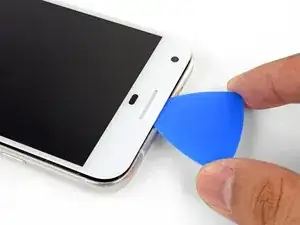
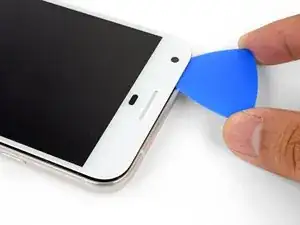
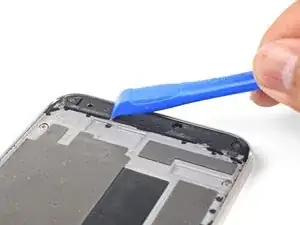
Slide the opening clip across the top edge to slice through the adhesive.
-
Leave an opening pick in the edge to prevent the adhesive from resealing.
-
-
-
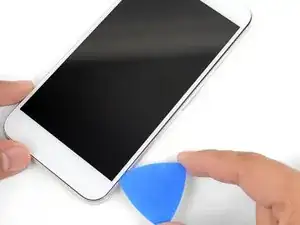
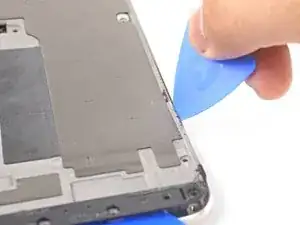
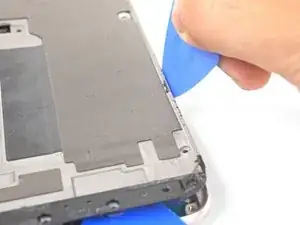
Heat an iOpener and apply it to the right edge of the phone for two minutes.
-
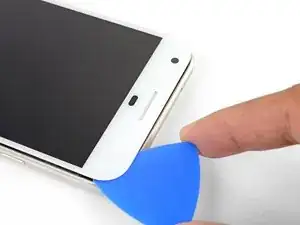
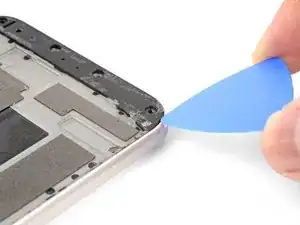
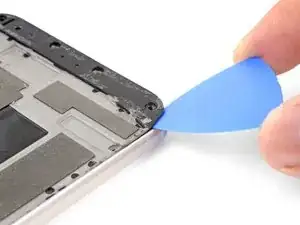
Insert an opening pick near the top edge of the phone, where you have already sliced the adhesive.
-
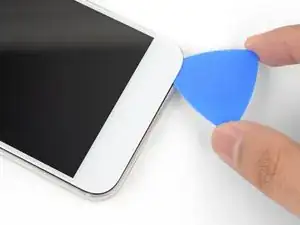
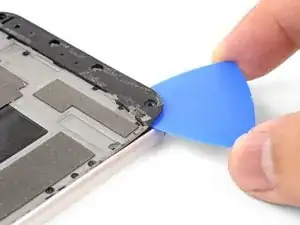
Slowly guide the pick around the right corner.
-
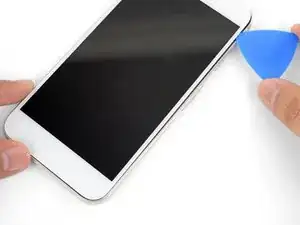
Carefully slide the pick down the right edge of the phone to slice through the adhesive.
-
Repeat the step for the left edge of the phone.
-
-
-
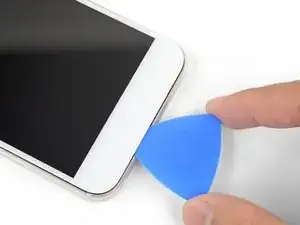
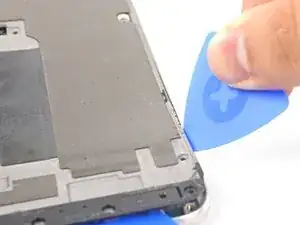
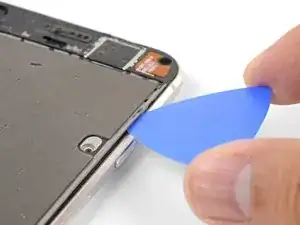
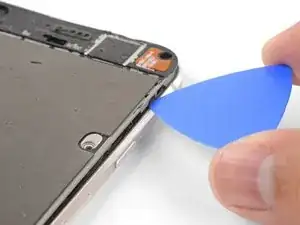
Heat the bottom edge with an iOpener for two minutes.
-
Insert a pick near the right edge where you have already loosened the adhesive.
-
Carefully guide the pick around the corner.
-
Slide the pick along the bottom edge to slice through the adhesive.
-
-
-
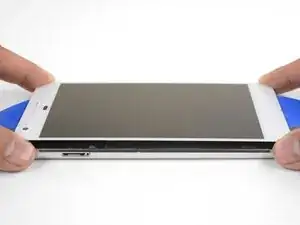
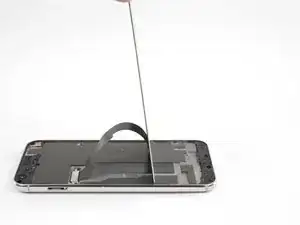
Once you have sliced around the perimeter of the phone, carefully lift the display assembly up slightly by the right corners.
-
Use an opening pick to slice through any remaining adhesive.
-
-
-
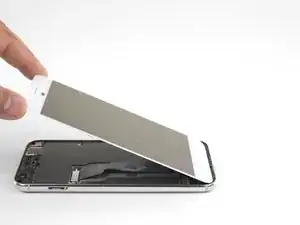
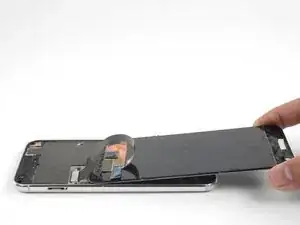
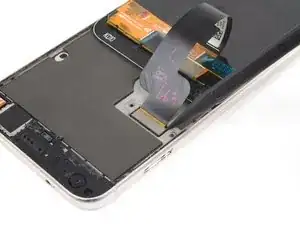
Lift the display assembly from the top end and swing it around such that it rests upside down on the frame.
-
-
-
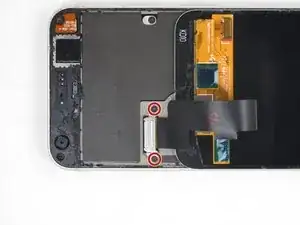
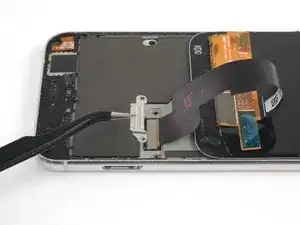
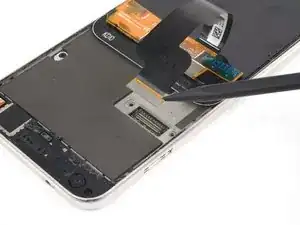
Remove the two 4 mm T5 screws securing the display cable bracket.
-
Remove the display cable bracket.
-
-
-
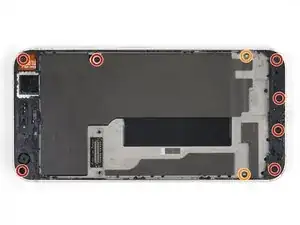
Remove the following screws that secure the midframe to the back:
-
Seven black 4 mm T5 screws
-
Two silver 3 mm T5 screws
-
-
-
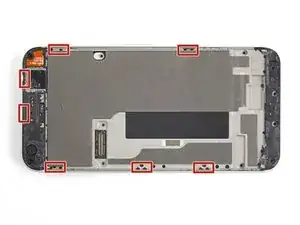
The midframe is held tightly in place by plastic clips which push into the edge of the back case.
-
-
-
Find the small notch in the bottom left corner of the frame and insert an opening pick.
-
Slide the opening pick along the bottom edge of the phone towards the bottom right corner and leave it there.
-
-
-
Insert a separate opening pick into the right edge of the phone, near the bottom.
-
Slowly push the pick upwards along the seam until the first clip pops free.
-
Once you've released the clip, leave the opening pick in place to prevent the midframe from resealing.
-
-
-
Insert an opening pick into the right edge of the phone and slide it upwards towards the top right clip.
-
Slowly slide the pick past the clip to disengage it from the frame.
-
-
-
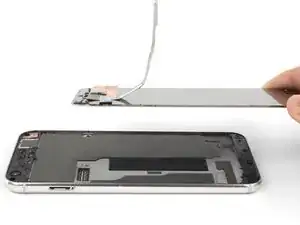
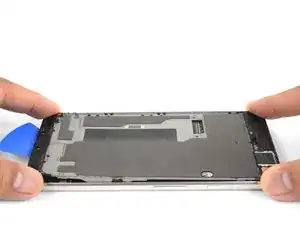
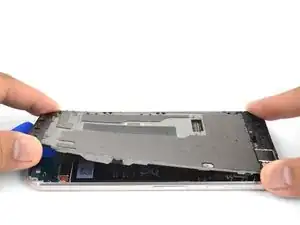
Grasp the right edge of the midframe by the corners and slowly hinge the edge up.
-
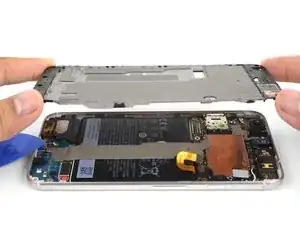
When the left edge feels loose, stop hinging and lift the midframe upwards.
-
Remove the midframe.
-
-
-
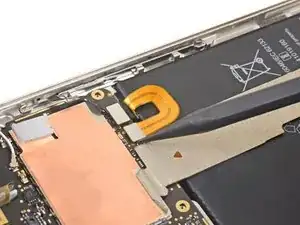
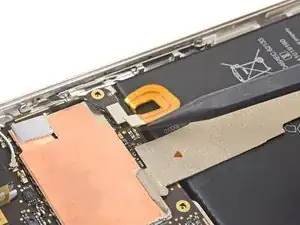
Use the point of a spudger to pry up and disconnect the battery connector.
-
Bend the battery flex cable slightly so that it will not accidentally touch the motherboard.
-
-
-
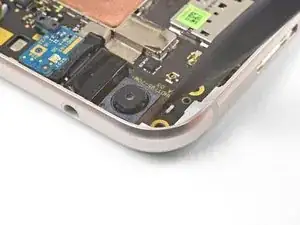
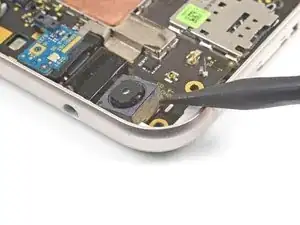
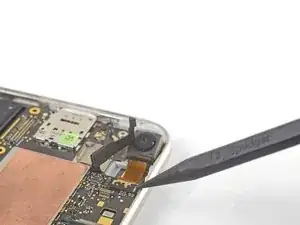
Use the point of a spudger to pry up and loosen the front facing camera module. from its socket.
-
-
-
Insert the point of a spudger into the headphone jack port and pry upwards to loosen the port from its socket.
-
-
-
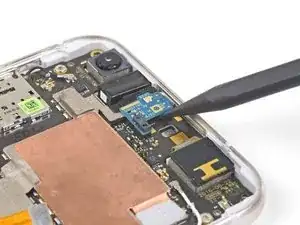
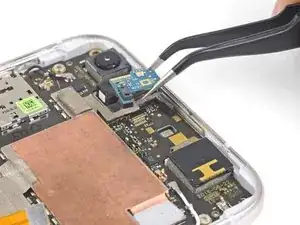
Carefully slide the point of a spudger under the proximity sensor board and pry up to disconnect it.
-
Remove the proximity sensor board.
-
-
-
Carefully slide the point of a spudger underneath the headphone jack connector and pry up to disconnect it.
-
Remove the headphone jack module.
-
-
-
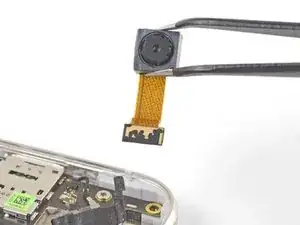
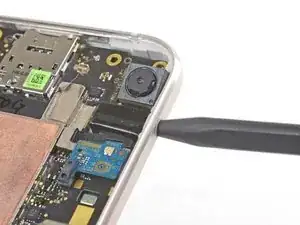
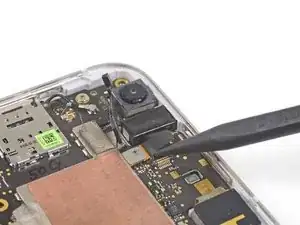
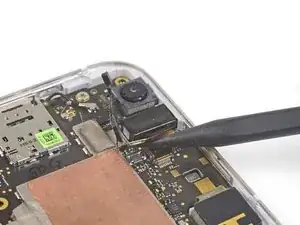
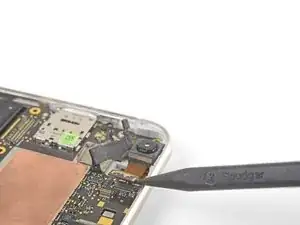
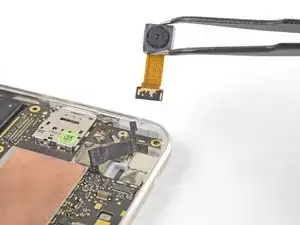
Use the point of a spudger to pry up and disconnect the front facing camera connector.
-
Remove the front facing camera module.
-
To reassemble your device, follow these instructions in reverse order.
Repair didn’t go as planned? Check out our Google Pixel XL Answers community for troubleshooting help.





From my experince, it’s better to use a heat gun (if iFixit sold a good heat gun in volume, they should spruik that). Also, heat ALL sides at the same time BUT concentrate on the top part of the phone where the foam adhesive tape is thickest, second on the bottom where the foam is almost as thick. It also helps to use the 2nd & 3rd images in the series to visualise where the adhesive is.
Jon T. -
Ty for the advice I prefer heat gun but my first pixel
Michael Koch -