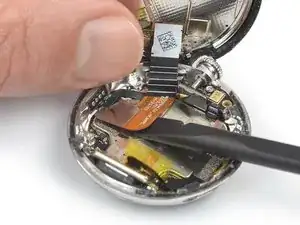
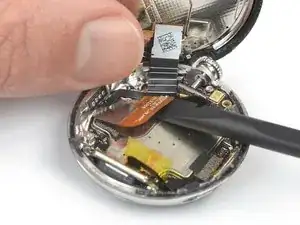
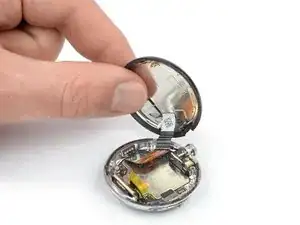
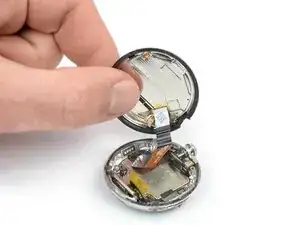
Introduction

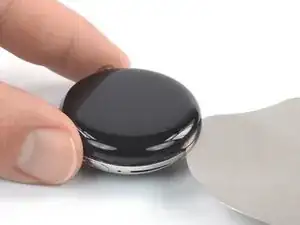
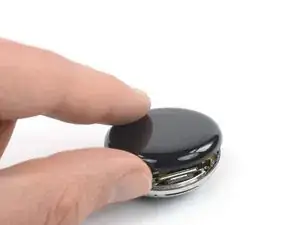
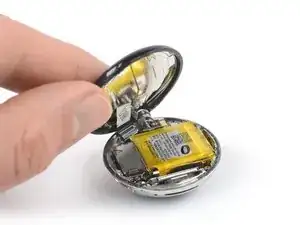
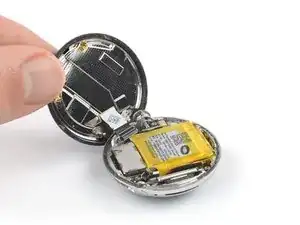
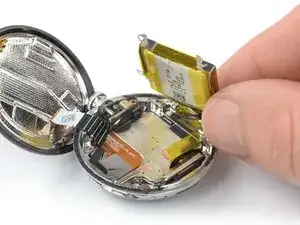
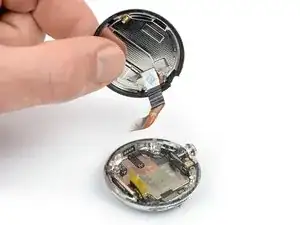
Use this guide to replace a cracked, broken, or dead screen on your Google Pixel Watch.

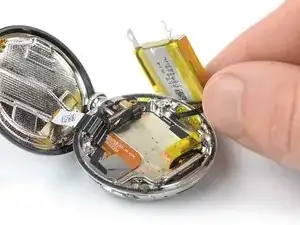
Note: Gaining access to the screen cable requires removing the battery. If the battery gets even slightly deformed during removal, it's a potential fire hazard and must be replaced.

For your safety, discharge the battery below 25% before disassembling your device. This reduces the risk of fire if the battery is accidentally damaged during the repair. If your battery is swollen, take appropriate precautions.

You’ll need replacement adhesive to to reattach the screen when reassembling the device.

Retaining water resistance after the repair will depend on how precisely the adhesive is reapplied, but your device will lose its IP (Ingress Protection) rating.

Note: This guide was written using a GBZ4S LTE model. If you have the non-LTE version, you can still use this guide—but there might be slight visual discrepancies.

  1. HKs6k156CYPDwm1B
    HKs6k156CYPDwm1B
    JfBQOfAs4xsCFoqh
    GCq6VLjB3QFV6JWJ
    • Before starting repairs, turn off your watch and take it off the charger.

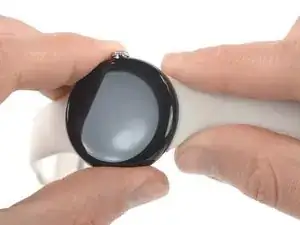
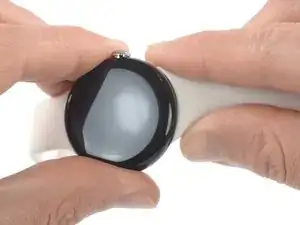
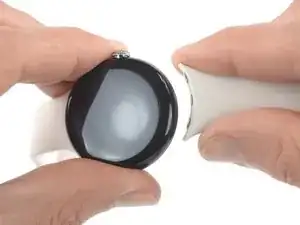
    • Remove the watch band by pressing the band release button and sliding the band over the button while pulling it away from the watch.

    • Repeat for the other watch band.

  2. 5BkIutPxi3Mth3EQ
    • Heat an iOpener and apply it to the screen for about two minutes to soften the adhesive securing the screen.

    • A hair dryer, heat gun, or hot plate may also be used, but be careful not to overheat the watch—the screen and internal battery are both susceptible to heat damage.

  3. hw1MMTfOBpFYA56f
    hw1MMTfOBpFYA56f
    hKPbI4J4ES4vnsPg
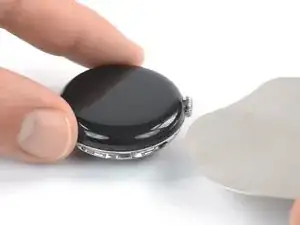
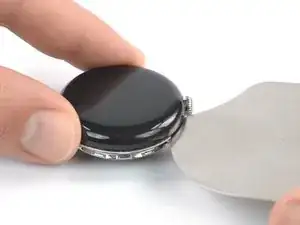
    • The thin seam between the frame and screen requires a thin metal tool—take your time and work carefully to avoid scraping or gouging the watch body or glass.

    • Insert an iFlex into the thin gap between the screen and frame, left of the digital crown.

  4. SFnCpEN5IZy1pAyb
    SFnCpEN5IZy1pAyb
    mgcKMvFYZWfgZavN
    OtYXQFEfZXbnXQC1
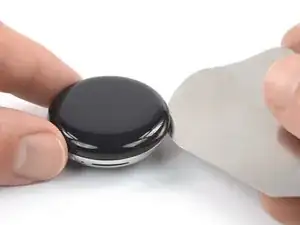
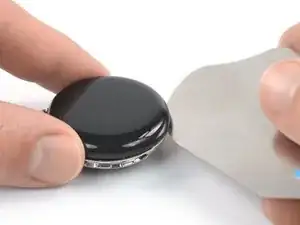
    • When slicing the screen adhesive, insert the iFlex no deeper than 3 mm to prevent damaging internal components.

    • Slide the iFlex around the entire perimeter of the watch to slice all of the screen adhesive.

  5. cpjL6cqNLkPswLBU
    cpjL6cqNLkPswLBU
    pbeGCZHvnlRcMEi3
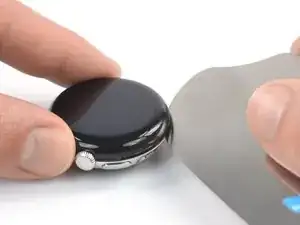
    • Remove the iFlex and reinsert it under the screen, to the right of the speaker grille.

    • Twist the iFlex to pry the screen up.

    • Don't try to fully remove the screen just yet, as it‘s still connected to the watch assembly by a delicate cable.

  6. KWMqJepaWgQ1pyPk
    KWMqJepaWgQ1pyPk
    sEuhWfaUuO1pFHnT
    WYDWTiQT3jQXxiCP
    • Be careful not to strain the screen assembly cable when you open the display.

    • Swing the screen open to an upright position.

    • During reassembly, this is a good point to power on your device and test all functions before sealing it up. Be sure to power it back down completely before you continue working.

  7. XZD3XD4EddT5v3EO
    XZD3XD4EddT5v3EO
    Y6N4QsoyKynUwD1q
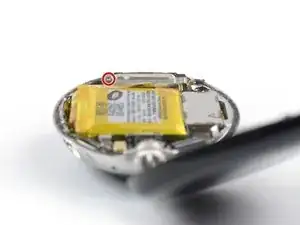
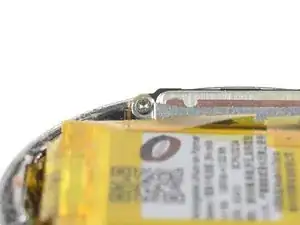
    • Throughout this repair, keep track of each screw and make sure it goes back exactly where it came from.

    • Use a Torx T2 screwdriver to remove the 2.1 mm-long screw securing the speaker bracket.

  8. bOXyAaTRkTHtjamX
    bOXyAaTRkTHtjamX
    qgGiFw2IFafB5cQt
    ZQMeIefLGRtVUUfM
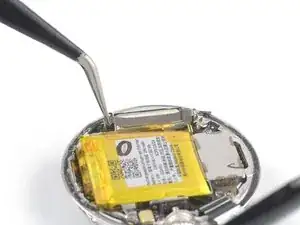
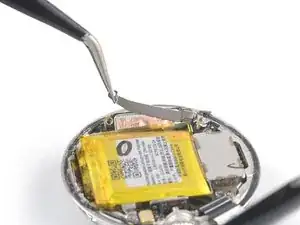
    • Take care not to puncture or bend the battery with sharp tools—it can leak dangerous chemicals or catch fire.

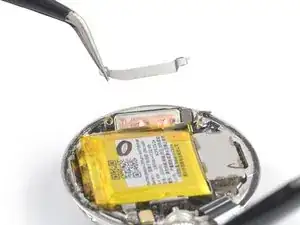
    • Use a pair of tweezers to remove the speaker bracket.

  9. NiLRrMKwOpXnQCYt
    NiLRrMKwOpXnQCYt
    FSO3fvP2rSLPQuQJ
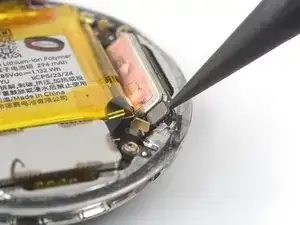
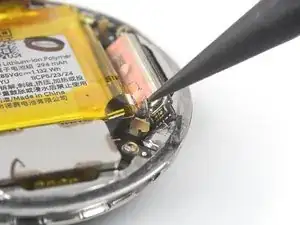
    • Use the point of a spudger to pry up and disconnect the vibration motor‘s press connector.

    • To re-attach press connectors like this one, carefully align and press down on one side until it clicks into place, then repeat on the other side. Do not press down in the middle. If the connector is misaligned, the pins can bend and cause permanent damage.

  10. 62hfefSuKl4qrRme
    62hfefSuKl4qrRme
    XBrAuO3kVLkNSgpB
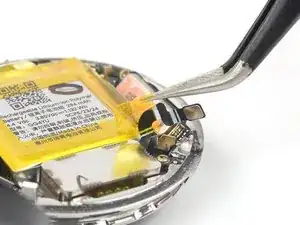
    • Be careful with sharp tools around the battery.

    • Use tweezers to peel up the yellow tape securing the vibration motor cable to the battery.

  11. XwMl2XdUa1BBxBkl
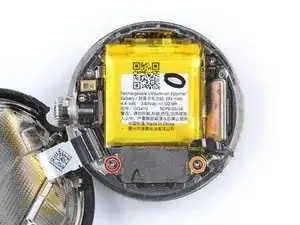
    • Use a Torx T2 screwdriver to remove the two screws securing the vibration motor:

    • One 1.8 mm-long screw

    • One 2.8 mm-long screw

  12. udGTNVa3hY4ZeKvM
    udGTNVa3hY4ZeKvM
    L1URnOkpYtOiy4Wj
    SrwcFwPlvK5OOQkL
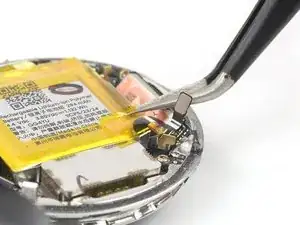
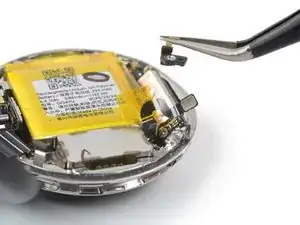
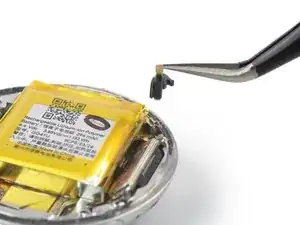
    • Use tweezers to lift the grounding bracket out of its recess and remove it.

  13. RXPnCOXXFICsiS1c
    RXPnCOXXFICsiS1c
    cDFCeYex4o2Mcvfa
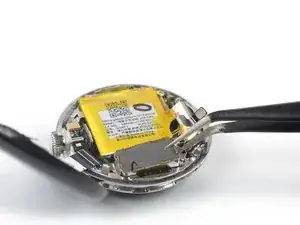
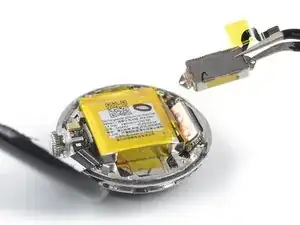
    • Remove the vibration motor.

  14. 1IUInEdU2OiTURmU
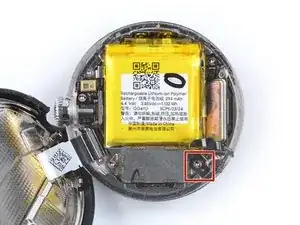
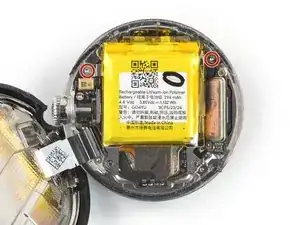
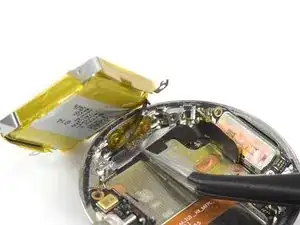
    • Use a Torx T2 screwdriver to remove the two 3 mm-long screws securing the battery bracket.

  15. dgbEVOIgsyHGqABs
    dgbEVOIgsyHGqABs
    oKyDZ5CeyrKNr1TB
    EgTFx3HYAei1iQEZ
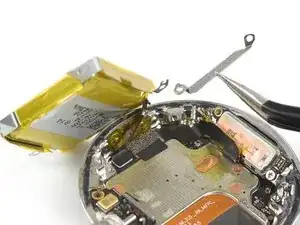
    • Use tweezers to lift the grounding bracket out of its recess and remove it.

  16. eXVYdtuMKKOdqjSj
    eXVYdtuMKKOdqjSj
    cwkVsIkcDIJoMFZ3
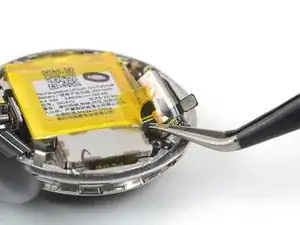
    • Take care not to puncture or bend the battery with sharp tools—it can leak dangerous chemicals or catch fire.

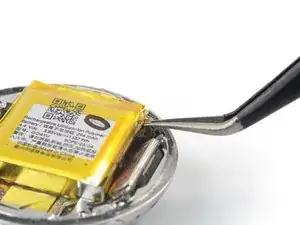
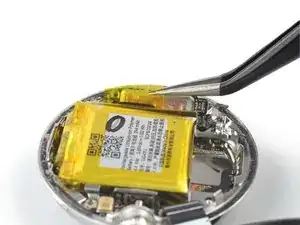
    • Use tweezers to peel up the yellow tape from the edge of the battery, next to the speaker.

  17. dJGdHavTXX3qLLTl
    dJGdHavTXX3qLLTl
    wmgiOJYRFLLqiGKB
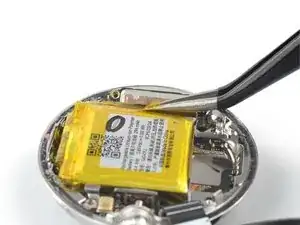
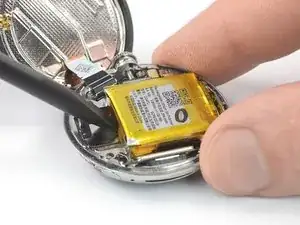
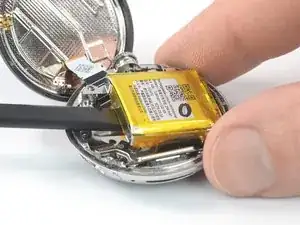
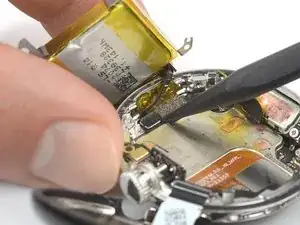
    • Slide the flat end of a spudger under the edge of the battery where the vibration motor was.

    • Pry up the battery until you can grip it with your fingers.

    • The battery is held in place by mild adhesive. If you're struggling to pry up the battery, apply a heated iOpener to the bottom of the watch for about 2 minutes to loosen the adhesive. Don't apply the iOpener directly to the battery.

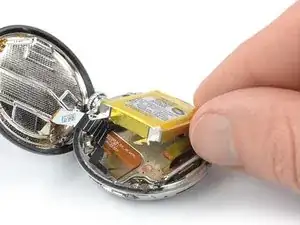
    • Don't try to remove the battery all the way yet, as it‘s still connected to the watch assembly by a delicate cable.

  18. tsCyYkUGrnNOEHDc
    tsCyYkUGrnNOEHDc
    vgwIUwZFk34vfgOF
    a5ZnpqMSlDxoTqRG
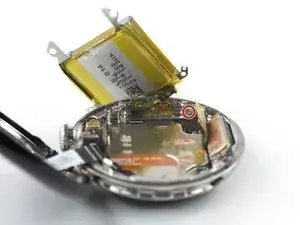
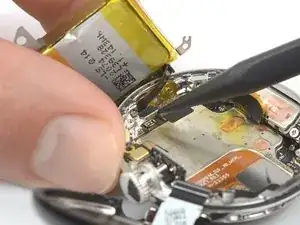
    • Avoid straining or tearing the battery cable when moving the battery.

    • Carefully place the battery next to the watch to access the battery connector bracket.

  19. GnKF1ioF3wpFecQi
    GnKF1ioF3wpFecQi
    lXcmATRJ14qPNEBN
    • Use a Torx T2 screwdriver to remove the two 1.5 mm-long screws securing the battery connector bracket.

  20. jEqgPULsWGBuZvJG
    jEqgPULsWGBuZvJG
    SGPD2G5tlXmsTmZu
    • Use tweezers to remove the battery connector bracket.

  21. K1NpLgpwJavZeLjN
    K1NpLgpwJavZeLjN
    Jarg64tpOb4NgKv1
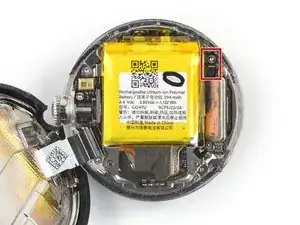
    • Use the point of a spudger to disconnect the battery cable by prying the connector straight up from its socket.

  22. CZQXR3uq4OF1vCHF
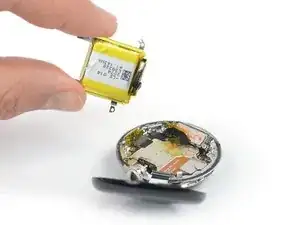
    • Remove the battery.

    • Never reuse a deformed or damaged battery—it's a fire hazard. Replace it with a new battery.

    So if I change the display, should I also buy a new battery because the old one might be damaged?

    Nitramon -

  23. VZoExiYoiggEgqGq
    VZoExiYoiggEgqGq
    QW5xPFWnHBJHLkxL
    gyJoSeeBVkM2Jj21
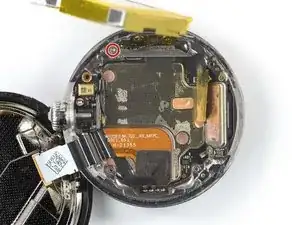
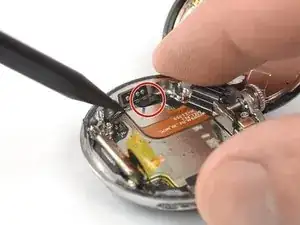
    • Note: The screen assembly cable is threaded underneath the test port cable.

    • Avoid straining or tearing the test port cable in the following steps.

    • Use the point of a spudger to disconnect the screen assembly cable by carefully prying the connector straight up from its socket.

  24. W4nt1laUGqkwDdDA
    W4nt1laUGqkwDdDA
    TkFHyHRlWy1yiVmB
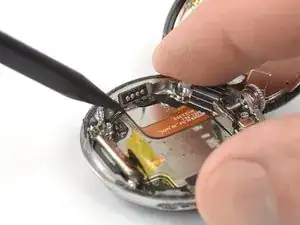
    • The screen assembly cable is secured by light adhesive.

    • Slide the flat end of a spudger underneath the screen assembly cable to loosen its adhesive and detach it from the watch frame.

  25. ADy2ANXqoXWHWKES
    ADy2ANXqoXWHWKES
    dKDdQCCiaWgJt4ea
    QjohVEBHrO51bFQ5
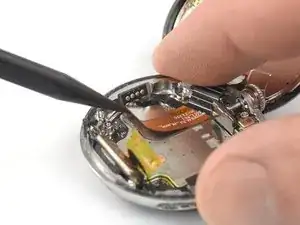
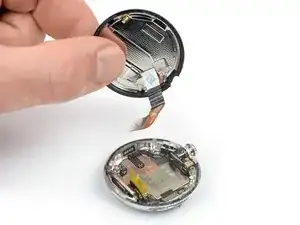
    • Carefully pull the screen assembly cable out from underneath the test port cable.

    • Remove the screen assembly.

    • During reassembly, apply new adhesive where it's necessary after cleaning the relevant areas with high-concentration isopropyl alcohol (>90%).

    • After installing the screen, apply strong, steady pressure for several hours to help the adhesive form a good bond—a stack of heavy books works well.

Conclusion

To reassemble your device, follow these instructions in reverse order.

If you were installing a new batter—For optimal performance, calibrate your newly installed battery after completing this guide.

Take your e-waste to an R2 or e-Stewards certified recycler.

Repair didn’t go as planned? Try some basic troubleshooting, or ask our Answers community for help.

Dominik Schnabelrauch

Member since: 23/11/16

201162 Reputation

3 comments

Bekommt man das Display überhaupt irgendwo zu kaufen? Ich habs nicht irgendwo gefunden

Anna Katharina Linges -

Whee do you get the screen

Janelle Roland -

Replacement screen can be obtained by buying a broken Pixel Watch (with an intact screen) off eBay. There aren't a lot for sale but they do come up. I just bought one for 34 USD plus 15 USD shipping to Canada.

What width replacement adhesive is needed? Is this Tesa tape suitable? Tesa 61395 Tape
Lance Kersey -