Introduction
This repair guide was authored by the iFixit staff and hasn’t been endorsed by Google. Learn more about our repair guides here.
Use this guide to replace the base battery in your Google Pixel Fold.
Some photos in this guide show the logic board, cameras, etc. removed. This isn't required, and won't affect the guide procedure.
-
-
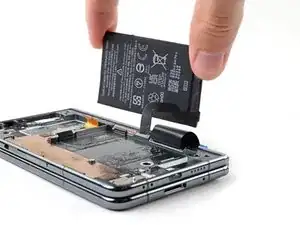
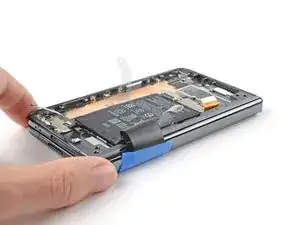
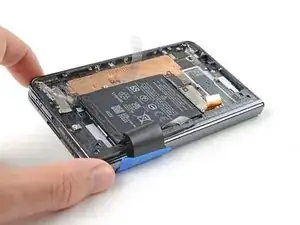
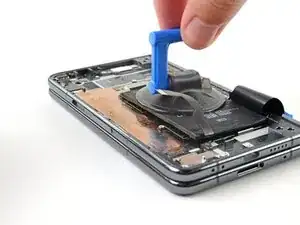
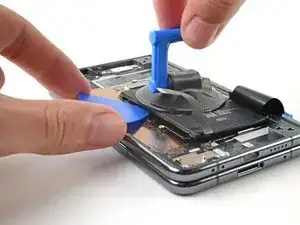
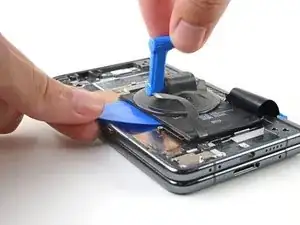
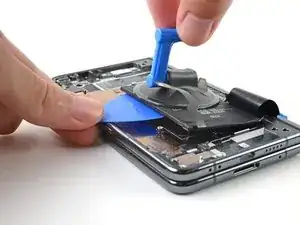
Move the flip battery and bottom interconnect cable away from the battery.
-
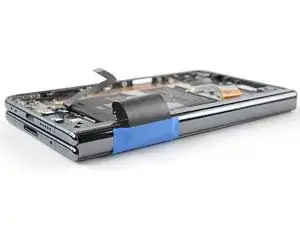
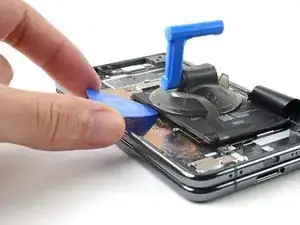
Use tape with light adhesive, like painter's tape, to secure the cable to the side of the phone.
-
-
-
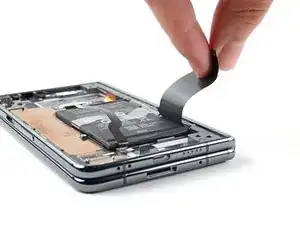
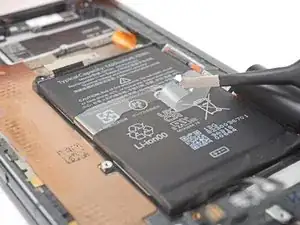
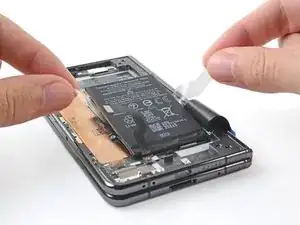
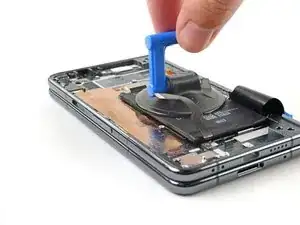
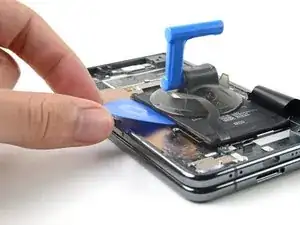
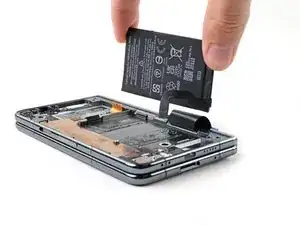
Use a pair of blunt nose tweezers, or your fingers, to peel the clear plastic pull tabs away from the battery.
-
-
-
Unfold the phone and flip it over.
-
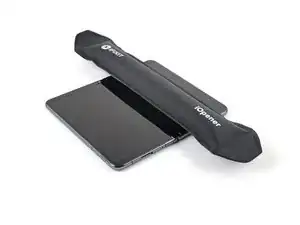
Heat an iOpener and apply it the section of the inner screen above the base battery for two minutes.
-
-
-
Close your phone.
-
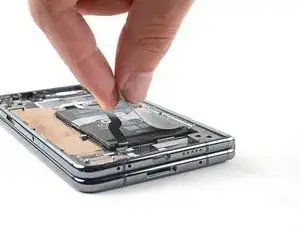
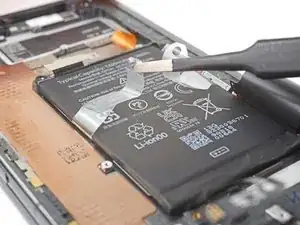
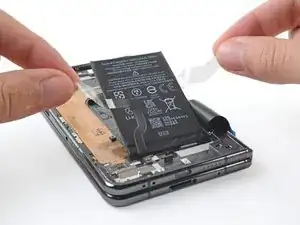
Grip the ends of the plastic pull tabs with your fingers.
-
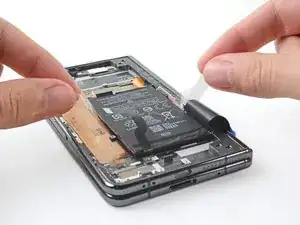
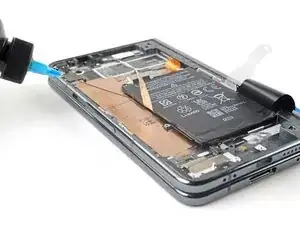
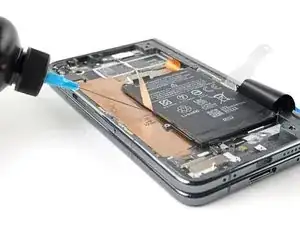
Pull straight up with constant, steady force to separate the adhesive under the battery. Work slowly and let time do the work for you until the adhesive separates.
-
If you're having trouble separating the adhesive, apply more heat and try again.
-
If you're having a lot of trouble separating the adhesive, or if you feel like you might damage the battery, follow the next five steps for an alternate method. If you were successful, jump to this step.
-
-
-
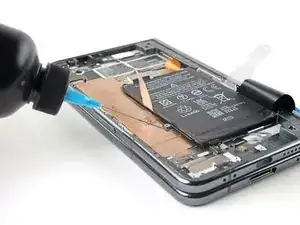
Apply a few drops of high concentration (>90%) isopropyl alcohol in the gap between the frame and the left edge of the battery.
-
-
-
Tilt the left side of the phone up to let the isopropyl alcohol flow under the battery.
-
Wait one minute for the alcohol to soften the adhesive.
-
-
-
Apply a suction cup to the battery, as close to the center of the left edge as possible.
-
Pull up on the suction cup with strong, steady force to create a gap between the battery and the frame.
-
Insert an opening pick into the gap.
-
-
-
Pull up on the suction cup with strong, steady force while also prying up with the opening pick to separate the battery from the frame.
-
If you're feeling a lot of resistance, apply a few more drops of isopropyl alcohol and try again.
-

For optimal performance, calibrate your newly installed battery after completing this guide.
Take your e-waste to an R2 or e-Stewards certified recycler.
Compare your new replacement part to the original part—you may need to transfer remaining components or remove adhesive backings from the new part before you install it.
To reassemble your device, follow these instructions in reverse order.
Repair didn’t go as planned? Try some basic troubleshooting, or ask our Google Pixel Fold Answers Community for help.