Introduction
This repair guide was authored by the iFixit staff and hasn’t been endorsed by Google. Learn more about our repair guides here.
Use this guide to replace the rear camera in a Pixel 2 XL.
Tools
Parts
-
-
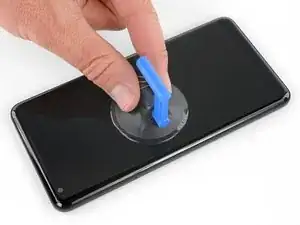
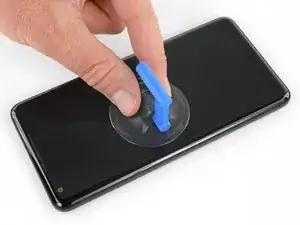
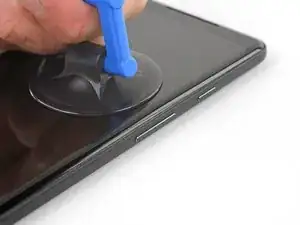
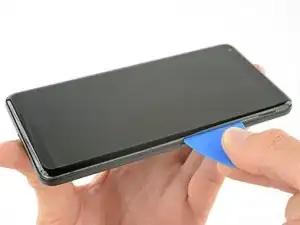
Apply a suction cup as close to the SIM slot edge of the phone as you can while avoiding the curved edge.
-
-
-
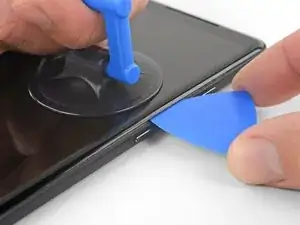
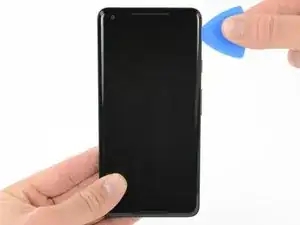
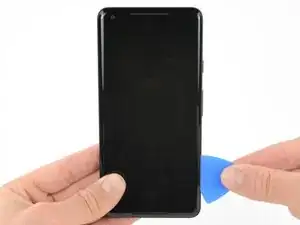
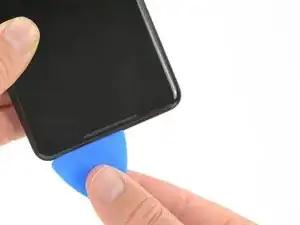
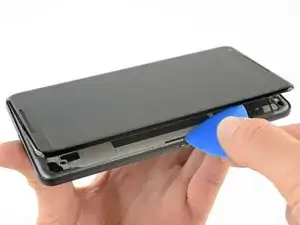
Pull up on the suction cup with firm, constant pressure and insert an opening pick between the front panel and rear case.
-
-
-
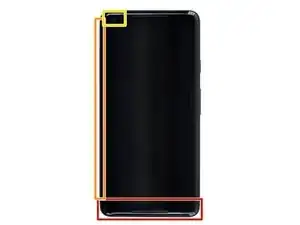
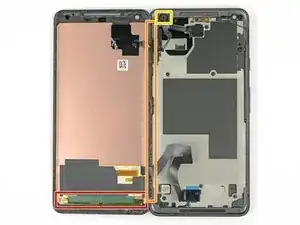
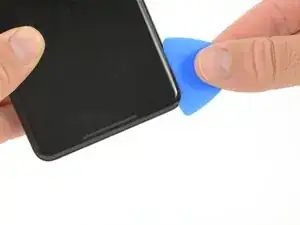
Do not insert the pick more than 0.25 inches (6 mm) into the bottom edge of the phone. If the pick contacts the folded portion of the OLED panel, it can damage the display.
-
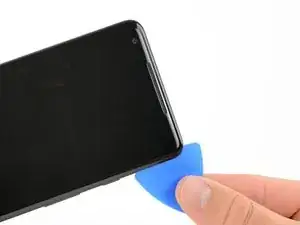
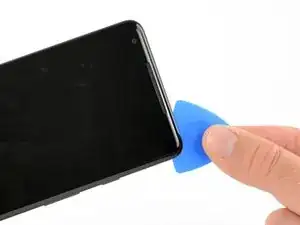
Do not cut along the left edge; there are delicate display cables that can be damaged.
-
Only make very shallow cuts in the upper left corner; prying deeply can damage the front-facing camera.
-
-
-
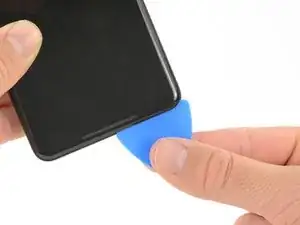
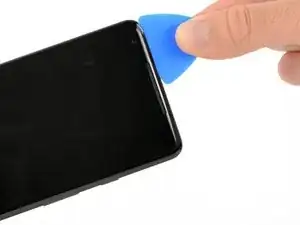
Reinsert the flat edge of the pick at the top-right corner of the phone, and slide it around the corner and the top edge of the phone.
-
-
-
Gently lift the display from the right side of the phone, opening it like a book.
-
Carefully lay the display flat on the table next to the rest of the phone, keeping it close to the phone to avoid straining the display and digitizer cables.
-
-
-
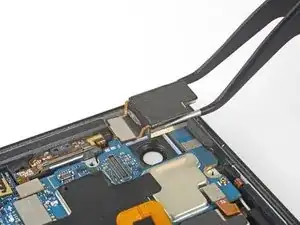
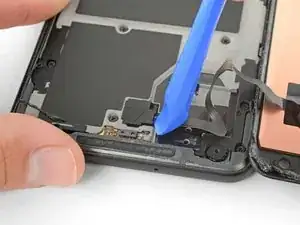
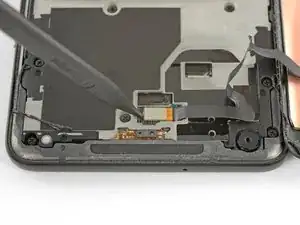
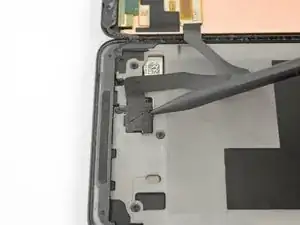
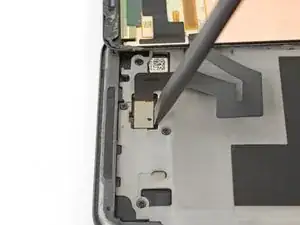
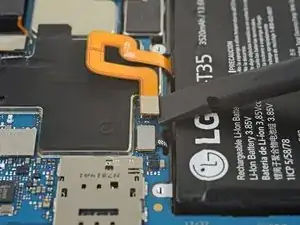
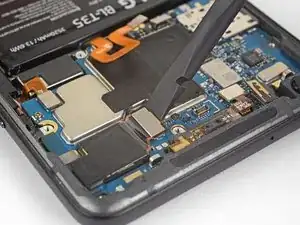
Use the corner of an opening tool to pry up and unclip on the lower edge of the digitizer cable connector cover.
-
Remove the connector cover.
-
-
-
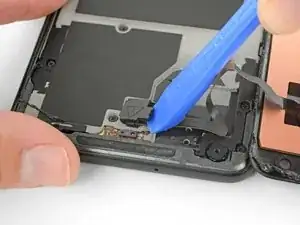
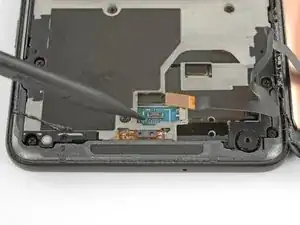
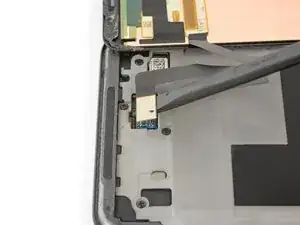
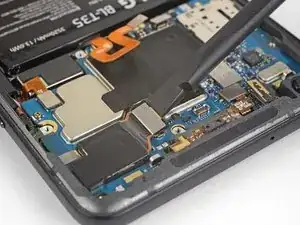
Use the point of a spudger to lift the digitizer cable connector up and out of its socket on the motherboard.
-
-
-
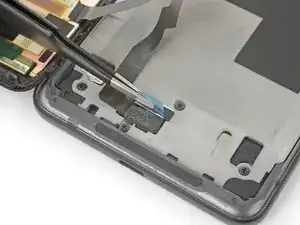
Insert the point of a spudger into the small hole on the edge of the display connector cover.
-
Use the spudger to pry the cover out of its recess.
-
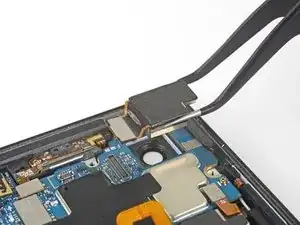
Remove the connector cover.
-
-
-
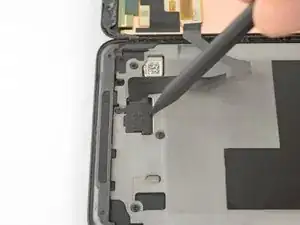
Use the flat edge of a spudger to lift the display cable connector up from its socket.
-
Remove the display.
-
-
-
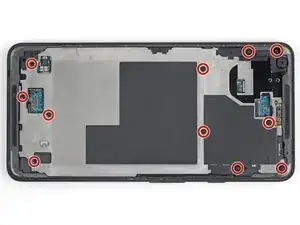
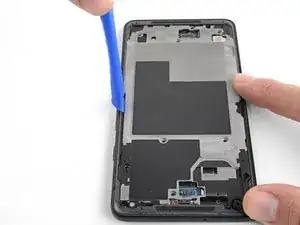
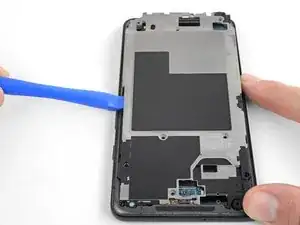
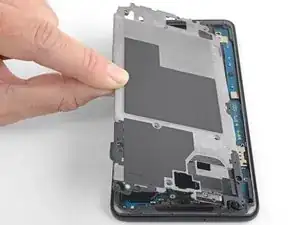
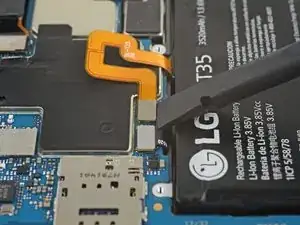
Insert an opening tool into the notch in the midframe near the volume buttons and pry the midframe up and away from the rest of the phone.
-
Remove the midframe.
-
Compare your new replacement part to the original part—you may need to transfer remaining components or remove adhesive backings from the new part before installing.
To reassemble your device, follow the above steps in reverse order.
Take your e-waste to an R2 or e-Stewards certified recycler.
Repair didn’t go as planned? Check out our Answers community for troubleshooting help.
5 comments
Is there a guide for replacing the lens cover? I bought the replacement camera and lens cover, but not sure how to replace the cover. I may not even need a new camera, since my camera is just a little blurry. Any help would be appreciated!
dcmcleod -
Unfortunately we don’t have a guide for the camera lens cover yet. It’s just adhered to the back of the phone, so you should be able to heat it and carefully pry it up, or push it out from the inside of the phone. Before installing the new lens cover make sure you scrape all the old adhesive off of the phone and clean adhesion surface with isopropyl alcohol. Then you should be able to use the provided adhesive to install the new cover. Try not to touch the clear part of the new cover since fingerprints might be tough to clean off.
Also, I’d probably try just replacing the lens cover first and then testing the camera (without sealing the phone closed) and see if that fixes your issue before you replace the whole camera. Hope that helps, and good luck with the repair!
I just recently replaced the camera and lens on a pixel 2 xl, after installing and reassembly every time I opened the camera app it just came up dark screen and closed, I cleared cache, memory and even ended up performing a hard reset on the device and nothing helped; also updated the OS and the camera app and nothing helped out. Any suggestions?
Sorry you're experiencing that. I just did the camera replacement, and didn't need to clear any cache or anything, and it just works
Hi, I've replaced the display on a pixel 2 xl, and all work fine but both camera. I open the camera app and after a black screen the app crasches.
I've bought new back and front camera and replaced but I still have the same issues.
Do you have any suggestions?
Thanks.
Nicola -
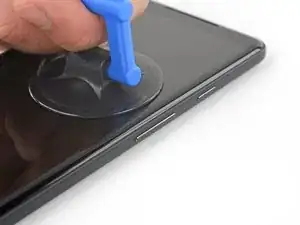

Shouldn’t this be “As close as possible to the volume rocker”?
Mihai Turdean -
Forget about the tiny toy suction cup they provide to battery replacement kits. I used a dent puller from an automotive shop. The smallest they had was just small enough for the Pixel's screen. I still needed to heat the edges with a heat gun.
Tamás Polgár -
I wish someone tell me in advance that if I doing this replacement after using phone for a few years it better to have spare "display adhesive" and be ready to follow Google Pixel 2 XL Display Adhesive Replacement
Original adhesive become dirty with time and fat chances it will be damaged during opening phase. In my case I replaced battery but can't use the phone, as still waiting for adhesive to be delivered
Maxim Vorontsov -