Introduction

Replacing the Garmin Vívoactive 4's (M/N: 03618) housing is somewhat of a long process, and it requires multiple tools.

You may want to replace your watch's housing if the heart rate sensor is damaged if the watch band does not fit securely on the watch, or if the housing is otherwise damaged (see the sections Sensors Malfunctioning Causing Battery Drain, Heart Rate Sensor Itself is Damaged, Wristband Housing Itself is Damaged in our Vívoactive 4 Troubleshooting Guide).

This guide requires the use of a heat gun and iOpener. See these articles, How to Use a Heat Gun to Soften Adhesive and iOpener Instructions for instructions and safety information.

  1. bwdJONNWtiPEdWqD
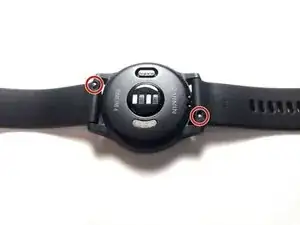
    • Flip the watch on its back to reveal the watch band connection pins.

  2. VeJJagIuOOAToqxh
    VeJJagIuOOAToqxh
    1PZdKqUVCHS1SOkb
    UDsIt3KXWbYXTBsW
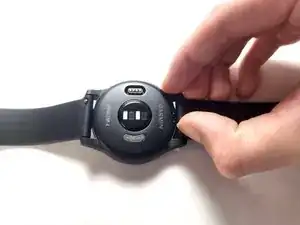
    • Wedge your fingernail or the tip of a spudger underneath the watch band's small metal pin.

    • Push on the pin to release the strap from it's hinge.

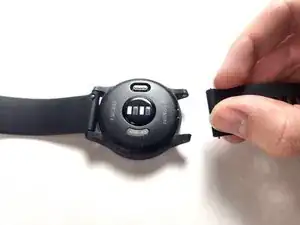
    • Pull the strap away from the watch to disconnect it.

    • The strap will not pull away if the pin isn't fully pushed in.

  3. YV1oFuUddwr2qrjr
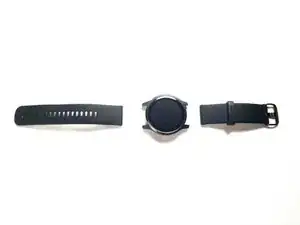
    • With both straps removed, a new replacement watch band may be inserted.

  4. YY6bFZcgFeEANysD
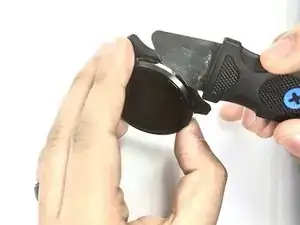
    • Use a heatgun to loosen the adhesive beneath the screen, it should take a 5-10 minutes for adhesive to loosen.

    • Handle the watch with care to avoid burning yourself after it has been heated. Review the How to Use a Heat Gun to Soften Adhesive guide.

    5-10 minutes is too long and too short at the same time. I didn't even heat it for 5 minutes on low and the watch was already too hot to touch. I put on some gloves and tried to wedge my jimmy in between the screen and the case but the seam is much too thin, even when I broke out my knife for it. I thought the glue must not be loose enough yet, so I heated it for a couple more minutes and tried again. Even though I did completely discharge my battery before doing any of this, my battery started to bulge and the back of my watch deformed. I followed these instructions as closely as possible, along with the "how to use a heat gun to soften adhesive" guide, and I never got my screen off and now my watch is beyond reasonable repair. If you decide to try this, I hope you have better luck, but I don't know how you're supposed to be able to get this done.

    cram C -

  5. avl6uFTGlGkKXKoT
    avl6uFTGlGkKXKoT
    rd2itTG5m1XMdZv2
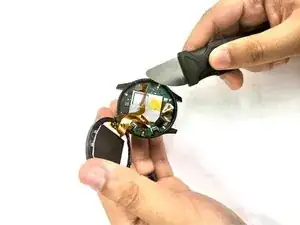
    • Wedge a thin opening tool or your iFixit Jimmy in between the seam where the screen and the watch’s housing connect.

    • Pry the screen off the device.

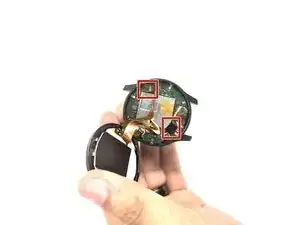
    • There is a cable underneath the screen that needs to be disconnected - be careful not to rip it.

    • Work quickly so the adhesive doesn’t cool too much.

  6. dQkaKsACmqBtavPO
    dQkaKsACmqBtavPO
    A6vUORBRQgDcNQJG
    JddROOufQHiJhMtB
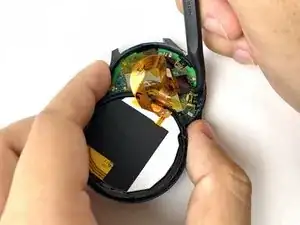
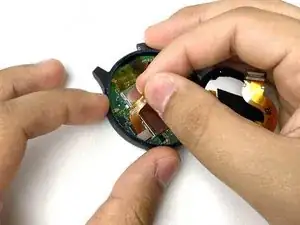
    • Carefully disconnect both cables from the motherboard by placing the tip of your spudger under the edge of the connector, and prying the connector straight up from its socket.

  7. NUDBVQiZNOpktOI5
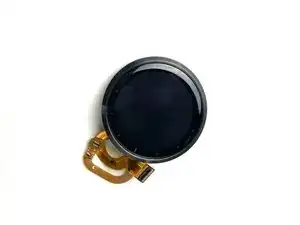
    • Remove the screen.

  8. ivJxjybIjUJdIlYm
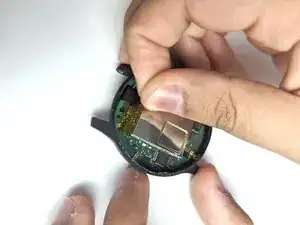
    • Carefully peel off the ribbon tape that is holding down the motherboard.

  9. cFposAHkqGFXWIrG
    • Place the tip of your spudger under the edge of the connector, and pry the connector straight up from its socket to disconnect the battery from the motherboard.

    • Do this carefully to avoid ripping the cable.

  10. lGPCWZxpIT23P6BJ
    lGPCWZxpIT23P6BJ
    1NeHaWtrd2GQWSIH
    AkaXata6ay2e5MHe
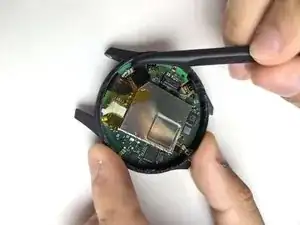
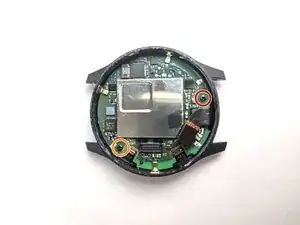
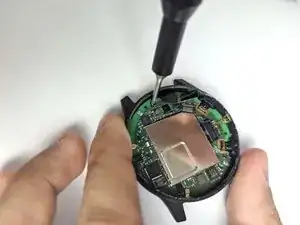
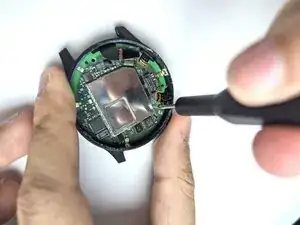
    • Use a Phillips #00 screwdriver to remove the 3.2 mm screw on the motherboard.

    • Use a Phillips #00 screwdriver to remove the 4.8 mm screw on the motherboard.

  11. OOFdeQRIXwUYTBEC
    OOFdeQRIXwUYTBEC
    RlNneVKfKEbvXTsq
    cQ33PEDKLNF4cnAE
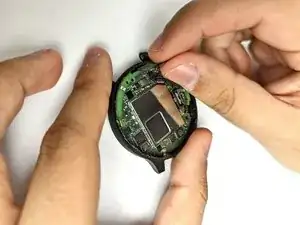
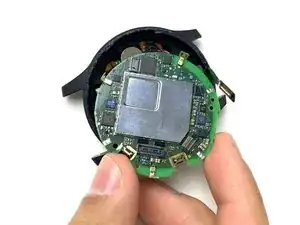
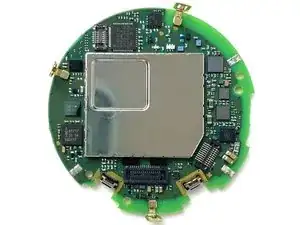
    • Pull the battery cable up to dislodge the motherboard.

    • Gently remove the motherboard from the socket.

    • The motherboard may get caught under the housing due to the clips on the edge.

  12. vJUHJoUoLJcMwLll
    vJUHJoUoLJcMwLll
    qe4QtSfeXKf2k5gX
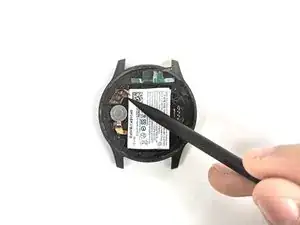
    • Use the pointed tip of a spudger to carefully push on each side of the battery connector to disconnect the battery from the motherboard.

  13. vjytr1PVqbeLCGNa
    vjytr1PVqbeLCGNa
    dt3AHnusKJgIK1ge
    H4KrBvekZa5BdVCK
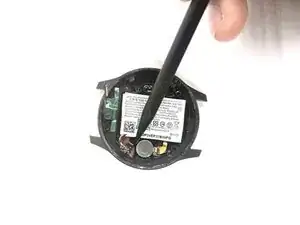
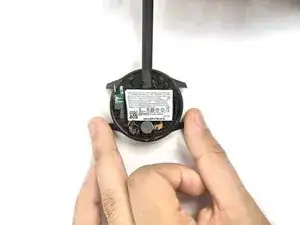
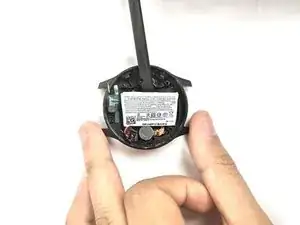
    • Use a spudger to pry the battery from the case.

    • Be careful not to damage any surrounding components.

    • There is an adhesive holding the battery down. Use an iOpener if it is too difficult to remove the battery with the spudger alone.

    Where can I get Vivoactive 4S battery from?

    Narek -

    381-00086-23

    Is this the one and only battery number that is right for 4S or are there others that will work?

    Narek -

  14. FjDYGmUGQUKTkGWE
    • From here, the only remaining part should be the housing unit itself.

    • Swap out the old watch's housing for a new replacment.

Conclusion

To reassemble your device, follow these instructions in reverse order.
Jacob Byron

Member since: 01/11/23

199 Reputation

0 comments